
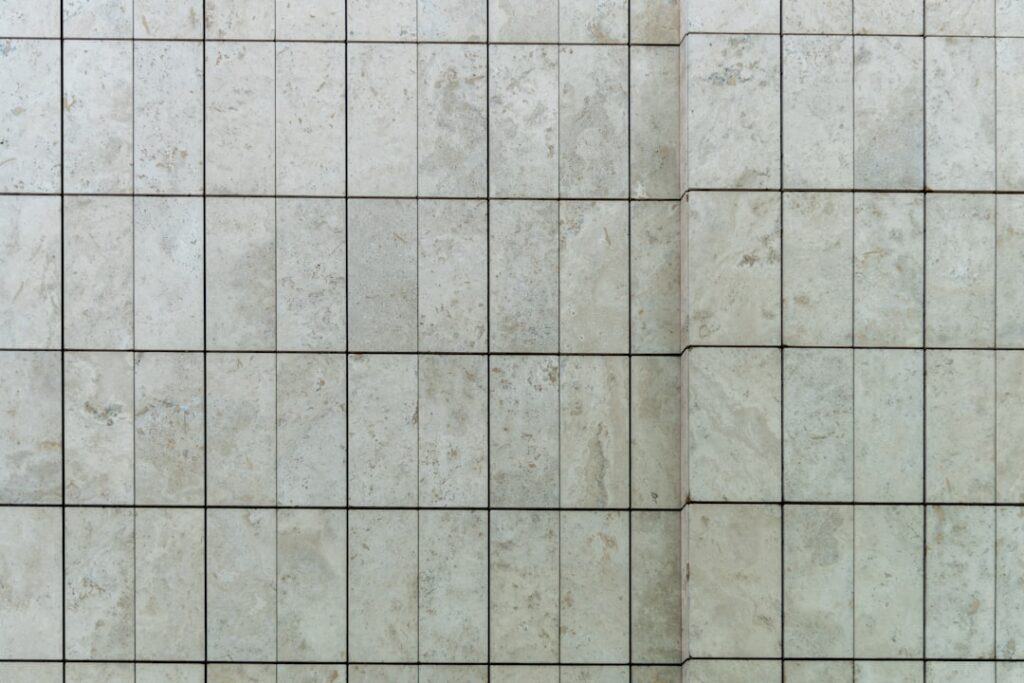
If you have shopped for tile lately, you have noticed the rectangle taking over showrooms. The 12×24 tile has become the default choice for floors, showers, and feature walls because it strikes a near-perfect balance: large enough to look modern and minimize grout lines, small enough to handle without special tools. This guide covers why the format works so well, the layouts that flatter it, what it costs, and the installation details that keep a large-format job flat and lippage-free.
Why 12×24 Is So Popular
The appeal comes down to scale. A 12-by-24-inch tile covers two square feet per piece, so a room reaches completion faster and with fewer grout joints than with traditional 12-by-12 squares. Fewer grout lines mean less cleaning and a calmer, more expansive look. The rectangular shape also reads as contemporary, and it works in nearly every room, from a small powder bath to a sprawling open kitchen. Most 12×24 tiles are porcelain, which is dense, water-resistant, and tough enough for high-traffic floors.
Porcelain Versus Ceramic
Both materials come in the 12×24 format, but they are not interchangeable.
- Porcelain is fired hotter and is denser, with very low water absorption. It suits floors, showers, and outdoor patios, and many styles are rated for heavy traffic.
- Ceramic is softer and more affordable. It is fine for walls and lighter-use floors but can chip more easily and absorbs more water.
For floors and wet areas, porcelain is the safer investment. For a budget-friendly accent wall, ceramic can save money without much downside.
Best Layout Patterns
Layout dramatically changes how a 12×24 tile reads in a space. Three patterns dominate.
- Straight stack or grid: Tiles aligned edge to edge in clean rows. Crisp, modern, and great for showing off large-format scale.
- One-third offset: Each row shifts by a third of the tile length. This is the manufacturer-recommended pattern for large rectangles because it hides the slight bow most long tiles have.
- Vertical orientation: Running the tiles tall on a wall stretches ceilings visually, popular in showers.
Avoid a 50 percent brick offset with tiles this long. Because most large tiles crown slightly in the center, lining the high middle of one tile against the low end of the next creates noticeable lippage, those raised edges you feel underfoot.
Typical Costs
Pricing spans a wide range based on quality and finish. Builder-grade porcelain 12×24 tile often starts around 1.50 to 3 dollars per square foot. Mid-range styles with wood-look or marble-look prints run about 3 to 7 dollars. Premium designer and large-collection porcelain can reach 8 to 15 dollars or more. Professional installation typically adds 7 to 14 dollars per square foot depending on layout complexity, substrate prep, and your local labor market. Always buy 10 to 15 percent extra for cuts, breakage, and future repairs.
Substrate and Flatness
Large-format tile is unforgiving of uneven floors. Industry guidance calls for the substrate to be flat within an eighth of an inch over 10 feet for tiles this size. Check your subfloor with a long straightedge and use self-leveling compound to fix dips and humps before you ever spread thinset. On floors, an uncoupling membrane or a properly prepared cement backer board gives the tile a stable, crack-resistant base.
Installation Tips for Large Tiles
Setting big tiles correctly takes a few specific techniques.
- Use a large-format thinset labeled for big or heavy tile. It resists slumping and supports the extra weight.
- Back-butter every tile. Spreading a thin coat on the back of the tile in addition to the floor ensures full coverage and eliminates hollow spots.
- Comb in one direction with a half-inch notched trowel, then flatten the ridges slightly so air can escape.
- Use a leveling system. Clips and wedges pull adjacent tiles to the same plane and are nearly essential for keeping lippage out of large-format work.
- Choose a grout line of at least 3/16 inch. Long tiles are rarely perfectly straight, and a slightly wider joint absorbs the variation.
Design Looks With 12×24 Tile
The large format opens up several popular design directions. Marble-look porcelain in this size delivers the luxury of stone on floors and shower walls without the sealing and etching worries of real marble. Wood-look planks are sometimes offered in 12×24, though true plank looks usually run longer; the rectangle suits a more tiled, contemporary feel. Concrete and cement looks in matte gray read modern and industrial, perfect for open-plan kitchens and lofts. Running the same tile up a shower wall and across the floor creates a seamless, spacious effect that smaller tiles cannot match.
Color and finish choices shift the mood. Light, warm tones expand a small bathroom, while dark, matte tiles add drama to a powder room or feature wall. A polished finish amplifies light but shows water spots and can be slippery underfoot, so reserve gloss for walls and choose a matte or textured surface for floors and showers.
Common Installation Mistakes
Large-format tile is less forgiving than small tile, and a few mistakes cause most problems. Skipping the flatness check leaves dips and humps that turn into lippage and hollow, drummy spots. Using a 50 percent brick offset on bowed tiles guarantees raised edges. Spreading too little thinset or failing to back-butter leaves voids under the tile that crack later. Picking a grout line that is too tight exaggerates the natural variation in long tiles. Avoid these by leveling the substrate, choosing a one-third offset, achieving full coverage, and using a leveling system with a slightly wider joint.
Grout and Finishing
For 12×24 tile, many installers prefer a grout color close to the tile for a seamless look, or a contrasting shade to emphasize the pattern. Stain-resistant grout pays off on floors and shower walls. After grouting, seal cement-based grout to keep it from absorbing dirt and moisture. With a flat substrate, the right thinset, and a leveling system, a 12×24 tile floor delivers a clean, upscale finish that hides grout, resists wear, and stays in style for years.
Prefer to explore on your own?
See how new flooring looks in your actual room in seconds — free, no signup.
Try the free Floor Studio →

