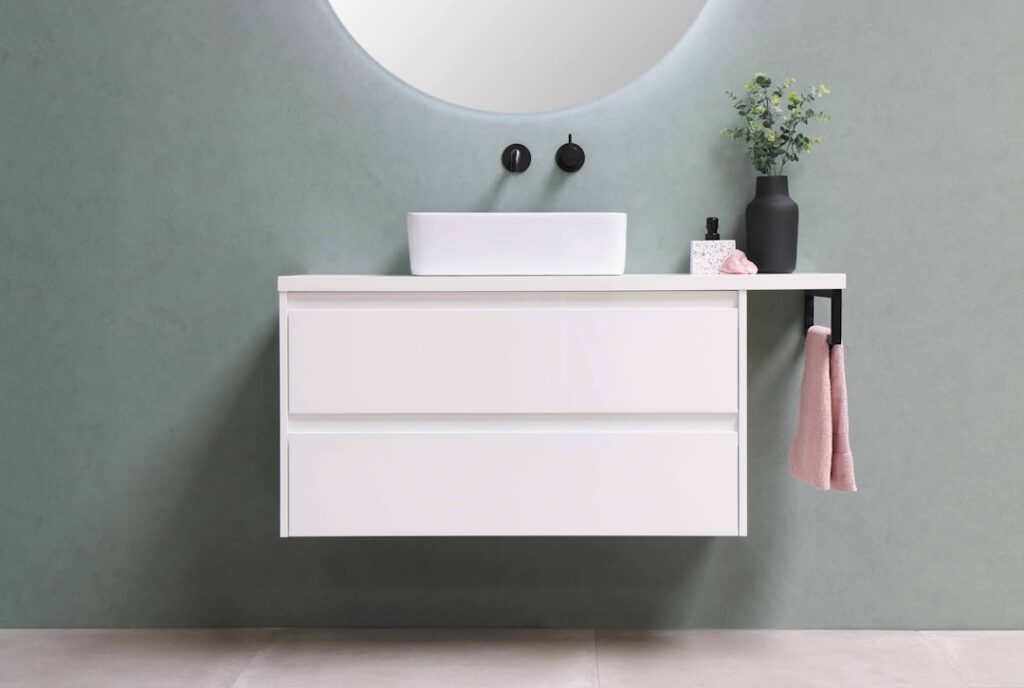
The 30 inch floating vanity is the perfect size for a huge number of bathrooms — big enough for a real sink and storage, small enough to fit a powder room, guest bath, or tight primary layout without crowding the space. Wall-mounting it adds that airy, modern look and makes the floor easy to clean. Here’s how to choose the right one, support it properly, and install it so it looks intentional and lasts.
Why 30 Inches Is the Sweet Spot
Thirty inches hits a genuine goldilocks zone. It’s wide enough for a standard-size sink with a few inches of counter on either side, plus a cabinet that holds toiletries and towels. Yet it stays compact enough for small and half baths where a 36- or 48-inch unit would dominate. In a room where every inch counts, a 30 inch floating vanity gives you function without eating the walkway.
The floating design amplifies the space-saving effect: with open floor beneath the cabinet, a small bathroom reads noticeably larger than it would with a bulky floor-standing vanity of the same width.
Measuring Your Space
Before you buy, confirm the vanity fits with proper clearances. General guidelines:
- Width: a 30-inch cabinet needs at least 30 inches of clear wall, ideally a couple inches of breathing room on each side.
- Depth: standard vanity depth is 18 to 21 inches; shallow floating models come as narrow as 15 inches for tight rooms.
- Clearance in front: leave at least 21 inches (30 is better) of open floor in front for comfortable use.
- Door and fixture swing: make sure the bathroom door and any nearby toilet don’t collide with the vanity.
For very tight powder rooms, a shallow-depth 30-inch floating vanity keeps the counter usable while freeing up circulation space.
Wall Support Is Non-Negotiable
All the weight of a floating vanity hangs on the wall, so the framing has to carry it. A loaded 30-inch unit with a stone top and full sink can weigh 100 to 250 pounds. Support it correctly:
- Add solid blocking — a 2×8 or 2×10 board — between the studs at mounting height before closing the wall.
- Mount to that blocking or directly to studs with heavy lag screws and the manufacturer’s bracket.
- Skip drywall-only anchors entirely; they will fail under a stone top.
If the wall is already finished, locate the studs and lag into every one you can reach. During a remodel, opening the wall to add blocking is quick and the correct way to do it.
Sink and Countertop Options
A 30-inch top gives you room for one sink and a bit of counter. Your choices shape the look:
- Undermount sink: clean, wipeable edge; needs a stone or solid-surface top.
- Vessel sink: a bowl on top of the counter — dramatic and easy to plumb, but it uses counter space.
- Integrated sink-and-top: a single molded piece (common in quartz or solid surface) for a seamless, easy-clean surface.
- Drop-in sink: the most forgiving and DIY-friendly option.
For counter material, quartz is the practical favorite — nonporous, no sealing, and durable. Because a 30-inch top uses little material, a stone remnant can make real quartz or granite affordable.
Choosing a Quality Cabinet
In a small bathroom the vanity is a focal point, so build quality shows. Prioritize a plywood or solid-wood carcass over particleboard, which swells in bathroom humidity. Check the drawer glides — soft-close, full-extension metal glides feel and last far better than cheap rollers, and full extension means you can reach the back of a 30-inch drawer. Confirm the finish is moisture-rated; a lacquer or thermofoil that peels at the edges after a year is a common failure on budget units.
- Plywood box: resists humidity far better than particleboard.
- Soft-close, full-extension drawers: quieter, longer-lasting, and fully accessible.
- Moisture-rated finish: avoids edge peeling and swelling over time.
- Included mounting hardware: a proper bracket or cleat rated for the cabinet’s loaded weight.
Spending a bit more on the cabinet pays off, because it’s the piece you see and touch every day and the one carrying all that weight on the wall.
Maximizing Storage in 30 Inches
Thirty inches is generous for a floating vanity but still finite, so lay out the interior deliberately. A door-and-drawer combo or a two-drawer front usually beats a single open cabinet for usable storage, especially when the drawers notch around the P-trap with a U-shaped cutout. That notch reclaims the space the plumbing would otherwise waste.
Add drawer organizers to corral small items, and use the open area beneath the floating cabinet for a basket of rolled towels or a step stool. Pairing the vanity with a wall-mounted mirror cabinet above the sink recovers the storage you sacrifice by going floating — a smart move in a tight bathroom where every cubic inch counts.
Setting the Right Height
One advantage of floating is choosing your counter height. Standard is 32 to 34 inches; comfort height of 34 to 36 inches suits taller users. If you choose a vessel sink, mount the cabinet lower so the bowl rim lands at a comfortable 34 to 38 inches. Mark a dead-level line at your chosen height before mounting — on a floating unit, any tilt is glaringly obvious.
Styles That Work in Small Baths
In a compact room, the finish carries the design. Popular directions for a 30-inch floating vanity:
- Light wood grain: warm, spa-like, and it keeps a small space feeling open.
- Glossy white or light gray: reflective and clean, visually expanding a tight room.
- Dark, moody finishes: navy or charcoal for a dramatic powder room where drama beats spaciousness.
- Two-drawer or door-and-drawer layouts: drawers around the plumbing maximize usable storage in a small cabinet.
Drawers that notch around the P-trap store far more than a single open cabinet, which matters when you only have 30 inches to work with.
Installation Steps
- Confirm blocking or studs are in place at mounting height.
- Mark a level reference line for the top of the cabinet.
- Lag-bolt the mounting bracket into the blocking or studs.
- Hang the cabinet, check level in both directions, and secure it.
- Connect supply lines and the P-trap, set the top and sink, and seal the back edge to the wall.
- Gently load-test before trusting the shelf and counter with weight.
A second person makes hanging the cabinet much easier and safer. The cabinet is awkward and heavy, and holding it level against the wall while driving screws is nearly impossible solo. Have your helper support the weight and check level while you fasten, then reverse roles to double-check before you load it.
Plumbing Considerations
Because a floating vanity exposes the area beneath the cabinet, plan the plumbing so it stays hidden and clean. The tidiest result routes supply lines and the drain through the back wall behind the cabinet, concealing everything — but that usually means opening the wall and, if you’re converting from a floor-standing vanity, relocating a floor drain up into the wall at the correct height and slope.
If in-wall plumbing isn’t practical, choose a cabinet design that boxes in the P-trap and keep the existing rough-in inside the cabinet body. Either way, confirm the plumbing fits your chosen drawer layout before you buy — nothing derails a 30-inch install like discovering the P-trap collides with a drawer box. When in doubt, a plumber can move the rough-in in an afternoon and save you a headache.
Cost and Final Word
A 30 inch floating vanity cabinet typically runs $250 to $900, with the top and sink adding $150 to $500. All in, expect roughly $450 to $1,500 for a complete, well-supported setup. Put your money into solid blocking and a durable quartz top, mount it dead level, and you’ll get a small bathroom that looks custom, cleans in seconds, and feels far more open than its square footage suggests.