The classic 3×6 subway tile has ruled kitchens for a century, but its longer cousin is quietly stealing the spotlight. 3×12 subway tile stretches the familiar rectangle into a sleeker, more contemporary proportion that makes walls feel taller and rooms feel calmer. Fewer grout lines, a more horizontal flow, and a fresh take on a timeless format make it a favorite for homeowners who want subway tile without the dated look. If you are tiling a backsplash, shower, or accent wall, this elongated format is worth a serious look.
Why the 3×12 Format Looks So Different
The magic is in the proportions. A 3×6 tile has a 2:1 ratio, while a 3×12 has a 4:1 ratio, and that stretch changes how the eye reads the wall. Long horizontal lines pull a room visually wider and a low backsplash visually longer, which is why designers love it in galley kitchens and compact bathrooms.
It also cuts the grout-line count roughly in half compared to the same area in 3×6, giving a cleaner, more modern surface that’s easier to wipe down. That single difference is why so many remodels are switching formats.
Best Layout Patterns
The format shines in several arrangements, each with a distinct mood.
- Straight stack: Tiles aligned in a perfect grid for a crisp, architectural, modern look.
- 50% offset (brick): The traditional running bond, softened and elongated by the longer tile.
- 33% or third offset: A subtler stagger that avoids the slight “smile” sag a 50% offset can show on long tiles.
- Vertical stack: Tiles run tall to raise ceiling height in a shower or behind a range.
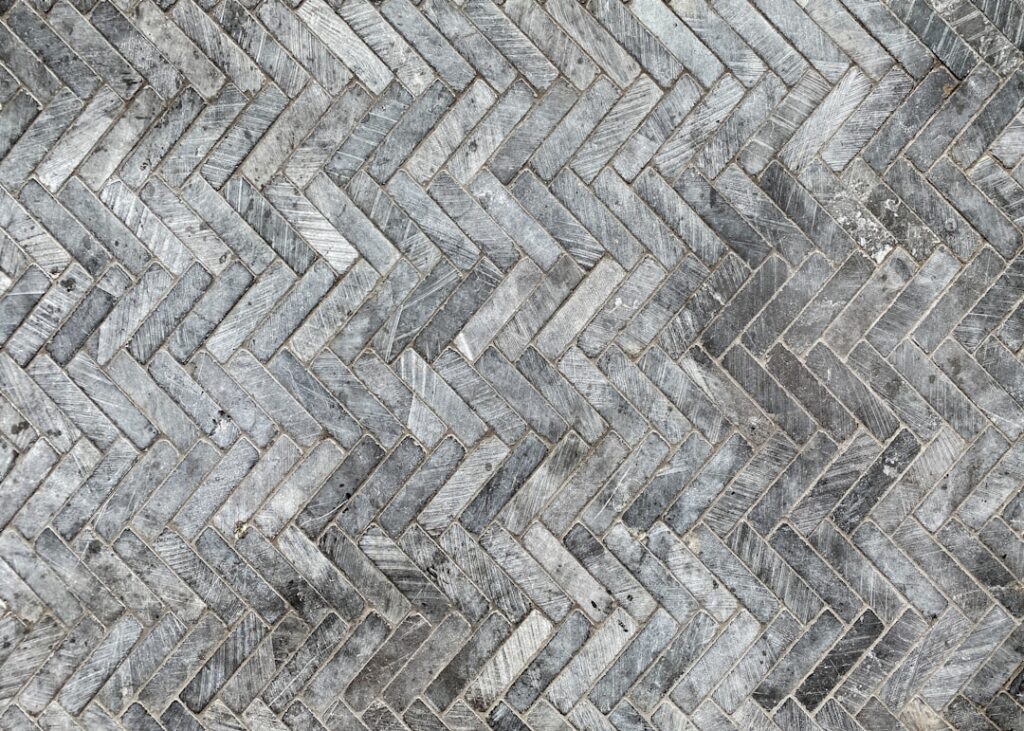
- Herringbone: Dramatic and high-impact, though it generates more cuts and waste.
A pro tip on offset: with tiles this long, a true 50% brick pattern can read as uneven because subtle warpage in the tile becomes visible at the centers. Many installers recommend a one-third offset to keep the lippage less noticeable.
Material Options
3×12 subway tile comes in ceramic, porcelain, and glass. Ceramic is the budget-friendly standard at roughly $2 to $7 per square foot and is perfect for backsplashes. Porcelain costs a bit more at $4 to $12 per square foot but is denser, less porous, and the better choice for shower walls and wet areas.
Glass tile brings a luminous, reflective quality for $10 to $30 per square foot, but it shows every imperfection in the substrate and demands a flawless install. Finishes range from glossy, which bounces light around, to matte, which hides water spots, to handmade-look glazes with subtle color variation.
Grout Color Strategy
Grout choice transforms the entire look. A matching white grout with white tile creates a seamless, expansive surface ideal for small rooms. A contrasting gray or charcoal grout highlights every tile and emphasizes the long horizontal lines, leaning industrial and modern.
For wet areas, use a quality polymer-modified or epoxy grout that resists mold and staining better than basic cement grout. Keep grout lines tight, around 1/16 to 1/8 inch, with this format; oversized joints fight the sleek look the long tile is meant to deliver.
What Installation Involves
Longer tiles are less forgiving than small squares because any unevenness in the wall telegraphs across the length of the tile. Start with a flat, clean substrate; on shower walls that means a proper cement board or foam backer, not drywall.
- Snap level layout lines and dry-lay a row to plan your cuts and offset.
- Use a quality thinset and back-butter each tile to fill voids under the long body.
- Set tile leveling clips or spacers to fight lippage at the joints.
- Cut clean edges with a wet saw; nippers chip these long edges.
- Let thinset cure 24 hours before grouting.
Budget around $7 to $15 per square foot for professional installation on top of material, with herringbone and intricate patterns running higher due to added labor and waste.
Where 3×12 Works Best
This tile is a natural fit behind a kitchen range, where the horizontal run frames the cooktop. It excels in small bathrooms run vertically to lift the ceiling, and it makes a striking full-height shower surround. It also works as a fireplace surround or a laundry-room accent wall.
It is less ideal on floors; subway-format wall tile is usually rated for walls only, so check the PEI rating before putting any tile underfoot. For floors, choose a porcelain plank rated for foot traffic instead.
Estimating How Much You Need
Ordering the right quantity keeps a project on budget and avoids dye-lot mismatches from a second order. Measure the wall area in square feet, then divide by the coverage of your chosen tile. A 3×12 tile covers 0.25 square feet, so 100 square feet of wall needs roughly 400 tiles before waste.
Always add extra for cuts and breakage. For a straight-set or simple offset layout, add 10 percent. For herringbone or diagonal patterns, add 15 to 20 percent because angled cuts generate more waste. Buy it all at once and confirm the boxes share the same dye lot, since color can shift subtly between production runs. Keep a few spare tiles after the job for future repairs, because matching a discontinued tile years later is nearly impossible.
Glossy vs. Matte: Choosing a Finish
Finish changes both the look and the upkeep. Glossy 3×12 tile reflects light, brightens dim kitchens, and makes small bathrooms feel larger, but it shows water spots and smudges more readily. Matte tile reads more contemporary and organic, hides fingerprints and hard-water marks, and feels less slick, though it can be slightly harder to wipe grease from behind a stove.
A common compromise is glossy on a backsplash, where reflected light is welcome and grease wipes off easily, and matte in a shower, where a softer, spa-like surface and reduced glare suit the space. Whichever you choose, view a sample in your room’s actual lighting before ordering the full quantity, because gloss levels look very different under warm bulbs versus daylight.
Care and Maintenance
Glazed ceramic and porcelain are nearly maintenance-free. Wipe backsplashes with a mild cleaner and the glaze sheds grease without absorbing it. The grout is the part that needs attention; seal cement grout after install and reseal every year or two in wet zones to prevent staining and mildew.
Glass tile cleans beautifully but scratches if you scrub with abrasive pads, so stick to a soft cloth and non-abrasive cleaner. With minimal upkeep, a 3×12 install holds its crisp modern look for decades.
Final Thoughts
3×12 subway tile gives you the timeless appeal of subway tile with a current, elongated proportion that feels fresh rather than dated. Choose porcelain for wet areas, plan your offset carefully to avoid lippage, pick a grout color that matches the mood you want, and insist on a flat substrate. Do those four things and you get a backsplash or shower wall that looks designer-grade and stays that way for years.
Prefer to explore on your own?
See how new flooring looks in your actual room in seconds — free, no signup.
Try the free Floor Studio →