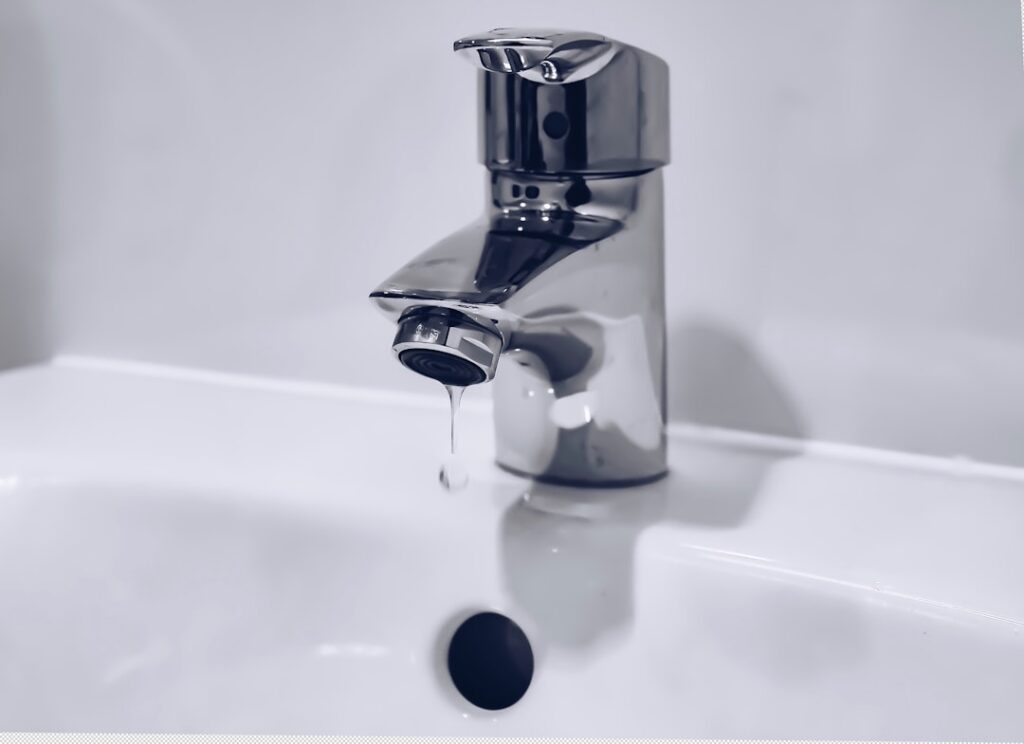
A dripping bathroom faucet wastes water, stains the sink, and grates on your nerves, but it’s usually one of the simplest plumbing fixes a homeowner can tackle. Most bathroom faucet repair jobs come down to replacing an inexpensive worn part like a cartridge, washer, or O-ring, and require only basic tools and about 30 minutes. This guide walks through identifying your faucet type, diagnosing the problem, the repair steps, tools, and costs.
- Common Faucet Problems
- Identify Your Faucet Type First
- Tools and Materials
- Step One: Shut Off the Water
- Step Two: Disassemble the Faucet
- Step Three: Replace the Worn Part
- Step Four: Reassemble and Test
- Fixing Low Water Flow
- What Repairs Cost
- When to Call a Plumber
- Dealing With Stuck or Corroded Parts
- Preventing Future Leaks
- Choosing Quality Replacement Parts
- Final Thoughts
Common Faucet Problems
Most faucet issues fall into a handful of recognizable symptoms, and each points to a likely cause:
- Dripping spout — worn cartridge, washer, or seat, the most common issue.
- Leak at the base of the handle — a failed O-ring or packing.
- Leak under the sink — loose supply-line connections or a bad valve seal.
- Low water flow — a clogged aerator or debris in the cartridge.
- Handle hard to turn — mineral buildup or a worn cartridge.
Identify Your Faucet Type First
Before buying parts, you must know which of the four faucet types you have, because the internal components differ:
- Cartridge faucet — a cartridge moves up and down and rotates; common in both single- and two-handle models. Fixed by replacing the cartridge.
- Compression faucet — the oldest type, with separate hot and cold handles you tighten to shut off; fixed with new rubber washers and seats.
- Ball faucet — a single handle over a rounded cap, common in kitchens but seen in baths; uses a repair kit of springs and seals.
- Ceramic disc faucet — a single lever over a wide cylinder; very durable, occasionally needs new seals.
Look up your faucet brand and model (often stamped under the handle) to order the exact replacement part.
Tools and Materials
Gather these before you start so you don’t stop mid-repair:
- An adjustable wrench and a set of Allen (hex) keys
- A flathead and Phillips screwdriver
- Needle-nose pliers
- Plumber’s grease and white vinegar for cleaning mineral deposits
- The correct replacement cartridge, washers, O-rings, or repair kit for your faucet
- A rag and a small container to catch water and hold small parts
Step One: Shut Off the Water
Every faucet repair begins the same way. Close the shutoff valves under the sink by turning them clockwise, then open the faucet to relieve pressure and confirm the water is off. If there are no under-sink shutoffs, close the home’s main valve. Plug or cover the drain so small screws and springs don’t disappear down it, a mistake that turns a quick fix into a frustrating hunt.
Step Two: Disassemble the Faucet
Remove the decorative cap on the handle to expose the set screw, then loosen it and lift the handle off. Beneath it you’ll find a retaining nut or clip holding the cartridge or stem. Note the orientation of each part as you remove it, laying pieces out in order so reassembly is straightforward. Take a photo with your phone before pulling the cartridge; it’s the easiest way to get everything back in the right position and alignment.
Step Three: Replace the Worn Part
With the faucet open, address the specific failure:
- For a dripping cartridge faucet — pull the old cartridge straight out and insert an identical new one, matching the alignment tabs.
- For a compression faucet — unscrew the stem, replace the rubber seat washer at the bottom and the O-ring, and inspect the valve seat for wear.
- For a ball or disc faucet — install the springs, seals, and O-rings from the brand’s repair kit.
- For handle-base leaks — replace the O-rings and apply a light coat of plumber’s grease before reassembly.
Clean any mineral buildup on the parts with vinegar before reassembling.
Step Four: Reassemble and Test
Reverse the disassembly steps, seating the cartridge or stem, replacing the retaining nut, and reattaching the handle and cap. Turn the water back on slowly and check for leaks at the spout, handle base, and under the sink. Run both hot and cold, and cycle the handle through its range to confirm smooth operation. If the drip persists, the valve seat may be scored, or you may have installed the wrong cartridge, so double-check the part number.
Fixing Low Water Flow
If the faucet works but flow is weak, the culprit is usually the aerator, the small screen at the spout tip. Unscrew it by hand or with pliers wrapped in a rag to avoid scratching, then rinse out debris and soak it in vinegar to dissolve mineral scale. Reassemble the aerator’s screens in the same order and screw it back on. This five-minute fix restores flow in most cases without touching the internal valve.
What Repairs Cost
DIY faucet repair is remarkably cheap:
- Replacement cartridge — $10 to $30.
- Washer or O-ring kit — $3 to $10.
- Ball or disc repair kit — $8 to $20.
- Plumber for the same job — $100 to $250 in labor.
Doing it yourself typically costs under $30 and half an hour, making it one of the highest-value DIY plumbing repairs. If the faucet body itself is cracked or corroded, replacing the whole faucet ($50 to $300) may make more sense than repeated repairs.
When to Call a Plumber
Most faucet repairs are DIY-friendly, but call a professional if you find a cracked faucet body, a damaged valve seat you can’t resurface, corroded supply lines, or a leak inside the wall. If you’ve replaced the obvious parts and the leak continues, a plumber can diagnose less common issues without further trial and error.
Dealing With Stuck or Corroded Parts
Not every repair goes smoothly; older faucets often fight back with parts seized by mineral scale and corrosion. If a cartridge won’t budge, a cartridge-puller tool made for your brand grips and extracts it without damaging the faucet body. Soaking stubborn parts in white vinegar dissolves the calcium bonding them in place, and gentle heat from a hair dryer can help release a stuck retaining nut. Resist the urge to force things with excessive torque, which can crack a brass body or snap a stem, turning a simple repair into a full replacement. Penetrating oil on threaded connections and patience usually win. If a valve seat is deeply pitted, a seat wrench lets you remove and replace it, or a seat-dressing tool can grind it smooth so a new washer will seal.
Preventing Future Leaks
A little prevention keeps repairs rare. The leading cause of faucet wear is hard water, whose minerals abrade seals and crust up moving parts. If your home has hard water, a water softener extends the life of every faucet, valve, and appliance in the house. Beyond that, avoid over-tightening handles, which crushes washers and seats prematurely; a faucet should shut off with gentle pressure. Clean aerators a couple of times a year to keep flow strong and prevent debris from reaching the cartridge. When you do a repair, apply a thin film of plumber’s grease to O-rings and moving parts so they slide smoothly and seal well, and keep a spare cartridge for your faucet model on hand so the next drip is a five-minute fix rather than a trip to the store.
Choosing Quality Replacement Parts
The part you install determines how long the repair lasts, so resist grabbing a generic look-alike. Faucet manufacturers engineer their cartridges and seals to precise tolerances, and an off-brand substitute that’s slightly off will leak or wear out fast. Identify your faucet’s make and model, often found on the original paperwork, the underside of the spout, or by matching the old cartridge to a reference chart, and buy the manufacturer’s exact replacement. Many major brands like Moen, Delta, and Kohler offer lifetime warranties on their cartridges and will send replacement parts free if you contact them, so it’s worth checking before you pay. Using the correct, genuine part turns a repair that might fail again in months into one that lasts for years.
Final Thoughts
Bathroom faucet repair is one of the most approachable home fixes, and it saves both water and the cost of a service call. The keys are to correctly identify your faucet type, shut off the water and plug the drain, and replace the specific worn part, usually a cartridge, washer, or O-ring, with the exact match for your model. Take a photo before disassembly, clean mineral buildup as you go, and test thoroughly for leaks afterward. For the price of a small part and half an hour of your time, you can silence that maddening drip and restore a faucet to like-new operation, no plumber required.