A new vanity can transform a tired bathroom in a single weekend, but the difference between a professional-looking result and a wobbly, leaking headache comes down to a handful of details most first-timers overlook. A successful bathroom vanity installation hinges on getting the cabinet dead level, connecting the plumbing without leaks, and anchoring everything solidly to the wall. This guide walks you through the entire process, from measuring and prep through the final caulk bead, along with realistic costs and the mistakes that trip people up.
- Planning and Measuring Before You Buy
- Tools and Materials You'll Need
- Removing the Old Vanity
- Setting and Leveling the New Vanity
- Installing the Countertop and Sink
- Connecting the Plumbing
- What Bathroom Vanity Installation Costs
- Final Touches and Common Mistakes
- Wall-Mounted vs. Freestanding Vanities
- Frequently Asked Questions
Planning and Measuring Before You Buy
The most expensive vanity mistake happens before you ever pick up a tool: buying a cabinet that doesn’t fit. Measure the available width, depth, and height of the space, and note the location of your existing water supply lines and drain. Standard vanity heights run 32 to 36 inches, with 36 inches (comfort height) now the most popular for adults.
Check the drain rough-in height, typically 18 to 20 inches off the finished floor, and the supply line heights. If your new vanity has a different footprint than the old one, you may need to relocate or extend plumbing, which turns a DIY afternoon into a bigger project. Also confirm your door swing and drawer clearance so the vanity doesn’t block the bathroom door or a nearby toilet.
Tools and Materials You’ll Need
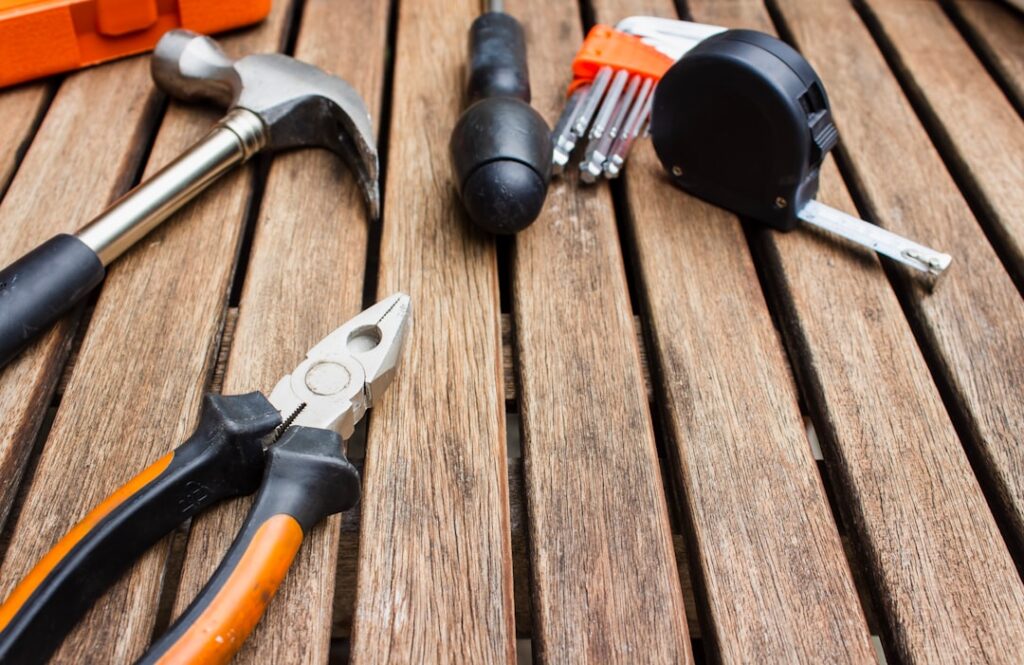
- Stud finder, level (2-foot and torpedo), tape measure, pencil
- Drill/driver, wood screws (3-inch), and shims
- Adjustable wrench, channel-lock pliers, and a basin wrench
- Plumber’s putty or silicone, Teflon tape, and 100% silicone caulk
- Jigsaw or hole saw if you need to cut the cabinet back for plumbing
- New P-trap, supply lines, faucet, and drain assembly
Buying new supply lines, a new P-trap, and a fresh faucet at the same time is smart. Old parts are the most common source of post-installation leaks, and they cost far less than the water damage a failed connection causes.
Removing the Old Vanity
Start by shutting off the water at the supply valves under the sink, or at the main if the local valves are seized. Turn on the faucet to relieve pressure, then disconnect the supply lines and the P-trap, keeping a bucket and towel handy for trapped water.
Cut the caulk line where the countertop meets the wall with a utility knife, then locate and remove the screws anchoring the cabinet to the wall studs. Pull the vanity straight out. If the old countertop is glued on, gently pry it free. Take this opportunity to inspect the wall and floor for any hidden water damage or mold, and repair it before the new cabinet goes in.
Setting and Leveling the New Vanity
This is the make-or-break step. Slide the new cabinet into position and check it with your level in every direction, front to back and side to side. Floors and walls are almost never perfectly plumb, so you’ll need shims.
- Set the vanity in place and set your level on top.
- Tap shims under the base until the cabinet is level in all directions.
- If there’s a gap behind the cabinet at the wall, shim there too so it doesn’t rock when you tighten the screws.
- Mark the wall studs behind the mounting rail, then drive 3-inch screws through the cabinet’s back rail into the studs.
- Score and snap off any protruding shims flush with the cabinet.
A vanity that isn’t level will haunt you: water pools on the countertop, drawers drift open, and the sink may not drain properly. Spend the extra ten minutes to get it right.
Installing the Countertop and Sink
If your vanity has a separate top, dry-fit it first. For a drop-in or undermount sink, install the faucet and drain assembly onto the countertop before setting it on the cabinet, since it’s far easier to work on the top when you can reach both sides.
Apply a bead of silicone adhesive along the top edges of the cabinet, then lower the countertop into place and press it down. Run a bead of 100% silicone caulk where the backsplash meets the wall. Silicone, not acrylic caulk, is essential here because it stays flexible and waterproof in a wet environment.
Connecting the Plumbing
With the top set, it’s time to make the connections that keep everything leak-free.
Water Supply
Wrap the faucet’s supply threads with Teflon tape and hand-tighten the flexible supply lines, then give them a quarter turn with a wrench. Don’t overtighten; crushing the washer causes leaks rather than preventing them.
Drain and P-Trap
Assemble the P-trap so the trap arm slopes slightly toward the drain. Hand-tighten the slip nuts, then snug them with pliers. The P-trap holds a water seal that blocks sewer gas, so proper assembly matters for more than just leaks.
Test Everything
Turn the water back on slowly and inspect every joint. Fill the basin and release it to test the drain under full flow, then run your hand along each connection to feel for the slightest moisture. Tighten only where needed.
What Bathroom Vanity Installation Costs
Doing the job yourself, your only cost beyond the vanity is materials, roughly $30 to $100 for new supply lines, a P-trap, caulk, and shims. Hiring a professional to install a vanity typically runs $200 to $600 in labor, depending on complexity, with plumbing modifications pushing that higher. The vanity itself ranges from $200 for a basic single-sink unit to $2,500 or more for a double-sink cabinet with a stone top.
If your project requires moving plumbing lines, opening walls, or upgrading old shutoff valves, budgeting for a plumber is wise. A leak inside a wall costs far more to fix than the labor you’d save.
Final Touches and Common Mistakes
Once everything is connected and leak-free, run a clean bead of silicone caulk around the base where the vanity meets the floor and along the countertop-to-wall seam. Wipe it smooth with a wet finger for a professional finish.
- Skipping the level check: The single most common regret. Always shim.
- Reusing old parts: Old supply lines and P-traps leak; replace them.
- Using acrylic caulk in wet areas: Only 100% silicone belongs around a sink.
- Overtightening connections: Snug is enough; force cracks fittings.
Take your time with the measuring and leveling, invest in fresh plumbing components, and test for leaks before you call it done. Follow those principles and your bathroom vanity installation will look sharp and stay dry for years to come.
Wall-Mounted vs. Freestanding Vanities
The installation approach differs depending on your vanity style. Freestanding vanities rest on the floor and screw to the wall studs at the back rail, which is the most common and forgiving type for DIYers. Floating or wall-mounted vanities hang entirely from the wall with no floor contact, giving a modern look and easy floor cleaning underneath, but they demand extra care.
A wall-mounted vanity puts all its weight, plus the weight of the countertop, sink, and everything stored inside, onto the wall framing. That means you must anchor it into solid studs or, better, into blocking installed between studs. Never rely on drywall anchors alone for a floating vanity. If your wall lacks blocking at the right height, open the drywall and add a horizontal 2x brace before mounting. Getting this right is the difference between a sleek floating vanity and one that pulls off the wall.
Frequently Asked Questions
How long does it take to install a bathroom vanity?
A straightforward like-for-like vanity swap takes a confident DIYer about 3 to 5 hours, including removing the old unit, setting and leveling the new one, and connecting the plumbing. Add time if you’re relocating plumbing, tiling behind the vanity, or dealing with an awkward space. A professional typically completes a standard install in half a day.
Do I need a plumber to install a vanity?
Not necessarily. If the new vanity uses the existing water and drain locations, a handy homeowner can handle the connections with basic tools. Call a plumber if you need to move supply lines or the drain, if your shutoff valves are old and seized, or if local code requires licensed work. Moving plumbing inside a wall is where most DIYers should bring in a pro.
What kind of caulk should I use around a bathroom vanity?
Use 100% silicone caulk, not acrylic latex, anywhere the vanity meets a wet surface. Silicone stays flexible and fully waterproof, while acrylic caulk can shrink, crack, and let water through over time. Run a bead where the countertop meets the wall and where the vanity base meets the floor.
Should a bathroom vanity be attached to the wall?
Yes. Even a freestanding vanity should be screwed to the wall studs through its back rail to prevent tipping and rocking. This also keeps the unit from shifting when you lean on the counter or the plumbing connections flex. Skipping this step is a common cause of loose, wobbly vanities.