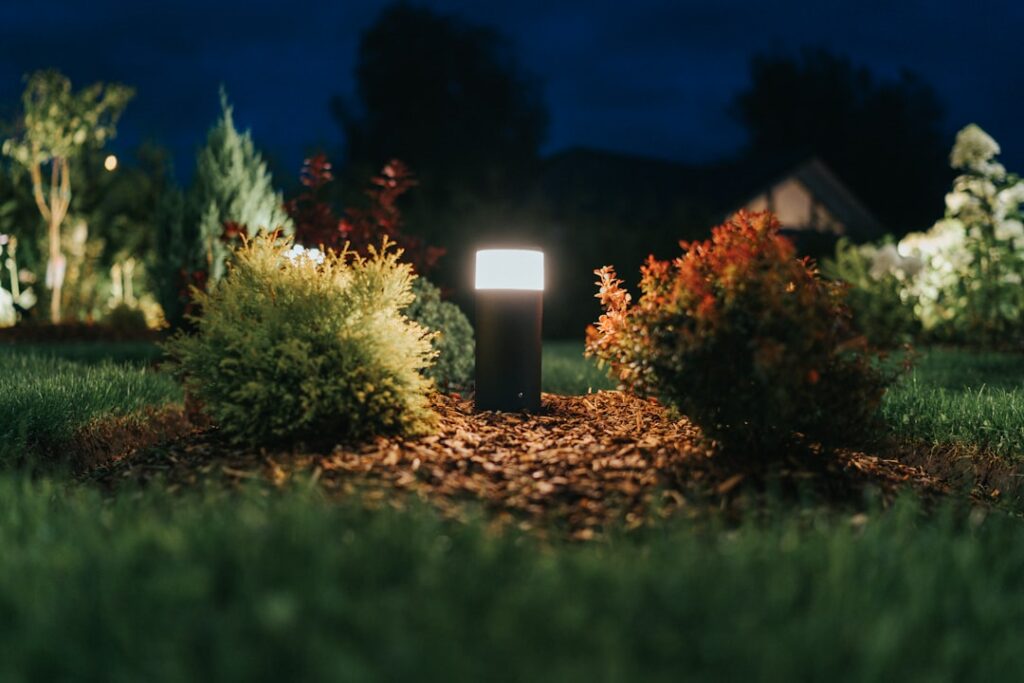
A good landscape lighting system does two jobs at once: it makes your home safer to walk up to at night and it turns an ordinary yard into something that looks intentional after dark. Choosing the best low voltage landscape lighting is less about buying the fanciest fixtures and more about matching a properly sized transformer, the right wire gauge, and fixtures with real brass or copper housings so the system still works ten years from now. Low-voltage means 12 volts, stepped down from household 120-volt power by a transformer, which makes it safe to install yourself and safe to have running through beds where kids and pets play.
- Why 12-Volt Systems Are the Standard
- Sizing the Transformer
- Wire Gauge and Voltage Drop
- LED vs. Halogen
- Fixture Types and Where to Use Them
- Lumens and Color Temperature
- Connectors, Timers, and Controls
- Costs and Recommended Brands
- Putting the System Together
- Design Techniques That Separate Good From Great
- Installation and Maintenance Tips
Why 12-Volt Systems Are the Standard
Nearly all residential landscape lighting runs at 12 volts for good reason. A transformer plugged into a standard GFCI outlet drops the incoming 120 volts down to a safe 12 to 15 volts, so a nicked cable buried in a flower bed will not shock anyone or start a fire. You do not need a licensed electrician or a permit for the low-voltage side in most areas, and you can bury the cable just 6 inches deep instead of the 18 inches a line-voltage system requires. That combination of safety and DIY-friendliness is why 12-volt has beaten out 120-volt for path and accent lighting in home yards.
Sizing the Transformer
The transformer is the heart of the system, and undersizing it is the most common mistake I see. Add up the wattage of every fixture you plan to run, then multiply by 1.25 to leave 25 percent headroom for future additions and to avoid running the unit at its absolute limit.
- Ten 4-watt LED fixtures draw 40 watts. Multiply by 1.25 and you want at least a 50-watt transformer, so a common 100-watt unit gives you plenty of room to grow.
- Most homeowners land on a 100 to 300-watt transformer. A 300-watt unit comfortably runs 40 to 60 LED fixtures.
- Buy a transformer with a built-in timer or photocell and multiple voltage taps (12V, 13V, 14V, 15V) so you can compensate for voltage drop on long runs.
Because LEDs sip power, you rarely need the giant transformers that halogen systems once demanded. A 300-watt LED system throws as much light as a 1,000-watt halogen system did, at a fraction of the running cost.
Wire Gauge and Voltage Drop
Skimping on wire is the second big mistake. As current travels down the cable, voltage drops, and a fixture 100 feet from the transformer can receive noticeably less than 12 volts, which dims LEDs and shortens the life of halogens. Thicker wire has less resistance and less drop.
- 12/2 cable works well for shorter runs, roughly up to 100 feet with a modest load.
- 10/2 cable is the better choice for long runs over 100 feet or when you are carrying a heavy load, because its lower resistance holds voltage up.
- For long systems, run a hub layout rather than a single daisy chain. Instead of stringing every fixture on one cable, run heavier wire out to a central hub and split shorter, equal-length spurs to groups of fixtures. This keeps voltage even so the last light is as bright as the first.
A quick rule: keep the voltage at any fixture between 10.5 and 12 volts. If a meter reads under 10.5 at the far end, move that fixture to a higher voltage tap or upgrade the wire to 10-gauge.
LED vs. Halogen
For any new install, choose LED. The math is one-sided. A 4-watt LED replaces a 20-watt halogen at similar brightness, so an LED system draws roughly one-fifth the power. LEDs last 40,000 to 50,000 hours versus about 2,000 to 4,000 hours for halogen bulbs, which means you climb into the beds to change bulbs far less often. Halogen still shows up in bargain kits, but the lower purchase price is erased within a couple of seasons by higher electric bills and constant bulb replacement.
Fixture Types and Where to Use Them
Different jobs call for different fixtures. A well-designed yard uses three or four types, not one.
Path Lights
Mushroom or pagoda-style fixtures 18 to 24 inches tall that cast a soft pool of light downward onto walkways and bed edges. Aim for 100 to 200 lumens each and space them 6 to 8 feet apart. Resist the urge to line a path like a runway; stagger them so the pools of light overlap gently.
Spotlights and Well Lights
Directional fixtures used to uplight trees, wash a stone facade, or graze a textured wall. Spotlights sit above ground on a stake; well lights are recessed flush into the ground for a hidden source. Look for 120 to 300 lumens and an adjustable head so you can dial in the beam.
Flood Lights
Wider beam angle than a spot, used to light a broad area like a large tree canopy, a garage wall, or a seating area. Higher lumen output, often 300 lumens and up.
Lumens and Color Temperature
Buy by lumens, not watts, since LED wattage no longer predicts brightness. As a starting point, use 100 to 200 lumens for path lights, 120 to 300 lumens for spotlights and accents, and step up for large trees or facades.
Color temperature matters just as much as brightness for the mood. A warm 2700K puts out an inviting amber-white light that flatters brick, wood, and plantings and reads as cozy. Cooler 3000K to 4000K looks crisp and modern and suits contemporary hardscape and blue-toned stone, but push much past 4000K and the yard starts to feel like a parking lot. Keep every fixture in a given area at the same color temperature so the scene reads as one cohesive picture.
Connectors, Timers, and Controls
The connections are where cheap systems fail. Water works into a poor splice, corrodes the copper, and the fixture goes dark. Use waterproof, gel-filled or silicone-filled connectors rather than the pierce-point clamps that come in budget kits, because those pinch connectors invite corrosion within a year or two.
For control, most quality transformers include a timer, a photocell, or both. A photocell turns the lights on at dusk automatically; a timer runs them for a set number of hours, say dusk plus five hours, then shuts them off overnight. The best setups combine the two: on at dusk, off at 11 p.m. Smart transformers add app and voice control if you want it, though a simple astronomic timer that tracks sunset all year is plenty for most homes.
Costs and Recommended Brands
Budget by the fixture plus the supporting hardware. Individual fixtures run $30 to $150 each depending on housing material and quality.
- Cast brass or copper fixtures ($60 to $150 each) develop a living patina and last decades, which is why they carry lifetime warranties. These are the ones to buy for permanent installs.
- Aluminum and composite fixtures ($30 to $60 each) cost less up front but corrode and fade faster in wet or coastal climates.
- A quality 300-watt transformer runs $150 to $400.
- Cable runs about $0.75 to $1.50 per foot for 12-gauge and more for 10-gauge.
For a professional-grade DIY system, Volt, Kichler, and Hinkley are the names worth paying for; all three make solid brass fixtures with real warranties and consistent color temperature. A typical 10 to 15-fixture front-yard system in brass, with a good transformer and proper wire, lands around $1,000 to $2,500 in parts, and it will outlast several rounds of the discount plastic kits. Spend on the transformer, the wire, and the connectors, and you will end up with the best low voltage landscape lighting your yard can hold.
Putting the System Together
Plan the layout on paper first, mark fixture locations with the units sitting on the ground, and run them for an evening before you bury anything. Mount the transformer on an exterior wall near a GFCI outlet, at least 12 inches above grade. Lay the cable in shallow trenches, connect fixtures with waterproof connectors, and check the voltage at the far fixtures with a multimeter before backfilling. Get those fundamentals right and the fixtures almost take care of themselves.
Design Techniques That Separate Good From Great
Hardware gets you a working system; technique gets you a system that looks professional. A few principles do most of the work:
- Uplight vertical features, downlight horizontal ones. Wash tree trunks and stone walls from below with spotlights, and light paths and steps from above so the fixture itself stays hidden.
- Hide the source. The goal is to see the effect, not the fixture. Tuck spotlights behind plantings and set well lights flush with grade so the eye reads glowing bark instead of a hot bulb.
- Layer three types. Combine path lights for safety, uplights for drama, and a soft wash on the house facade so the scene has foreground, middle, and background rather than a flat row of dots.
- Light for contrast, not daylight. Leave some areas dark. A yard lit evenly everywhere looks like a car lot; pools of light against shadow look intentional and calm.
Installation and Maintenance Tips
A few habits keep the system reliable for years. Leave a small service loop of extra cable coiled at each fixture so you can reposition it later without splicing. Bury the main cable 6 inches deep along bed edges where a shovel is least likely to find it, and photograph the runs before backfilling so you know where the wire lives. Once a season, wipe the lenses, trim any plants that have grown to block a beam, and recheck the far-end voltage. LED fixtures rarely need bulb changes, but connectors and stakes loosen over time, so a ten-minute annual walkthrough with a screwdriver and a rag keeps the best low voltage landscape lighting looking crisp long after the install.