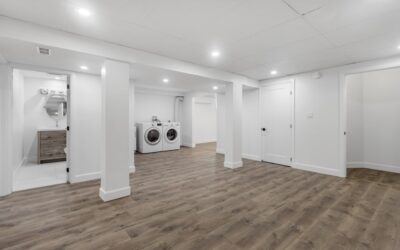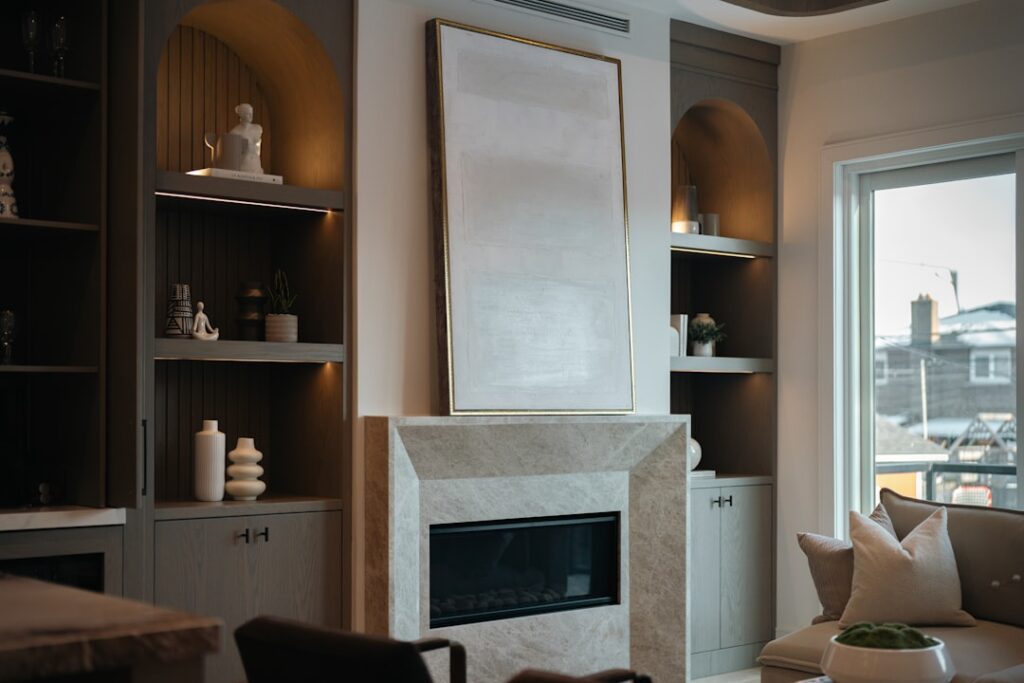
A plain white room and a custom-built library can use the same paint, flooring, and furniture and still feel like different houses. The detail that separates them most often hides where the wall meets the ceiling. Ceiling moulding does more to establish architectural character than almost any other finish you can add after the drywall goes up. It also costs less than you probably think. A 100-foot living room and dining room combined can get a clean 5-inch crown profile for under $400 in materials and a weekend of labor, turning a builder-grade box into a room that feels designed.
What Ceiling Moulding Actually Does
Beyond pure aesthetics, ceiling moulding serves three practical purposes. It hides the imperfect joint between drywall ceilings and walls, which is rarely perfectly straight. It adds shadow lines that make ceilings appear taller. And it creates a visual stop that frames a room, which is why simple crown makes furniture and art feel more intentional in a space.
Older homes used thick plaster crowns by necessity. Modern construction skips them for cost, but the visual loss is real. Adding crown to a flat-taped ceiling is the single highest-impact millwork upgrade you can make.
Main Types of Ceiling Moulding
- Crown moulding: Sprung between wall and ceiling at an angle, the most common profile
- Cove moulding: Concave curve, simpler than crown, often used as a secondary trim
- Dentil moulding: Block pattern under a larger crown, classical style
- Egg-and-dart: Ornate decorative band, typically built up with multiple profiles
- Coffered beams: Grid pattern of beams creating recessed ceiling panels
- Picture rail: Sits 12 to 18 inches below the ceiling, not technically ceiling moulding but related
- Bed moulding: Flat against the wall below a crown, part of a built-up cornice
Crown is the default choice for most homes. Cove works better in modern or transitional spaces where crown would feel too traditional.
Material Options
Paint-grade MDF crown is the most common choice for residential work, running $1.50 to $3.50 per linear foot at a home center. MDF takes paint beautifully, cuts cleanly, and resists warping, which matters on long walls. Its downside is water sensitivity, so avoid it in bathrooms or basements with humidity issues.
Solid pine moulding costs $2.50 to $5 per foot and is preferred for stained finishes. Poplar is a step up at $4 to $7 per foot, with tighter grain and better paint holding than pine. Finger-jointed pine is the cheapest solid option at $1.50 to $3 per foot, suitable for paint only since the joints show through stain.
Polyurethane and foam mouldings from brands like Focal Point or Orac Decor run $4 to $12 per foot. These are lightweight, install with adhesive rather than nails, and resist humidity. Great for curved walls or humid rooms, though profiles can feel softer and less crisp than wood.
Profile Sizes by Room Height
Proportion matters more than style. The standard rule is roughly 1 inch of crown height for every foot of ceiling height.
- 8-foot ceilings: 3 to 5 inch crown
- 9-foot ceilings: 5 to 7 inch crown
- 10-foot ceilings: 7 to 9 inch crown
- 12-foot ceilings: 9 to 12 inch crown plus secondary profiles
Undersized crown on tall ceilings looks accidental. Oversized crown in a standard-height bedroom feels overwhelming. When in doubt, go slightly larger rather than smaller, especially in rooms with large furniture.
Tools You Need
- Miter saw, ideally a 12-inch compound or sliding miter at $300 to $500
- Coping saw, $15, for copes on inside corners
- 18-gauge brad nailer and compressor, $150 combined
- Stud finder
- Tape measure and pencil
- Caulk gun and paintable caulk
- Wood filler and sandpaper
- Safety glasses and hearing protection
Renting a miter saw for $40 a day makes sense if you only plan one room. For whole-house work, buying pays back immediately.
Installation Basics
Measure each wall and cut lengths with a 2-inch margin for trim cuts. Inside corners get coped joints, where one piece is cut at 45 degrees and then the profile is carved out with a coping saw so it fits against the face of the adjoining piece. Coped joints stay tight when walls shift or shrink, which miters rarely do.
Outside corners use 45-degree miters. Spread a thin layer of glue on the mating surface for a tight long-term bond. Nail through both pieces into the corner with 1 1/2 inch brads to keep the joint from opening.
Nail the moulding into both the wall top plate and the ceiling joists. Use a stud finder first, and mark nailing locations before you start. For crown installed upside-down on an angle, two nails per nailing point (one into the top plate, one into the ceiling joist) keep the profile seated tight.
Cutting Crown the Nested Way
The easiest technique for most DIYers is to nest the crown in the saw upside-down and backwards, with the ceiling-side flat against the fence and the wall-side flat against the saw table. This lets you make straight-up 45-degree miters for inside and outside corners without wrestling with compound angles.
For large crowns over 5 inches or compound miter saws, learn to lay the crown flat and use the compound miter settings. For 38-degree spring angle crown, the standard setting is a miter of 31.6 degrees and a bevel of 33.9 degrees. Most modern miter saws have detents at these angles.
Finishing for a Seamless Look
Fill nail holes with paintable latex wood filler, then sand smooth once dry. Caulk the top edge against the ceiling and the bottom edge against the wall with a paintable acrylic latex caulk like DAP Alex Plus. Run a bead, then smooth with a wet fingertip or a caulk tool.
Prime any raw MDF edges before painting, since bare MDF drinks primer and paints unevenly without it. Two coats of a quality semi-gloss trim paint like Benjamin Moore Advance or Sherwin-Williams Emerald Urethane Trim Enamel look crisp for 10 years or more.
Budget and Timeline
A 12×15 foot bedroom with simple 5-inch crown needs about 55 feet of moulding plus 10 percent waste. Total material cost: roughly $180 in MDF, $30 in fasteners and supplies, and $40 for paint and caulk. Labor runs four to six hours for an experienced DIYer, double that for a first-time installer.
Hired out, the same job costs $8 to $15 per linear foot installed and finished, or roughly $700 to $1,000 for that bedroom. Ceiling moulding is one of the few remodeling upgrades where the DIY savings are genuinely worth the learning curve. A single weekend room teaches you enough to handle the rest of the house with confidence.