Ask three installers whether plank direction should ever change between rooms and you will get three opinions, which tells you it is a design call, not a rule. Changing direction of wood flooring between rooms is perfectly acceptable and sometimes the smartest choice, as long as you handle the transition at the doorway correctly. The seam between two directions needs a proper break, usually a T-molding, so it reads as intentional. This practical guide covers when to change direction, when to keep it continuous, and exactly how to manage the transition so your floor looks deliberate rather than disjointed.
- Is It Okay to Change Direction at All?
- Good Reasons to Change Direction
- The T-Molding Transition
- When to Keep It Continuous Instead
- Choosing a Direction When You Do Continue
- Matching Molding to Your Floor
- Other Transition Options Besides T-Molding
- Planning the Layout Before You Install
- Common Mistakes to Avoid
- Making the Right Call for Your Home
Is It Okay to Change Direction at All?
Yes, and it is more common than people assume. Older homes did it constantly, running boards in different directions in each room because floors were installed room by room. Today it is still a valid choice driven by structure, layout, or design. The key is that a direction change should happen at a natural break, a doorway or threshold, not out in the open middle of a continuous space. Handled at the right spot with the right transition, changing direction looks completely intentional.
Good Reasons to Change Direction
There are several legitimate motivations, some structural and some purely aesthetic. Any one of these can justify a direction change between rooms.
- Joist direction: Solid wood ideally runs perpendicular to the floor joists for stability. If two rooms have joists running different ways, changing plank direction keeps each installation sound.
- Room shape: Running planks the long way in each room makes narrow spaces feel longer and more graceful.
- Defining spaces: A direction change can subtly separate a dining area from a living area in an open plan.
- Existing floors: When matching into an old floor, a change at the doorway avoids an awkward partial-width row.
The T-Molding Transition
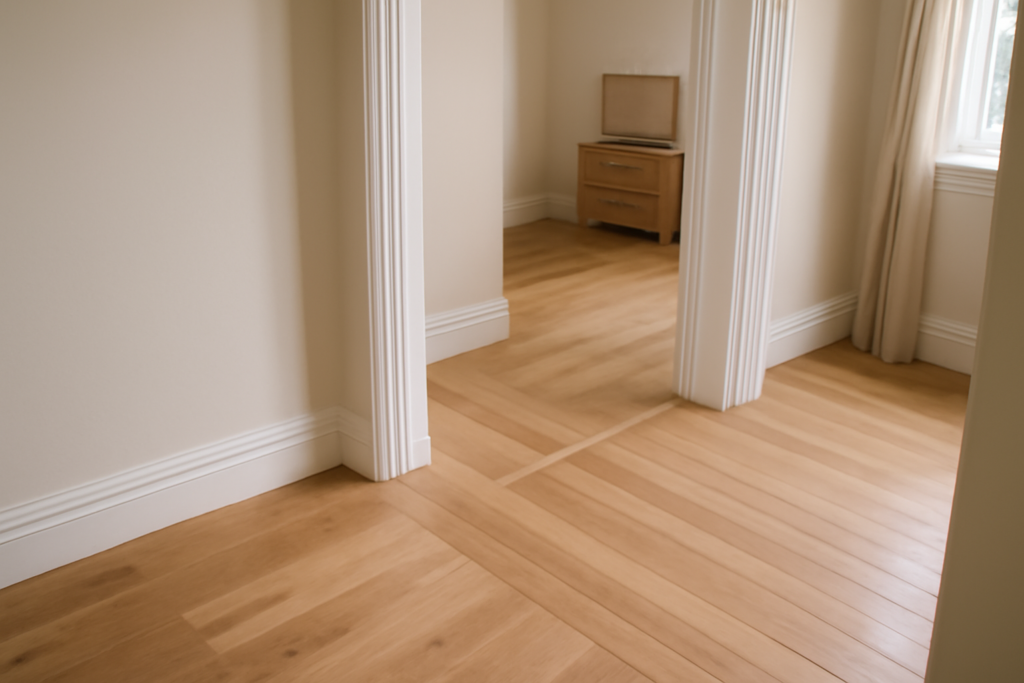
When planks meet at different angles in a doorway, they need a clean break, and a T-molding is the standard solution. Shaped like a T in cross-section, it sits in the gap between the two rooms with its cap bridging both floors. The molding hides the differing plank ends, gives each floor room to expand and contract independently, and creates a crisp visual line that signals the change was on purpose. In a standard doorway, a T-molding is almost always the right tool for a direction change.
Why not just butt them together?
Butting two directions directly against each other looks unfinished and, more importantly, removes the expansion space each floor needs. Wood moves with humidity, and two runs pushing against each other with no gap can buckle. The T-molding solves both the visual and the mechanical problem at once.
When to Keep It Continuous Instead
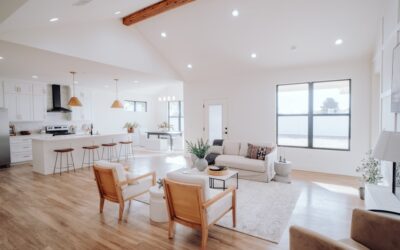
Changing direction is not always the better call, and continuity has real advantages. In many modern open-concept homes, running the same direction throughout makes the space feel larger, more seamless, and more current. Keep the floor continuous when:
- Rooms flow into one another without a clear doorway or wall break, where a mid-space direction change would look random.
- You want maximum spaciousness, since one continuous direction stretches sightlines across the whole floor.
- You prefer no transition strips, giving a clean, uninterrupted plane.
The general design instinct in open floor plans is to run planks in one direction, usually toward the main light source or the longest sightline, and let the floor unify the space.
Choosing a Direction When You Do Continue
If you keep the floor continuous, the direction still matters. The most common guidance is to run planks parallel to the longest wall or in line with the primary source of natural light from the main entry, which lengthens the space and looks natural as you walk in. Consistency across the open area matters more than the exact direction, so pick one logical orientation and carry it through every connected room.
Matching Molding to Your Floor
When you do use a transition, make it disappear into the design. Choose a T-molding in a species and stain that matches your flooring, and many manufacturers sell coordinating moldings for exactly this purpose. A well-matched molding reads as a subtle seam rather than a foreign strip. Set it centered under the closed door position so it looks tidy whether the door is open or shut, and it will frame the direction change cleanly.
Other Transition Options Besides T-Molding
While a T-molding is the standard for a direction change at a doorway, it is not the only tool. The best choice depends on the height relationship and the look you want:
- T-molding: For two wood floors of equal height, the default for a direction change.
- Reducer strip: When the adjoining floor is lower, such as meeting tile or vinyl, a reducer ramps the height difference safely.
- Threshold or saddle: A flat wood strip in a doorway that provides a clean visual break between rooms.
- Feature strip or border: An inlaid contrasting board that frames the transition as a deliberate design element.
Center whichever piece you choose under the door in its closed position so the seam looks tidy from both rooms.
Planning the Layout Before You Install
The time to decide about direction changes is during planning, not mid-install. Sketch your floor plan and mark where walls, doorways, and joists fall, then decide at each doorway whether the plank direction should carry through or turn. Note where transition pieces will land so you can order matching moldings with your flooring rather than hunting for them later. If you are working around an existing floor, plan how the new direction meets the old at the threshold. A little layout planning up front prevents the awkward partial rows and mismatched seams that make a direction change look accidental instead of intentional.
Common Mistakes to Avoid
A few predictable errors turn a direction change from a design feature into an eyesore. Steer clear of these:
- Changing direction mid-room with no doorway or wall to justify the switch, which looks accidental.
- Butting two directions together without a transition, removing the expansion space and inviting buckling.
- Using a mismatched molding in the wrong species or stain that draws the eye to the seam.
- Ignoring joist direction on solid wood installs, which can compromise stability.
- Over-changing direction in every room, which makes a home feel choppy instead of cohesive.
Handle each change at a logical break with a matched transition, and use the technique sparingly, and the floor will read as considered design rather than a series of afterthoughts.
Making the Right Call for Your Home
Ultimately, changing direction of wood flooring between rooms is a judgment call balancing structure, room shape, and the look you want. Change direction at doorways when joists, layout, or design call for it, and always use a matched T-molding to make the transition intentional and to protect each floor’s expansion. Keep it continuous when rooms flow openly and you want a larger, seamless feel. Either choice is correct when made deliberately, and now you know how to execute both cleanly.
Prefer to explore on your own?
See how new flooring looks in your actual room in seconds — free, no signup.
Try the free Floor Studio →