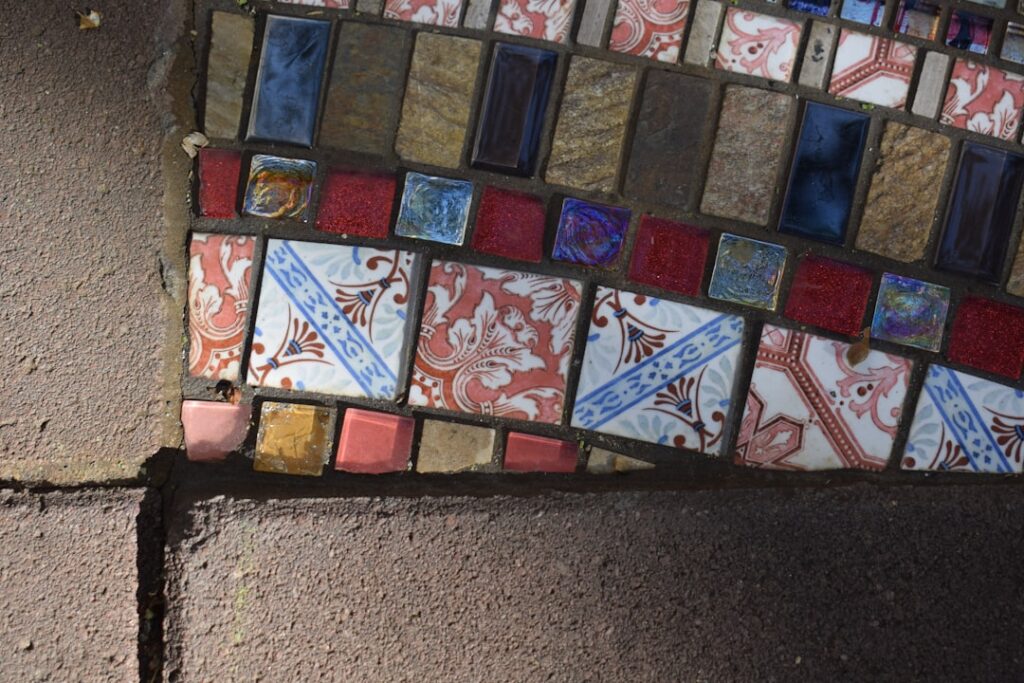
A single chipped tile can nag at you every time you walk past it, but chipped tile repair is one of the most doable weekend fixes in the whole home. Most small chips take an hour and under $30 in materials. Even swapping a fully broken tile is within reach for a patient DIYer. The trick is matching the damage to the right method, so let me walk you through exactly how a pro sizes up and fixes a chip.
What Causes Tile to Chip
Understanding the cause helps you prevent a repeat. Most chips come from a heavy object dropped on a hard glazed surface, a cast-iron pan or a wrench being the usual suspects. Others result from thermal shock near ovens and fireplaces, hollow spots under the tile where there was no thick-set support, or foundation movement that stresses a floor. Impact along an edge or corner is by far the most common in kitchens and bathrooms.
Sizing Up the Damage
Before you buy anything, decide which category your damage falls into:
- Tiny surface chip (under 1/4 inch): Only the glaze is nicked. A color-matched filler or even nail polish will hide it.
- Larger chip (1/4 to 1 inch): A visible divot but the tile is structurally sound. Fill with two-part epoxy or a tile-repair kit.
- Cracked-through or shattered tile: The tile has a crack running edge to edge or is broken into pieces. Filling will not last; replace the whole tile.
When in doubt, press on the tile. If it flexes or sounds hollow when tapped, the setting bed has failed and a full replacement is the honest fix.
Tools and Materials
For filling: two-part clear epoxy or a tile-repair kit (Miracle Sealants and MagicEzy make good ones), acrylic or urethane touch-up paint, a small artist’s brush, painter’s tape, and fine 400-grit sandpaper. For tiny chips, high-gloss nail polish in a matching shade works surprisingly well. For replacement, add a grout saw or oscillating multi-tool, a cold chisel, a hammer, safety glasses, a notched trowel, thin-set mortar, a matching replacement tile, grout, and a grout float.
How to Fill a Small Chip
This is the quick fix that covers most kitchen and bathroom damage:
- Clean the chip with rubbing alcohol and let it dry fully. Any grease will keep filler from bonding.
- Tape around the chip to protect the surrounding glaze.
- Mix a small batch of two-part epoxy on a scrap of cardboard. Tint it with a drop of touch-up paint to roughly match the tile.
- Press the epoxy into the chip with a toothpick or small putty knife, slightly overfilling.
- Level it flush before it sets, wiping excess with a damp cloth.
- Let it cure fully, usually 24 hours, then lightly sand any high spots with 400-grit paper.
- Paint the surface to match and, if the tile is glossy, seal with a dab of clear nail polish or the kit’s glaze coat.
The Nail Polish Trick
For a chip smaller than a match head, skip the epoxy entirely. Build up thin layers of matching nail polish, letting each dry a few minutes, until the divot is level. Finish with clear topcoat. It will not survive a mop bucket forever, but on a wall or backsplash it can last for years.
How to Replace a Full Tile
When a tile is cracked through, replacement is the only lasting answer. Work slowly to avoid damaging neighbors.
- Remove the grout: Run a grout saw or oscillating tool around the damaged tile to free it from its neighbors.
- Score the tile: Draw an X across the face with a glass cutter or the multi-tool to weaken it.
- Chisel it out: Wearing safety glasses, tap a cold chisel from the center outward, breaking the tile into pieces and prying them up. Keep the chisel angled away from good tiles.
- Clean the cavity: Scrape all the old thin-set off the substrate until it is flat. A high spot will cause the new tile to sit proud.
- Dry-fit: Set the replacement in without mortar to confirm it sits flush.
- Set the new tile: Comb thin-set onto the back with a notched trowel, press the tile in with even spacing, and check it is level with a straightedge.
- Cure and grout: Let the thin-set cure 24 hours, then pack matching grout into the joints, wipe with a damp sponge, and buff off haze after it hazes over.
Matching Color and Grout
The repair only disappears if the color is right. Bring a photo, or ideally a chipped-out piece, to a tile shop to find a match, and check for discontinued lines online. Grout is trickier because it fades with age; buy a sample and let it dry fully before committing, since wet grout looks two shades darker. Sealing new grout after it cures keeps it from standing out against the older joints.
Cure Times to Respect
Rushing is the number one reason repairs fail. Epoxy fillers need about 24 hours before sanding. Thin-set mortar needs 24 to 48 hours before you grout and up to 72 hours before heavy use or water exposure. On a shower floor, wait the full three days before running water over a replaced tile.
DIY vs. Pro Cost
A DIY fill costs $15 to $40 in materials and an hour of your time. A DIY full replacement runs $30 to $80 if you already own the tools. Hiring a pro for a single tile typically costs $150 to $350 because of the minimum service call, and a small cluster of tiles can run $400 or more. The math clearly favors DIY for one or two tiles.
Preventing Future Chips
Once you have made the repair, a little prevention keeps you from doing it again. Add felt pads or a rubber mat under heavy cookware storage so a dropped pan lands soft. In showers, keep a rubber-backed mat out of glass-shower floor traffic where soap bottles fall. On floors, place walk-off mats at entries to trap grit that grinds glaze over time. If a specific tile keeps chipping, it usually signals a hollow spot underneath; tapping the floor and listening for a drummy, hollow sound reveals which tiles lack full thin-set support and are most vulnerable.
Keep a few spare tiles from the original installation, too. Nothing simplifies a future repair like having an exact-match tile already on the shelf, since dye lots and product lines change constantly and a perfect match years later is rarely possible. Store four or five extras in the garage along with a note of the grout color and brand.
Repairing Chips in Natural Stone
Glazed ceramic and porcelain are the easiest to fix, but natural stone like marble, travertine, and slate needs a gentler hand. Stone chips are best filled with a stone-specific epoxy or a colored polyester resin that can be tinted to match the veining, not a glossy tile filler that will look plastic against the matte stone. Because stone is porous, seal the repair and the surrounding area afterward. For a valuable marble countertop or floor, a professional stone restoration specialist can often make the chip vanish in a way DIY products cannot match, so weigh the tile’s value before attempting it yourself.
When to Call a Pro
Bring in a professional if tiles are cracking in a spreading pattern (a sign of substrate or foundation movement), if the tile is a rare handmade or natural stone you cannot risk damaging, or if the failed area sits in a shower where a waterproofing breach could rot the wall. In those cases the real problem is under the tile, and surface chipped tile repair alone will not solve it. For everything else, the steps above will have your surface looking whole again by the weekend.
Prefer to explore on your own?
See how new flooring looks in your actual room in seconds — free, no signup.
Try the free Floor Studio →