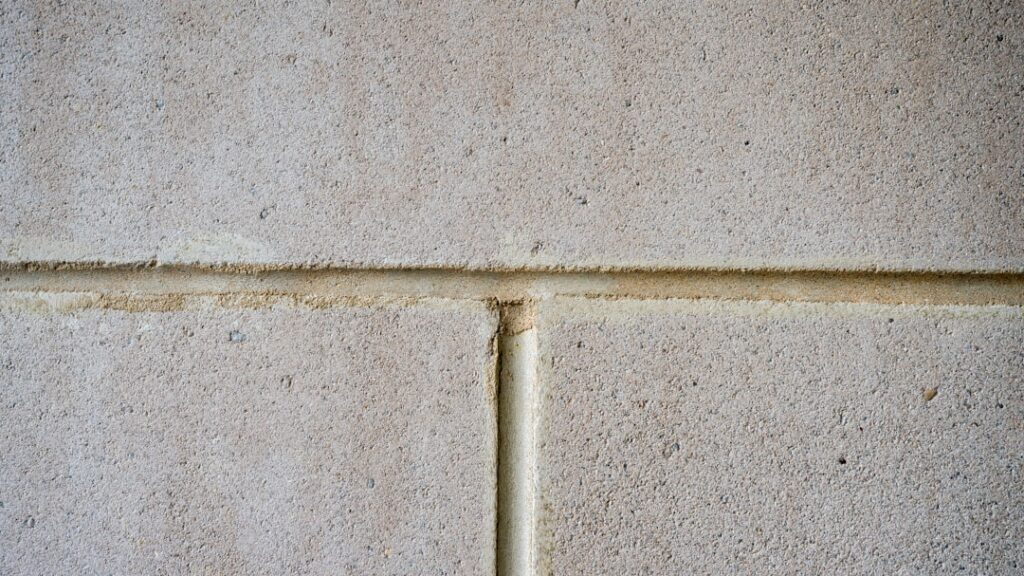
Every few months a client shows me a video of fizzing grout lines and asks why I don’t just do that. So let’s settle it: cleaning grout with baking soda and vinegar does work — partially, for certain kinds of grime — but the famous fizz is mostly theater, and vinegar has a real downside on cement grout that the videos never mention. I’ve tested this method side by side against proper cleaners on real floors. Here’s the honest breakdown of what each ingredient actually does, when the combo is worth using, where it falls flat, and what a tile guy reaches for instead.
- The Chemistry: Why the Fizz Is Mostly for Show
- What This Method Actually Cleans Well
- Where It Falls Short
- The Bigger Problem: Vinegar Slowly Damages Cement Grout
- Head-to-Head: Pantry Combo vs. Purpose-Made Cleaners
- If You’re Going to Use It Anyway: The Right Way
- What I Use Instead on Service Calls
- A Quick Word on Sealed vs. Unsealed Grout
The Chemistry: Why the Fizz Is Mostly for Show
Baking soda (sodium bicarbonate) is a mild alkali and a gentle abrasive. Vinegar (about 5% acetic acid) is a mild acid that dissolves mineral deposits and soap scum. Each one has legitimate cleaning ability on its own. But when you pour them together, they neutralize each other. The dramatic fizz is carbon dioxide escaping — and what’s left behind after the reaction is essentially salt water (sodium acetate) with very little cleaning power.
So the viral “volcano” method is self-defeating: you take two mild cleaners and cancel them out. The bubbling does provide a tiny bit of mechanical agitation, and it looks like something is happening, which is why the method survives online. But in side-by-side spot tests, plain baking soda paste scrubbed with a brush outperforms the fizzing combo almost every time. If you want to use these pantry items, the trick is to use them sequentially, not simultaneously — and on the right kind of dirt.
What This Method Actually Cleans Well
Used correctly, the baking-soda-then-vinegar sequence is decent at:
- Light surface soil on floor grout. The baking soda paste plus a stiff brush is doing 90% of this work — it’s mild abrasion lifting grime out of the joint.
- Soap scum and hard-water film in showers. This is vinegar’s home turf. Acetic acid dissolves calcium deposits and soap residue that alkaline cleaners struggle with.
- Freshening lightly dingy grout that gets regular maintenance — a monthly touch-up, not a restoration.
Here’s the sequence I’d actually use: make a paste of baking soda and water, work it into the grout lines with a brush, and scrub. Then spray diluted vinegar (1:1 with water), let the fizz agitate the loosened soil for a couple of minutes, scrub once more, and rinse thoroughly with clean water. Rinsing matters — leaving acidic residue in a cement joint is how you slowly ruin it.
Where It Falls Short
Now the part the pin boards skip. In my testing and on client floors, cleaning grout with baking soda and vinegar fails at:
- Grease. Kitchen backsplash and kitchen-floor grout is coated in polymerized cooking oils. Neither a weak acid nor a mild abrasive dissolves grease — you need a real alkaline degreaser.
- Deep, embedded staining. Grout that’s been gray for five years is stained inside its pores. Surface abrasion can’t reach it; you need an oxygen-bleach soak with a long dwell time.
- Mold. Vinegar has some antifungal ability on surfaces, but it does not reliably kill mold rooted in porous grout, and baking soda does nothing for it. Black growth in a shower needs hydrogen peroxide, chlorine bleach, or steam — and often regrouting.
- Yellowed or discolored grout. No amount of fizz changes the color of grout that’s stained through. That’s colorant or replacement territory.
The Bigger Problem: Vinegar Slowly Damages Cement Grout
This is the section I wish the DIY videos included. Cement grout is alkaline by nature — it’s a cementitious product, chemically similar to concrete. Acids attack it. Every vinegar application dissolves a microscopic layer of the binder, and repeated use over months etches the joint, opens the pores, and makes the grout rougher and more absorbent. More absorbent grout grabs dirt faster, so you clean more often, so you etch more. I’ve seen weekly-vinegar floors where the grout sits visibly lower than it should and crumbles at the edges.
Occasional, diluted, well-rinsed vinegar on sealed grout? Fine. Routine use, strong “cleaning vinegar” (6%), or letting it dwell for long periods? That’s a slow-motion demolition. And on natural stone — marble, travertine, limestone — vinegar is an immediate no. It etches the tile itself on contact, leaving dull spots no cleaner can fix.
Head-to-Head: Pantry Combo vs. Purpose-Made Cleaners
| Cleaning Job | Baking Soda + Vinegar | Better Option | Cost |
|---|---|---|---|
| Light floor soil | Adequate | Alkaline tile cleaner + brush | $10–$20 |
| Kitchen grease | Poor | Alkaline degreaser (Simple Green 1:4, Krud Kutter) | $5–$12 |
| Embedded gray staining | Poor | Oxygen bleach soak (OxiClean), 30–60 min dwell | $10–$15 |
| Soap scum / hard water | Good (the vinegar half) | Vinegar 1:1 or a bathroom descaler | $3–$8 |
| Mold in shower grout | Poor | 3% hydrogen peroxide or 1:4 bleach, then seal | $2–$8 |
| Natural stone surrounds | Unsafe (vinegar etches) | pH-neutral stone cleaner | $10–$15 |
Notice the pattern: for every job the pantry combo sort of handles, there’s a purpose-made product under $20 that handles it decisively. The total cost difference across a year of cleaning is a pizza.
If You’re Going to Use It Anyway: The Right Way
I get it — sometimes it’s 9 p.m., guests come tomorrow, and the pantry is what you’ve got. If you’re committed to cleaning grout with baking soda and vinegar tonight, here’s the safest, most effective version of the method:
- Vacuum or sweep first so you’re not grinding grit into the joints.
- Mix baking soda with just enough water to make a peanut-butter-thick paste. (For more punch, mix it with 3% hydrogen peroxide instead — a genuinely better pairing than vinegar.)
- Work the paste into the grout lines and let it sit 5–10 minutes.
- Scrub with a stiff nylon brush — the brush, not the paste, is the star of this show.
- Optional: spray 1:1 vinegar-water over it, let it fizz 2–3 minutes, scrub again. Skip this step on stone, unsealed grout, or any floor you clean this way frequently.
- Rinse twice with clean water and towel the joints dry. Residue of any kind attracts new dirt.
Ceramic and porcelain tile with sealed cement grout tolerate this fine as an occasional clean. Just keep it occasional.
What I Use Instead on Service Calls
My grout kit is boring and it works: an alkaline tile-and-grout cleaner for general soil and grease, sodium percarbonate (oxygen bleach) powder for whitening soaks, 3% peroxide for mold-prone showers, a pH-neutral cleaner for stone and for routine maintenance, a stiff grout brush plus a drill brush for big floors, and a penetrating sealer to finish the job so it lasts. The whole kit costs maybe $70 and covers every situation the pantry combo can’t. The sealer is the piece homeowners always skip and it’s the one that changes the maintenance math — sealed grout releases soil to a light cleaning instead of drinking it in.
A Quick Word on Sealed vs. Unsealed Grout
How well any of this works depends heavily on whether your grout was ever sealed. Sealed grout keeps soil on the surface, where a mild abrasive like baking soda genuinely shines — a light paste-and-brush pass restores it in minutes. Unsealed grout has been absorbing mop water, oils, and spills for years, and no surface method, pantry or professional, cleans what’s soaked half a millimeter deep. That’s why identical cleaning routines produce spotless grout in one house and gray disappointment in another. The flick test settles it: drip water on a clean, dry joint. If it beads or sits, you have some seal left and surface cleaning will reward you. If it darkens and soaks in immediately, plan on the oxygen-bleach soak for restoration — and then seal the grout while it’s clean, because that $25 quart of penetrating sealer is what converts your future cleanings from restoration projects back into wipe-downs. Vinegar, for what it’s worth, also degrades sealer with repeated use, which is one more quiet reason to keep it off your maintenance rotation.
Bottom line from someone who cleans grout for money: baking soda earns its spot as a gentle scrub, vinegar earns its spot against soap scum and hard water, and combining them in one fizzy puddle mostly neutralizes both. Use them one at a time, on the right messes, rinse well, and never make vinegar your regular grout cleaner. For anything worse than light grime, spend $15 on the correct chemistry — your grout will come out whiter, and it’ll still be intact in ten years.