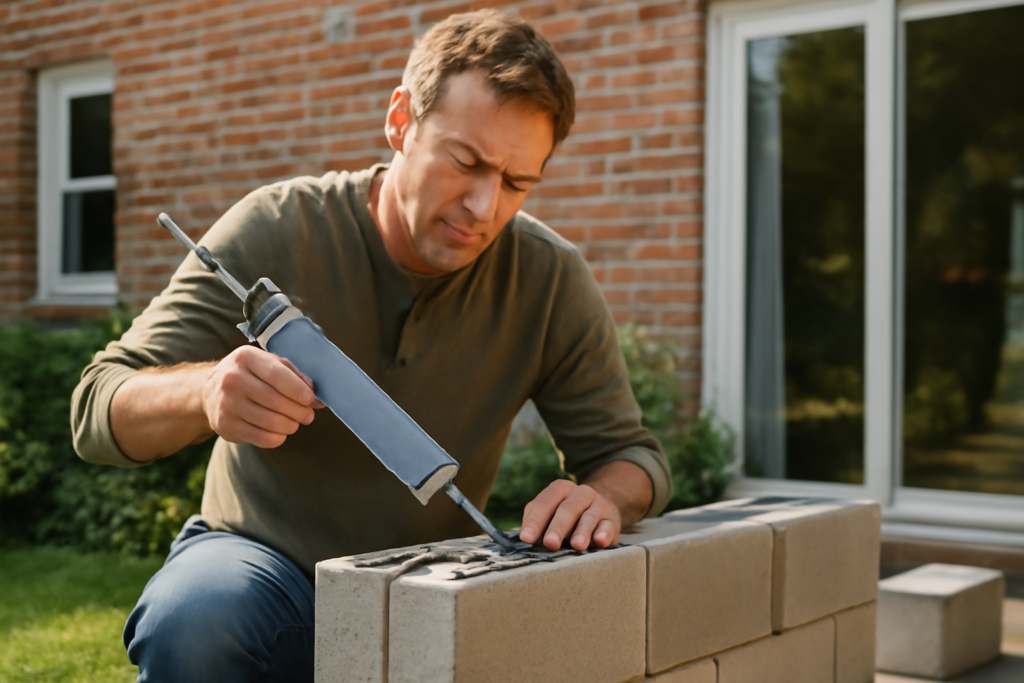
If you have ever tried to stack a retaining wall or patch a crumbling cinder block wall, you already know that mortar is messy, slow, and unforgiving. That is exactly why concrete block adhesive has become the go-to product for so many weekend projects. It comes in a caulk-style tube, bonds in minutes, and skips the buckets, trowels, and mixing entirely. Used correctly, it forms a bond that often outlasts the block itself.
This guide walks through the main types of block adhesive, how to apply it the right way, when it can replace mortar and when it cannot, and how long you need to wait before the bond reaches full strength.
What Is Concrete Block Adhesive?
Concrete block adhesive is a heavy-duty construction adhesive engineered to bond porous masonry surfaces like concrete block, cinder block, brick, pavers, and poured concrete. Unlike standard wood glue or all-purpose caulk, it is formulated to flex slightly, resist water, and grip rough, dusty surfaces. Most products cure into a rubberized bond that handles freeze-thaw cycles, vibration, and ground movement without cracking the way rigid mortar joints can.
You will find it sold in 10-ounce and 28-ounce cartridges that load into a standard or heavy-duty caulk gun. A single 28-ounce tube typically bonds roughly 20 to 30 linear feet of landscape block, depending on bead size.
The Main Types to Know
Not every adhesive labeled “construction adhesive” is right for masonry. Two categories cover the vast majority of block projects.
- Heavy-duty construction adhesive (PL-style): Products in the Loctite PL Premium and Liquid Nails Fuze family are polyurethane or hybrid-polymer adhesives rated for concrete, block, and stone. They are the strongest general option and work for vertical and overhead bonds.
- Landscape block adhesive: This is a specialized formula tuned for stacking retaining wall blocks, capstones, and pavers. It stays flexible, resists UV and moisture, and is designed for exterior, ground-contact use. Look for the words “landscape” or “masonry/stone” right on the tube.
For a backyard retaining wall or fire pit, reach for landscape block adhesive. For structural patches, attaching ledger boards to block, or anchoring trim to concrete, a PL-style heavy-duty adhesive is the safer pick. Both are paintable once fully cured.
How to Apply Concrete Block Adhesive
Surface prep does more for your final bond than the brand you choose. Adhesive grabs the dust, not the block, if you skip cleaning.
- Clean both surfaces. Brush off loose dust, dirt, and debris. Wipe away mud or efflorescence. The surfaces should be sound and free of loose grit.
- Dry, or nearly so. Most modern hybrid adhesives bond to damp surfaces, but standing water weakens the grip. Avoid applying in heavy rain.
- Cut the nozzle at a 45-degree angle to a roughly 1/4- to 3/8-inch opening and puncture the inner seal.
- Run a zigzag or S-shaped bead across the block face, keeping it about an inch in from the edges so it does not squeeze out the front.
- Set the block and press firmly, sliding it slightly to spread the adhesive and create full contact. For tall walls, work one course at a time.
- Brace if needed. Caps and overhangs may need light weight or a temporary clamp until the adhesive grabs.
Keep the temperature in mind. Most products want application between roughly 40°F and 100°F. In cold weather the bead gets stiff and slow to cure; in extreme heat it can skin over before you seat the block.
Block Adhesive vs. Mortar
Adhesive and mortar solve different problems, and choosing wrong leads to either wasted effort or a failed wall. Mortar fills gaps, carries heavy structural loads, and bonds an entire wall into a monolithic unit. Adhesive grips fast, flexes with movement, and needs no mixing.
- Use adhesive for: landscape and retaining walls under about 3 feet, capstones, repairing loose caps, gluing trim or boards to concrete, and small repairs.
- Use mortar for: load-bearing block walls, foundations, anything inspected to code, and joints that need to be filled and weatherproofed across the full bed.
For tall or structural walls, local building codes usually require mortar and often rebar and grouted cores. Adhesive is a finishing and assembly aid in those cases, not a substitute for engineered construction. When in doubt, ask your local building department before you build.
Cure Time and Working Window
There are two timelines that matter: the grab time and the full cure. Initial grab usually happens within 10 to 30 minutes, enough to hold a block in place. Full cure, where the adhesive reaches maximum strength, typically takes 24 hours and can stretch to 48 to 72 hours in cold or humid conditions.
Hold off on backfilling a retaining wall, applying weight, or stressing the bond until at least 24 hours have passed. Polyurethane adhesives actually cure faster with a little moisture in the air, which is why some pros lightly mist the bead in very dry climates.
Pro Tips That Save Time and Money
- Buy a dripless caulk gun. Cheap guns keep oozing after you release the trigger and waste product.
- Seal a partly used tube by pushing a long screw into the nozzle; it keeps the adhesive from hardening for the next session.
- Wipe squeeze-out immediately with a rag and mineral spirits. Cured polyurethane is very hard to remove cleanly.
- Wear gloves. Construction adhesive sticks to skin stubbornly and is far easier to avoid than scrub off.
- Stage your blocks before you open the tube so you are not rushing while the bead skins over.
The Bottom Line
For most homeowner-scale projects, concrete block adhesive is faster, cleaner, and more forgiving than mixing mortar, as long as you respect its limits. Pick landscape block adhesive for outdoor stacking and a PL-style heavy-duty adhesive for tougher bonds, clean your surfaces, and give the bond a full 24 hours before you load it. Save mortar for structural and code-driven work, and you will end up with walls and repairs that hold for years.