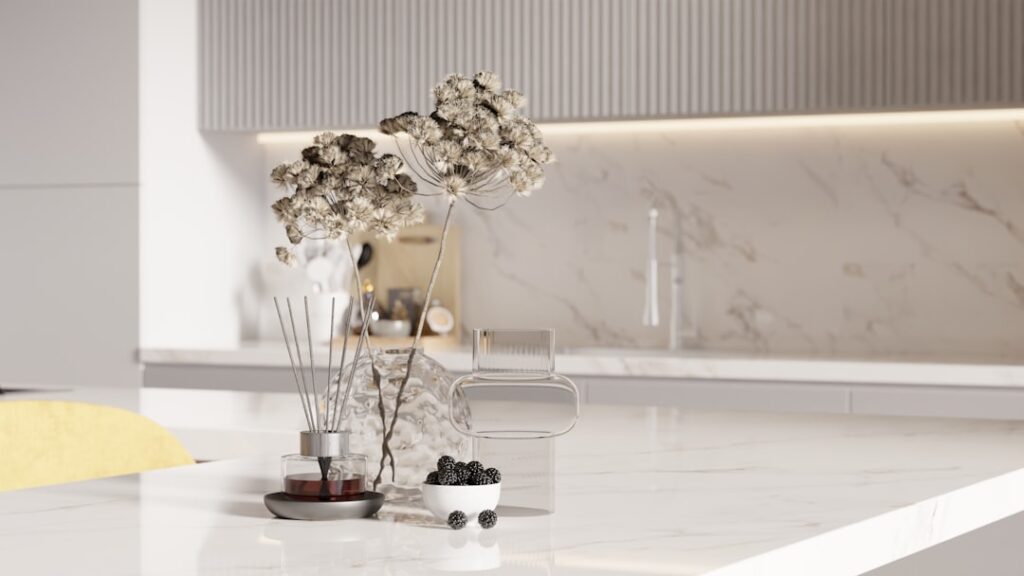
A contact paper countertop is one of the fastest and most affordable ways to transform an outdated kitchen or bathroom without a full renovation. For under $50 and a few hours of work, you can turn worn laminate or dated tile countertops into surfaces that mimic marble, granite, butcher block, or concrete. And the best part — it is completely reversible, making it ideal for renters and homeowners alike.
We have recommended contact paper as a temporary or budget-friendly countertop solution for years, and the product quality has improved dramatically. Modern options are thicker, more realistic, and more durable than the thin shelf liner people associate with the name. This guide walks you through every step, from choosing the right product to getting a smooth, bubble-free application.
Why Contact Paper for Countertops
Not everyone has $3,000 to $10,000 for new countertops. Maybe you are selling a home and need a quick cosmetic upgrade. Maybe you rent and cannot make permanent changes. Maybe your budget went toward flooring and appliances, and the countertops need to wait. A contact paper countertop addresses all of these situations.
Key benefits:
- Cost: $15 to $50 for an average kitchen, compared to $1,500 to $5,000+ for stone or solid surface
- Installation time: 2 to 4 hours for most kitchens
- No tools required beyond a utility knife, squeegee, and measuring tape
- Completely removable without damaging the surface beneath
- Available in dozens of realistic patterns including marble, granite, wood grain, and concrete
- Covers chips, stains, and discoloration on existing countertops
The limitations are real, too. Contact paper is not as heat-resistant, scratch-proof, or durable as stone or solid surface countertops. It is a cosmetic solution, not a structural one. But for the price and effort involved, the visual transformation is remarkable.
Best Contact Paper Brands
Quality varies enormously in the contact paper market. Cheap options wrinkle, peel, and look obviously fake within weeks. Invest in a reputable brand and the results last years. Here are our top recommendations:
EZFaux Decor — $25 to $45 per roll
- Premium peel-and-stick with realistic texture
- Thicker than most competitors (8 mil), which hides surface imperfections
- Heat-resistant up to 194 degrees Fahrenheit
- Excellent marble and granite patterns
- Repositionable during application — very forgiving
- Our top pick for kitchen countertops
DC Fix (d-c-fix) — $12 to $25 per roll
- German-made, widely available at home improvement stores
- Self-adhesive with air-channel technology for bubble-free application
- Huge selection of patterns and finishes
- Good balance of quality and affordability
- Best for: budget-conscious projects and renters
Stickylife Marble Contact Paper — $8 to $15 per roll
- Excellent value — best option under $15
- Waterproof and oil-proof surface
- Easy to clean with a damp cloth
- Thinner than EZFaux, so surface prep matters more
- Best for: bathrooms, laundry rooms, and low-traffic surfaces
Practik Marble Countertop Film — $30 to $50 per roll
- Extra-thick film designed specifically for countertop use
- Anti-scratch and anti-fingerprint coating
- Professional-grade adhesive
- Limited pattern selection but extremely realistic
- Best for: high-traffic kitchens where durability matters most
Design Options and Patterns
The contact paper countertop market has exploded with options. The days of obviously fake wood grain are long gone. Here are the most popular and realistic patterns available:
Marble (Carrara, Calacatta, Emperador): The most popular choice by far. White marble with grey veining provides a classic, high-end look. Calacatta-style patterns with bolder veining create more visual drama. Dark Emperador marble patterns suit modern and masculine spaces.
Granite (speckled, black galaxy, white): Granite patterns hide imperfections well because of their busy, multi-toned appearance. Black granite contact paper is particularly convincing and works in nearly any kitchen.
Concrete and cement: A modern, industrial look that has surged in popularity. Grey concrete contact paper pairs well with white cabinets and stainless steel appliances.
Butcher block and wood grain: Warm, natural appearance. Works best in rustic, farmhouse, or transitional kitchens. Pair with white or light-colored cabinets for contrast.
Solid colors: Matte black, white, and grey solids provide a clean, minimalist look. These are the easiest to apply because there is no pattern to align.
When choosing a pattern, order a sample first if the brand offers them. Photos online rarely capture the exact color and scale. Hold the sample against your cabinets, backsplash, and flooring to check compatibility before committing to a full roll.
Step-by-Step Application
Proper application makes the difference between a contact paper countertop that looks professionally installed and one that screams DIY. Follow these steps precisely:
Materials needed:
- Contact paper (measure your counters and buy 10 to 15% extra)
- Utility knife with fresh blades
- Squeegee or credit card wrapped in a soft cloth
- Measuring tape
- Rubbing alcohol for surface prep
- Spray bottle with soapy water (for wet application method)
- Ruler or straight edge
Step 1: Prepare the surface
Clean the countertop thoroughly with rubbing alcohol or a degreaser. Remove all traces of grease, soap residue, and dust. The surface must be completely clean and dry — any debris trapped underneath will show through as bumps. Fill any chips or cracks with wood filler or spackling compound and sand smooth.
Step 2: Measure and cut
Measure each section of countertop, adding 2 inches of overhang on all sides. Cut the contact paper to size using a utility knife and straight edge. For L-shaped or U-shaped counters, plan your seams where they will be least visible — along the back edge near the backsplash is ideal.
Step 3: Apply (dry or wet method)
Dry method: Peel back 6 inches of backing, align the paper with the front edge of the countertop, and press down. Slowly peel the backing while smoothing the paper forward with a squeegee, working from center to edges to push out air bubbles.
Wet method (recommended for beginners): Lightly mist the countertop surface with soapy water. This allows you to reposition the contact paper before it sets. Apply the full sheet, slide it into position, then squeegee out the water and air from center to edges. The paper bonds fully as it dries over 24 hours.
Step 4: Trim edges
Once the paper is in place, use a sharp utility knife to trim the excess along the front edge, backsplash, and around the sink. Hold the blade at a 45-degree angle against the edge for the cleanest cut. Change blades frequently — a dull blade tears contact paper instead of cutting it.
Step 5: Wrap edges (optional)
For a more finished look, wrap the contact paper around the front lip of the countertop by extending it 1 to 2 inches underneath. Use a heat gun or hair dryer on low to warm the paper at corners, making it more pliable for wrapping without wrinkling.
Step 6: Smooth and seal
Go over the entire surface with the squeegee one final time, paying special attention to edges and seams. For extra durability, apply a thin bead of clear silicone caulk along the backsplash edge and around the sink cutout to prevent water from lifting the paper.
Durability and Lifespan
How long a contact paper countertop lasts depends on the quality of the product, the application, and how the countertop is used. Here are realistic expectations:
- Budget contact paper ($8 to $15): 6 to 18 months in a kitchen, up to 3 years in low-traffic areas
- Mid-range ($15 to $30): 1 to 3 years in a kitchen with regular use
- Premium ($30 to $50): 2 to 5 years with proper care
What shortens lifespan:
- Cutting directly on the surface (always use a cutting board)
- Placing hot pots or pans directly on the paper (use trivets)
- Excessive water exposure at seams and edges
- Harsh chemical cleaners or abrasive sponges
What extends lifespan:
- Applying a clear coat sealer over the contact paper (Polycrylic works well)
- Using cutting boards and trivets consistently
- Sealing edges with silicone caulk
- Cleaning with mild soap and water only
Renter-Friendly Tips
Contact paper is one of the best renter-friendly upgrades available because it removes cleanly from most surfaces. But there are a few things to keep in mind to protect your security deposit:
- Test a small area first. Apply a piece to an inconspicuous spot, leave it for a week, then peel it off. Check for any adhesive residue or surface damage.
- Avoid applying over already-damaged surfaces. If the existing countertop has peeling laminate, the contact paper may pull it up further during removal.
- Take before and after photos. Document the countertop condition before application and after removal for your records.
- Use the soapy water method. The wet application creates a slightly weaker bond, making future removal easier while still holding well during daily use.
- Remove before move-out. Take the paper off yourself rather than leaving it for the landlord. You control the removal process and can clean up any residue.
How to Remove Contact Paper
Removal is straightforward but requires patience to avoid damaging the surface underneath.
- Heat the edges with a hair dryer on medium heat for 30 to 60 seconds. This softens the adhesive.
- Peel slowly at a 45-degree angle, pulling back toward yourself. Do not yank — slow, steady pulling prevents residue.
- Continue heating as you peel if the paper resists or starts tearing.
- Remove adhesive residue with Goo Gone, rubbing alcohol, or a paste of cooking oil and baking soda. Let the solvent sit for 5 minutes before wiping.
- Clean the countertop with warm soapy water once all residue is removed.
Contact paper that has been in place for several years may leave more residue than paper removed after a few months. Goo Gone handles even stubborn adhesive effectively. Avoid using razor blades on laminate countertops — they can scratch the surface.
Cost Comparison
To put the contact paper countertop investment in perspective, here is how it compares to other countertop options for an average 30-square-foot kitchen:
- Contact paper: $15 to $50 (DIY)
- Countertop paint kit: $70 to $150 (DIY)
- Butcher block: $300 to $900 (material only)
- Laminate (new): $500 to $1,500 (installed)
- Quartz: $1,500 to $4,500 (installed)
- Granite: $1,800 to $4,500 (installed)
- Marble: $2,400 to $6,000 (installed)
At $15 to $50 total, contact paper costs less than a single square foot of most stone countertops. Even if you replace the paper every year, your five-year cost stays under $250 — a fraction of any permanent upgrade. For homeowners planning a full kitchen renovation in the next two to three years, contact paper bridges the gap beautifully.
Frequently Asked Questions
Can I put contact paper over granite countertops?
Yes, contact paper adheres well to smooth granite surfaces. Clean the granite thoroughly and ensure it is completely dry. The adhesive bonds well to polished stone. Removal is also easy on granite since the surface is non-porous and very durable.
Is contact paper waterproof?
The surface of most countertop-grade contact paper is waterproof. However, the edges and seams are vulnerable. Water that gets under the paper through an unsealed edge will cause it to lift and peel. Seal all edges with clear silicone caulk, especially around sinks, for long-lasting results.
Can I apply contact paper over tile countertops?
You can, but the grout lines may telegraph through the paper over time. To prevent this, fill the grout lines with a self-leveling compound or skim coat the entire surface with a thin layer of drywall compound, sand smooth, and then apply the contact paper over the flat surface.
How do I prevent bubbles in contact paper?
Use the wet application method with soapy water for the most forgiving installation. Apply slowly, working in small sections, and use a squeegee to push air toward the edges. For any bubbles that do form, prick them with a pin and press flat with your finger. Most small bubbles disappear on their own within 24 to 48 hours as the adhesive cures.
Will contact paper damage my existing countertops?
Quality contact paper is designed to be removable without causing damage. On laminate, tile, granite, and solid surface countertops, it peels off cleanly with minimal residue. The one exception is already-damaged or peeling laminate — the adhesive may worsen existing delamination. Always test a small area first if you have concerns.