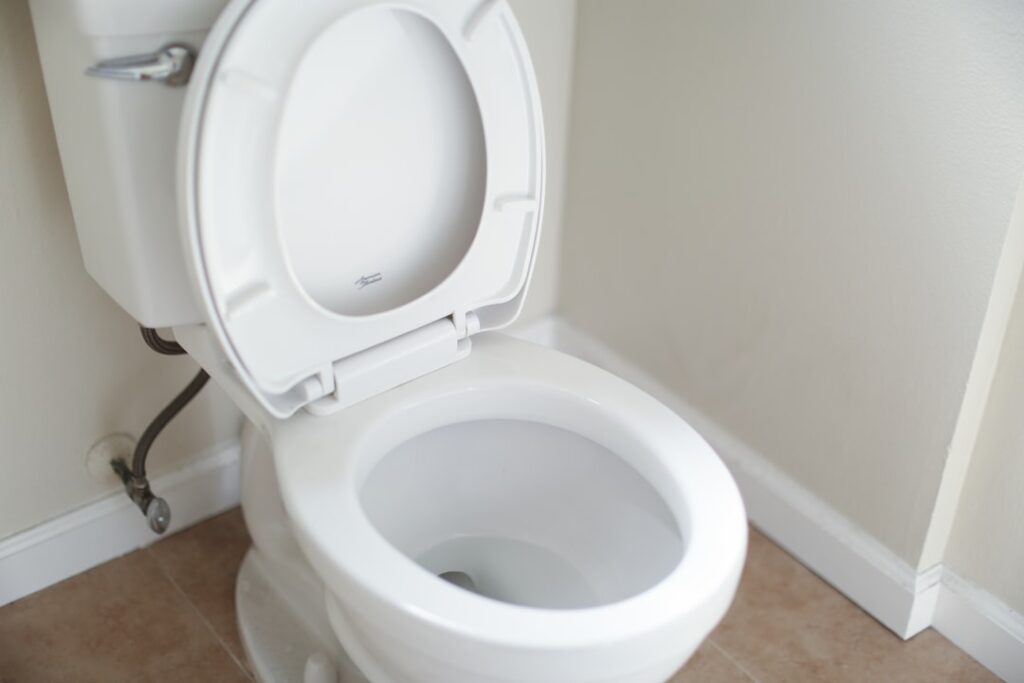
Every rocking toilet, mystery leak at the base, and sewer-gas smell in a remodeled bathroom traces back to the same humble part: the closet flange. The correct toilet flange height is roughly 1/4 inch above the finished floor — the flange rim should sit on top of the tile, vinyl, or wood, not buried beneath it and not towering above it. That single quarter inch is the difference between a wax ring that compresses into a permanent seal and one that either never seats or squeezes out sideways. And because “finished floor” is the reference point, every flooring project in a bathroom silently changes the math, which is why flange problems and floor remodels travel together.
Why 1/4 Inch Above the Floor Is the Spec
A toilet seals to the drain through a wax ring (or a rubber alternative) squeezed between the toilet’s outlet horn and the flange. Wax does not stretch — it only compresses. When the flange rim sits about 1/4 inch proud of the finished floor, a standard wax ring compresses roughly in half as the bowl is bolted down, forming a dense, gas-tight, water-tight gasket. The flange also does structural work: the closet bolts that hold the toilet to the floor anchor into the flange, so a flange planted firmly on top of solid flooring keeps the bowl from rocking.
Miss the height in either direction and predictable failures follow. Too low, and the gap is wider than the wax can reliably fill — the seal may hold for months, then let sewer gas seep or water wick out with every flush, quietly rotting the subfloor. Too high, and the toilet perches on the flange instead of the floor, rocking on its porcelain base until either the seal shears or the china cracks.
New Flooring Raises the Floor — and Buries Your Flange
Here is where flooring projects collide with plumbing. Say your flange was set correctly on the original vinyl. Now you install porcelain tile: 1/4-inch backer board, thinset, and 3/8-inch tile add up to 3/4 inch or more of new height. Your once-correct flange now sits 1/2 inch below finished floor. Layer LVP over existing floors, or add a self-leveling pour, and the same thing happens by smaller degrees.
Best practice when retiling around a toilet: run the new flooring under where the toilet sits (tile to the drain opening, not around a toilet-shaped island), then correct the flange to the new floor level. Cutting flooring around the toilet’s footprint locks you into that fixture’s exact shape forever and leaves the flange low.
Fixing a Flange That Sits Too Low
Several remedies exist, ranked here from best practice downward:
- Flange extender / spacer kits (the right answer): Plastic spacer rings in 1/4-inch and 1/2-inch thicknesses stack on the existing flange, bedded in silicone between layers and screwed down through to the subfloor, restoring the rim to that 1/4-inch-proud target. Kits cost $5 to $20 and take twenty minutes. This is the fix plumbers and inspectors both like because it rebuilds the correct geometry.
- Repair flanges that fit inside the pipe: Where the old flange is broken as well as low, an inside-fit replacement or a metal repair ring can re-establish both anchor and height.
- Extra-thick or waxless seals (situational): A jumbo wax ring, a wax ring with a plastic funnel horn, or a rubber accordion-style waxless seal can bridge a flange that is modestly low — roughly 1/4 to 1/2 inch — and waxless seals in particular are engineered for a stated range of flange depths. These are legitimate products, but they treat the symptom rather than restoring correct height.
- Double-stacked wax rings (last resort, not best practice): Two rings stacked will often seal a deeply recessed flange, and plenty of bathrooms run on this fix — but the tall wax column is unstable, squeezes out sideways under load, and fails more often than any other approach. Mentioned honestly because it is common; recommended rarely.
Whatever route you take, the flange must be screwed solidly to the subfloor with corrosion-resistant screws. A sealed but unanchored flange lets the toilet rock, and rocking kills seals.
When the Flange Sits Too High
The opposite problem usually appears after a floor got lowered (thick tile removed, thin LVP installed) or a new flange was set carelessly. A flange more than about 1/4 to 3/8 inch proud holds the bowl off the floor. Signs: the toilet rocks on a hard point at the drain and daylight shows under the base edges. Fixes, in order of preference: lower the flange properly (on PVC this means cutting it off and installing a new one at correct height — a job worth a plumber’s hour); build up the surrounding floor so the fixture sits level; or, for marginal cases, shim the toilet base with plastic toilet shims, use a standard (not thick) wax ring, and caulk the base leaving a weep gap at the back. Never crank the closet bolts to pull the porcelain down over a high flange — china loses that fight every time.
Checking Yours in Five Minutes
Pull the toilet (shut off water, drain, unbolt, lift straight up), scrape off the old wax, and lay a straightedge across the flange spanning the finished floor. Measure the gap or the projection. On top of the floor by about 1/4 inch: perfect — reset with a standard ring. Flush with the floor: acceptable; use a quality thick or waxless seal. Below the floor: add spacers before resetting. While you are there, inspect the flange slots for cracks (broken bolt slots are the other classic cause of rocking) and replace corroded closet bolts — they cost two dollars.
The Takeaway
Commit the number to memory: correct toilet flange height is about 1/4 inch above the finished floor, anchored tight to the subfloor, with new flooring always running under the toilet rather than around it. Correct the height with spacer kits instead of stacking wax, match the seal to the actual measured gap, and the least glamorous fitting in your bathroom will do its job invisibly for decades — which is exactly what you want from anything connected to a sewer line.
Flange Materials and How They Affect Your Options
Not all flanges behave the same when you go to correct their height, so it pays to identify what you are working with before you buy parts. PVC and ABS flanges are the modern standard: a plastic ring solvent-welded or glued to the drainpipe below. They are cheap and reliable, but because the ring is bonded to the pipe, lowering one that sits too high usually means cutting it off and cementing on a new fitting. Cast-iron flanges appear in older homes and are extremely durable, but their bolt slots corrode and crack over decades; a stainless repair ring screwed over the old iron often revives them without tearing into the pipe. Brass and all-metal flanges resist cracking better than plastic and are favored where the bolt slots take a beating. Finally, offset flanges shift the drain opening an inch or so to one side, letting you move a toilet slightly during a remodel without re-plumbing — useful, but they narrow the drain path and clog more easily, so use them only when relocation genuinely requires it. Knowing your material tells you instantly whether a spacer kit will screw down cleanly or whether the whole fitting needs replacing.
Whatever the material, the mounting surface matters as much as the flange itself. Spacer rings and repair rings both need solid backing to bite into. If the subfloor around the drain is soft, spongy, or water-stained from a long-failed seal — a common discovery once the toilet is off — repair that rot before setting any new height. Cut back the damaged subfloor, sister in fresh blocking, and patch with exterior-grade plywood so the flange screws land in sound wood. A perfect flange height means nothing if the platform under it flexes every time someone sits down.
Common Height Mistakes and How to Avoid Them
Most flange failures are not exotic — they repeat the same handful of errors. The first is measuring from the wrong surface: the spec references the finished floor, not the subfloor or the backer board, so always take your reading after the final flooring is down, or account precisely for what will still go on top. The second is setting the flange before the floor during new construction or a full remodel; plumbers who rough-in to subfloor height without planning for tile leave every one of these jobs low. The professional habit is to install the flange last, on top of finished flooring, or to shim it up to the anticipated final height from the start.
A third recurring mistake is over-relying on caulk and wax to hide a bad height. Silicone around the base and a fat wax ring can mask a rocking, poorly seated toilet for a while, but they postpone rather than prevent the leak. If the toilet moves when you rock it side to side after installation, the height or the anchoring is wrong — pull it and fix the geometry rather than adding more sealant. A fourth is ignoring the closet bolts: even a perfectly heighted flange leaks if the bolts are corroded, stripped, or set in cracked slots, because the seal depends on even, maintained clamping pressure. Replace bolts every time you reset a toilet; they are the cheapest insurance in the entire job. Get the height right, anchor to sound wood, use fresh hardware, and match the seal to the measured gap, and a reset toilet will outlast the flooring around it.