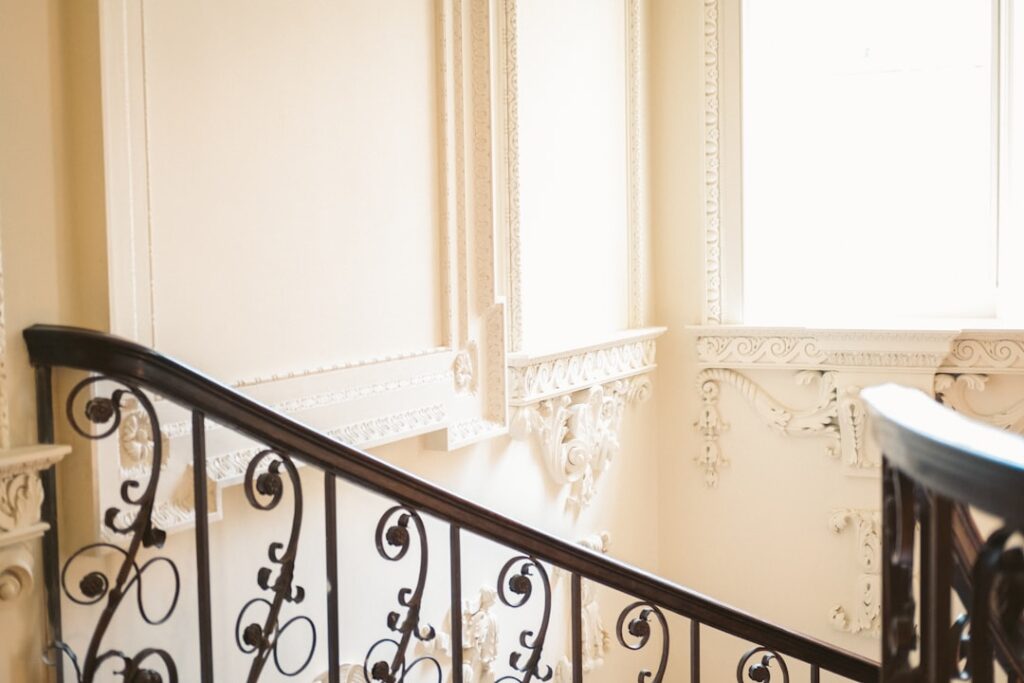
Most people picture crown molding as ornate, curvy, and dripping with detail, but that image comes from Victorian and Colonial traditions, not the Arts and Crafts movement. Craftsman style crown molding takes the opposite approach: clean, flat planes, strong horizontal lines, and layered rectangular profiles that emphasize honest craftsmanship over decoration. If you own a bungalow, a Prairie-style home, or a modern build that leans toward simple, architectural trim, this is the crown that will look right rather than fighting the house.
What Defines Craftsman Crown Molding
The Arts and Crafts philosophy prized simplicity, natural materials, and visible structure. That worldview shows up directly in the trim. Instead of the sweeping cove-and-ogee curves of traditional crown, Craftsman crown relies on flat boards, square edges, and stacked layers that step out from the wall in clean geometric planes.
The result reads as substantial and grounded rather than fancy. A classic Craftsman crown is often built up from several simple pieces: a flat frieze board against the wall, a bed molding or a series of small rectangular reveals, and a flat cap at the ceiling. The horizontal emphasis ties into the low, horizontal lines that define the whole style, and the lack of ornate detail makes the woodwork itself the focal point.
Common Craftsman Crown Profiles
Because the style is built from simple parts, you can assemble Craftsman crown in several ways depending on ceiling height and budget. A few configurations show up repeatedly in authentic homes.
- Stepped flat stock: Two or three flat boards of decreasing width stacked to create a layered, stepped profile. The simplest and most authentic look.
- Frieze plus bed molding: A wide flat frieze board topped with a small, restrained bed molding at the ceiling for a subtle transition.
- Built-up combinations: A flat board with a small square reveal or a bead detail, giving a little shadow line without curves.
- Picture-rail integration: Craftsman rooms often pair crown with a picture rail lower on the wall, reinforcing the horizontal banding.
The key rule is restraint. Keep the curves out and let flat planes, right angles, and clean shadow lines carry the design. Even a single wide flat board with a simple cap reads convincingly Craftsman.
Choosing the Right Material
Material choice depends on whether you are staining or painting and how much you want to spend. Each option has a clear place in a Craftsman project.
For a stained, natural-wood look that honors the Arts and Crafts tradition, solid quarter-sawn white oak is the historically correct choice, prized for its straight grain and ray-fleck figure, though it is expensive. Poplar and pine are common paint-grade choices that machine cleanly and cost far less. For humid rooms or budget-conscious painted installs, primed MDF is stable, smooth, and inexpensive, though it dents more easily and cannot be stained. Because Craftsman crown is often assembled from flat stock, you can even build it from standard dimensional boards and simple moldings from any lumberyard.
Sizing Crown to Your Ceiling
Proportion makes or breaks the finished look. Crown that is too small looks like an afterthought, while crown that is too large can crowd a low ceiling. As a general rule, scale the total height of the crown to the ceiling height in the room.
For standard 8-foot ceilings, a built-up crown of roughly 4 to 6 inches of total vertical height looks balanced. For 9- and 10-foot ceilings, you can go 6 to 8 inches or more, and layering multiple flat boards lets you build up that presence without buying a single massive profile. Because Craftsman crown emphasizes the horizontal, wider and flatter often reads better than tall and narrow. When in doubt, cut a cardboard mockup, tape it up, and view it from across the room before committing.
How to Install Craftsman Crown Molding
One genuine advantage of the flat, layered approach is that it is far easier to install than curved crown, which must be cut at compound angles. Much of Craftsman crown installs flat against the wall and ceiling like baseboard, so your miter cuts are simpler.
- Find and mark the ceiling joists and wall studs with a stud finder, since your nails need solid backing.
- Measure and cut the frieze board first. Inside corners on flat stock are simple 45-degree miters or can be coped for a tight fit.
- Nail the frieze to the studs with a finish nailer, keeping it level, then add each successive layer, working from the wall board outward and upward.
- Add the small bed molding or cap last, nailing into the ceiling joists where possible.
- Fill nail holes, caulk the seams and top edge, and sand smooth before painting or finishing.
Coping inside corners gives the cleanest joint because it accommodates walls that are not perfectly square, which describes nearly every real house. For long walls, join two pieces with a scarf joint, a matching pair of 45-degree cuts that overlap, rather than a butt joint that will show a gap as the wood moves.
Finishing for an Authentic Look
How you finish the crown determines whether it reads as true Craftsman or generic trim. If you are staining, a warm medium-to-dark tone that lets the oak grain show is traditional; think honey to chestnut rather than a heavy opaque finish. Many original Craftsman interiors used a fumed or amber finish that deepened the wood’s natural color.
For painted schemes, Craftsman interiors often keep trim slightly warmer than a stark modern white, using creamy off-whites, warm grays, or even a color that contrasts gently with the walls. Whatever you choose, a satin or semi-gloss sheen highlights the crisp edges and shadow lines that define the style. Consistent finishing across crown, casing, and baseboard ties the whole room together into a cohesive Arts and Crafts scheme.
Coordinating Crown With Other Trim
Crown molding rarely stands alone in a Craftsman room; it works as part of a complete trim package that includes wide, flat window and door casing, tall baseboards, and often a picture rail or plate rail. For the look to feel authentic, these elements should share the same clean, rectilinear vocabulary and the same finish. Casing that is 3.5 to 5 inches wide with simple butt joints and a flat or slightly stepped profile pairs naturally with a layered flat crown.
Baseboards in a Craftsman home are typically tall, often 6 to 8 inches, flat, and capped with a small square or beveled cap that echoes the crown’s cap. When the crown, casing, and base all speak the same simple language, the room reads as intentional and historically grounded. Mismatching an ornate crown with flat Craftsman casing, or vice versa, is the fastest way to make the trim look pieced together rather than designed.
Cost and DIY Considerations
Because Craftsman crown is often built from inexpensive flat stock rather than a single milled profile, it can be one of the more affordable crown styles to install. Paint-grade poplar or pine boards and simple bed moldings cost a fraction of ornate hardwood profiles, and primed MDF is cheaper still. Expect material costs somewhere in the range of a few dollars per linear foot for a simple painted built-up crown, more if you choose stain-grade oak.
The flat, layered construction is also friendlier to a DIYer than curved crown, since much of it installs flush against the wall and ceiling with straightforward miter cuts rather than the tricky compound angles that trip people up. If you own a miter saw and a finish nailer and can cope an inside corner, a Craftsman crown is an achievable weekend project. Hiring a finish carpenter runs more but guarantees tight joints on out-of-square walls, which is often money well spent in an older home.
Bringing It All Together
Craftsman style crown molding proves that trim does not need curves or carving to feel substantial and refined. Its layered flat planes, strong horizontal lines, and honest materials give a room architectural weight that suits bungalows, Prairie homes, and clean contemporary spaces alike. Because it builds up from simple flat stock, it is also one of the more approachable crown projects for a confident DIYer. Size it to your ceiling, choose a material that matches your finish plan, cope your corners, and you will add lasting character that looks intentional in every light.