A well-built diy mudroom bench transforms a cluttered entryway into an organized landing zone where boots, backpacks, and coats finally have a home. Building one yourself costs a fraction of store-bought furniture, and you get to size it exactly to your space. With basic tools and a weekend, most homeowners can complete a bench that looks custom and holds up to daily family abuse for decades.
Why Build Your Own Mudroom Bench
Retail mudroom benches with storage typically run $250 to $900, and the particleboard versions in that range rarely survive wet boots and rough handling. A solid-wood bench you build yourself costs roughly $80 to $200 in materials depending on lumber choice, and it will outlast three cheap ones. Beyond savings, a DIY bench lets you match an odd wall length, add cubbies sized for your family’s shoe count, and pick a stain or paint that ties into your existing trim.
The bench also anchors a full mudroom system. Once you have the seat, you can add wall hooks above it, a shelf for baskets overhead, and a boot tray underneath. Starting with a strong, level bench makes every later addition easier.
Choosing Your Dimensions
Standard seat height for a bench where people sit to remove shoes is 18 inches, matching a typical chair. If you want to store bins underneath and use it mostly for dropping bags, you can go up to 20 inches. Seat depth of 15 to 18 inches is comfortable without eating too much floor space in a narrow hall.
For length, measure your wall and subtract a few inches for baseboard and breathing room. A 48-inch bench seats two adults or one adult plus a stack of gear. Below are common footprints:
- Compact: 36 inches long, fits an apartment entry or narrow hall.
- Family: 48 to 60 inches, room for two to three cubbies.
- Wide: 72 inches, spans a full mudroom wall with four cubbies.
Materials and Lumber Costs
The simplest durable build uses 3/4-inch birch or maple plywood for the box and 1×2 hardwood for face trim. A 4×8 sheet of quality birch ply runs $55 to $90 in most US markets in 2026. One sheet builds a 48-inch bench with a divider or two. Add a pocket-hole screw kit if you don’t own one ($40 for a Kreg Jig 320), 1-1/4 inch pocket screws, wood glue, and finish.
If you prefer a farmhouse look, build the frame from construction-grade 2x4s and 2x12s from a home center. A 2×12 by 8 feet costs about $22 and makes a chunky, rustic seat with almost no joinery. Sand it well because framing lumber has a rough surface and often ships damp.
Budget for finishing supplies too: a quart of water-based polyurethane ($18), sandpaper in 120 and 220 grit, and either primer and paint or wood stain. Painting hides plywood edges better, so many builders paint the box white and stain only a solid-wood seat top for contrast.
Tools You Will Need
- Circular saw or table saw for straight cuts (a home center will cut plywood sheets for free if you lack a saw).
- Drill/driver and pocket-hole jig for hidden joinery.
- Tape measure, speed square, and a level.
- Orbital sander and clamps.
- Brad nailer optional but speeds up trim work.
None of these are exotic. If you are missing the saw and nailer, many home centers and libraries now offer tool-lending programs, and the plywood cutting service covers most of your straight cuts.
Step-by-Step Build
Start by cutting two side panels, a bottom, a back, and a top from your plywood. For a 48-by-18-by-18 inch bench, the sides are 17-1/4 by 15 inches, and the top and bottom span the length minus panel thickness. Dry-fit everything before driving a single screw.
Assemble the box with pocket screws and glue, keeping joints square by checking diagonals with your tape measure—equal diagonals mean a square box. Add vertical dividers if you want cubbies; space them evenly and glue plus screw through the top and bottom into each divider edge.
Attach the seat top so it overhangs the front and sides by about 3/4 inch, which gives a finished furniture look and a comfortable front edge. Secure it from underneath with pocket screws so no fasteners show on the seat. Finally, add 1×2 face trim to hide the raw plywood edges, nail it on, and fill the holes.
Adding Storage and Hooks
Open cubbies below the seat hold baskets or shoes. Standard cubby openings of 12 to 14 inches wide accept most storage bins. For a cleaner look, add a boot tray liner or paint the interior a darker color to hide scuffs.
Above the bench, mount a hook rail into studs, not just drywall anchors—a loaded coat rack pulls hard on the wall. Use a stud finder, mark your studs, and drive 2-1/2 inch screws through a solid 1×4 or 1×6 backer board so hooks can go anywhere along the board regardless of stud spacing. Space hooks 8 to 10 inches apart at about 60 inches from the floor for adults, lower for a kids’ zone.
Finishing for a Wet Entryway
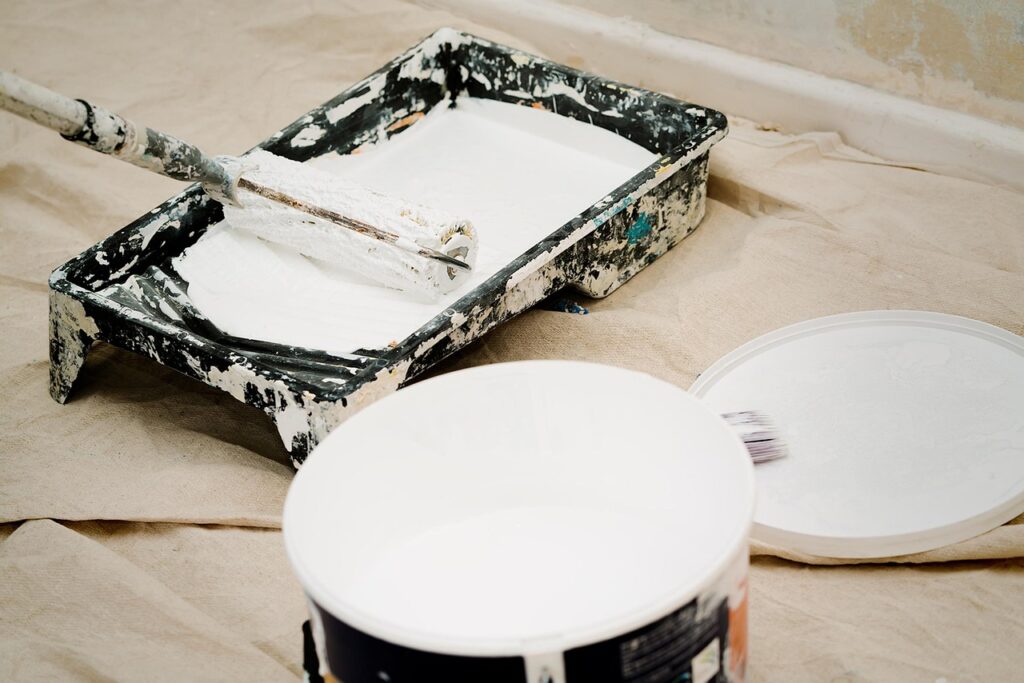
Mudrooms take moisture from snow, rain, and dripping gear, so your finish matters. Water-based polyurethane in a satin sheen resists water and cleans up easily. Apply three thin coats on the seat top, sanding lightly with 220 grit between coats. On painted surfaces, use a scrubbable enamel or cabinet-grade paint rather than flat wall paint, which stains and marks.
Seal the bottom edges and the underside where the bench meets the floor, since that is where snowmelt collects. If your entry floods in heavy weather, add small rubber feet or a 1-inch toe kick recess so the plywood never sits in standing water.
Common Mistakes to Avoid
The biggest error is building the bench too tall because the maker forgets to account for a seat cushion. If you plan to add a 3-inch cushion, build the seat at 15 inches so the finished height lands near 18. Another frequent mistake is skipping glue and relying on screws alone; glue is what makes the joint permanent, while screws mainly clamp it while the glue cures.
Builders also underestimate weight capacity. Anchor tall benches to the wall through the back panel into a stud to prevent tipping, especially in homes with young children who climb. And always pre-drill hardwood trim before nailing near edges to avoid splits that ruin a clean face.
Wood Species and Style Choices
The lumber you pick sets the character of the finished bench. Birch and maple plywood give a smooth, paintable surface ideal for a farmhouse-white or bold accent color. Oak brings a pronounced grain that looks great stained and clear-coated, while pine is the budget option that paints well but dents easily. For a rustic, chunky aesthetic, dimensional 2x lumber in Douglas fir reads as a heavy timber bench once sanded and oiled. Reclaimed barn wood or pallet lumber can work for the seat top if you seal it thoroughly, though hidden nails and inconsistent thickness make it more work.
Style follows the rest of your entry. A shaker-panel front with bin-pull hardware suits traditional homes, flat slab fronts read modern, and open cubbies with woven baskets lean farmhouse. Because you are building it, you can mirror an existing furniture piece, matching its leg style or trim profile so the bench looks original to the house rather than added on.
Sizing Storage to Your Family
Before finalizing dimensions, inventory what the bench must hold. Count pairs of everyday shoes per person and add margin for guests. Tall boots need cubbies at least 14 inches high, while sneakers fit in 8-inch openings, so you may want a mix. If backpacks and sports bags are the main clutter, prioritize open shelf space over small cubbies. Families with young kids benefit from a low shelf children can reach, teaching them to stow their own gear. Adding a couple of labeled bins per person turns a plain bench into a functioning drop zone that actually stays tidy, because everything has a designated home instead of piling on the floor.
Bringing It All Together
A mudroom bench is one of the most rewarding beginner woodworking projects because it delivers daily usefulness and visible payoff. Size it to your wall, build the box square, finish it for moisture, and anchor it to studs. In a single weekend you will have a piece that organizes your entry, welcomes guests, and looks like it cost far more than the lumber receipt in your pocket.