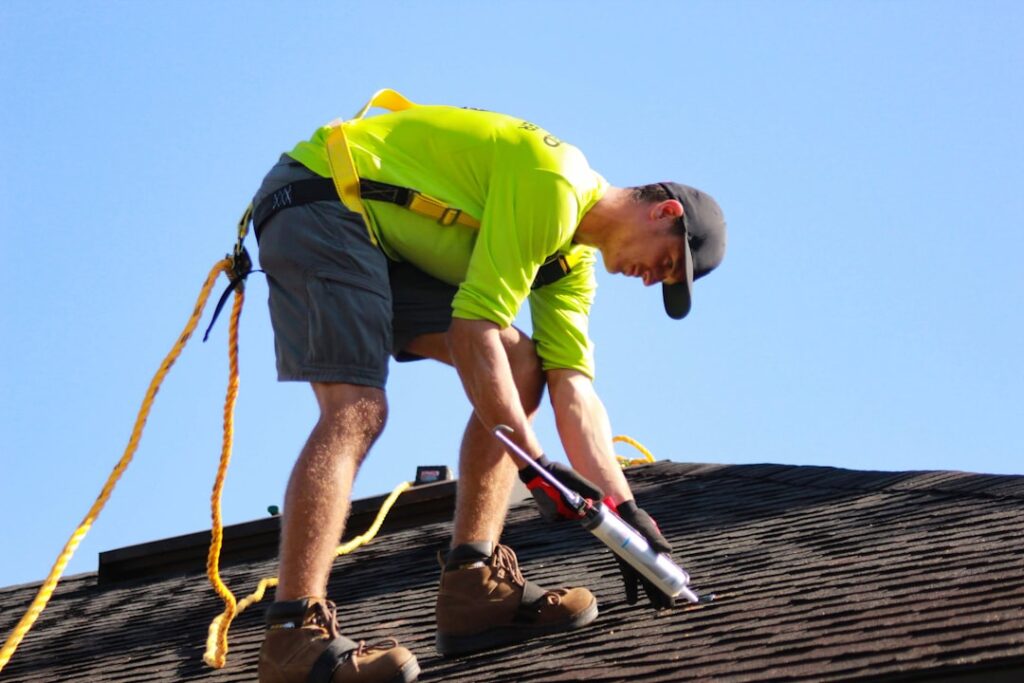
A full tear-off and reroof on a 2,000-square-foot house runs $9,000 to $18,000 with a contractor, and roughly 60 percent of that bill is labor. That math is why so many homeowners look at diy roofing as a way to keep thousands of dollars in their own pocket. The honest answer is that some roofing work is well within reach of a fit, careful DIYer, while other jobs will hurt you, void your warranty, or leak within a year if you get them wrong. This guide draws a clear line between the two so you can decide where your weekend and your ladder actually belong.
- Jobs a Homeowner Can Reasonably Handle
- Jobs Best Left to a Licensed Roofer
- Tools and Materials You Will Need
- Safety Is the Whole Ball Game
- Permits, Codes, and Warranties
- What DIY Roofing Actually Saves You
- A Sensible Middle Path
- Signs You Should Stop and Call a Pro
- Planning the Weather Window
- Estimating Materials Without Overbuying
Jobs a Homeowner Can Reasonably Handle
Small, ground-adjacent, low-slope work is where most people should start. Replacing a handful of blown-off three-tab shingles after a windstorm is a genuine DIY task: you slide out the damaged tabs, pull the four to six nails holding each course, and slip in fresh shingles sealed with a dab of roofing cement. Resealing exposed nail heads on a metal roof, caulking around a pipe boot, or swapping a cracked plastic vent for a new one are all reasonable afternoon projects.
Cleaning gutters, installing gutter guards, and brushing moss off north-facing shingles with a 50/50 water and bleach mix also fall on the safe side of the line. So does laying a new roof on a detached shed, a doghouse, or a low garden structure where a fall means a bruise instead of a hospital stay. If you can reach the work from a stable ladder or the slope is under 4:12 and dry, your risk drops sharply.
Jobs Best Left to a Licensed Roofer
A complete tear-off is not the place to learn. Stripping and replacing an entire roof involves working at height for days, hauling 50 to 80 squares of debris, flashing chimneys and valleys correctly, and racing the weather so your deck never sits open in a storm. One botched valley or a chimney cricket installed backward can dump water into a wall cavity for months before you see a stain.
Steep roofs above a 6:12 pitch, second and third stories, slate, tile, and any structure with complex hips, dormers, and skylights all belong to pros with fall-arrest gear, staging, and experience. So does anything involving structural sheathing repair, sagging rafters, or a spongy deck. If your insurance is paying for storm damage, a licensed contractor also gives you documentation the adjuster will accept.
Tools and Materials You Will Need
Even a modest asphalt job has a real shopping list. Plan on a roofing hatchet or a pneumatic coil nailer, a flat pry bar or dedicated tear-off shovel, a chalk line, a hook blade utility knife, and a caulk gun. For fasteners, standard three-tab and architectural shingles take 1.25-inch galvanized roofing nails, four per shingle in most zones and six in high-wind areas.
- Underlayment: synthetic underlayment at roughly $30 to $45 per 10-square roll, plus self-adhering ice-and-water shield along eaves and valleys.
- Shingles: architectural asphalt runs $95 to $170 per square (100 square feet) at the lumberyard.
- Flashing: step flashing, drip edge, and pipe boots sized to your penetrations.
- Safety gear: a roofing harness and rope-grab kit for $100 to $200, plus soft-soled boots and knee pads.
Rent a magnetic sweeper for $15 a day to pull thousands of dropped nails out of your lawn and driveway before someone catches one in a tire or a foot.
Safety Is the Whole Ball Game
Falls are the leading cause of construction deaths, and homeowner roofs are no gentler than job sites. Never work on a wet, frosty, or windy roof. Anchor a proper harness to a ridge anchor screwed into the rafters, not to a vent or a gutter that will tear loose under load. Set your ladder at a 4-to-1 angle, extend it three feet above the eave, and tie it off at the top.
Watch the weather and the temperature. Asphalt shingles get slick and scuff-prone above 90°F and crack when you bend them below about 40°F, so aim for a mild, dry stretch. If you feel your heart pounding at the edge or you catch yourself hurrying, that is your signal to come down.
Permits, Codes, and Warranties
Most municipalities require a permit for a reroof, and many cap how many shingle layers you can stack, usually two, before a full tear-off is mandatory. Pulling the permit triggers an inspection that protects you at resale. Skipping it can stall a sale and expose you to fines.
Read the shingle warranty before you open a bundle. Manufacturers like GAF, Owens Corning, and CertainTeed void the workmanship portion of an enhanced warranty unless a certified installer does the work, though the basic material defect coverage often survives a DIY install. Your homeowners policy may also treat self-performed roofing differently if a later claim traces back to your workmanship.
What DIY Roofing Actually Saves You
Labor is the prize. On a $14,000 professional reroof, materials might account for $5,000 to $6,000, meaning a determined DIYer who buys the same shingles could theoretically finish for well under half the quoted price. Dumpster rental adds $350 to $600, and a permit runs $150 to $500 depending on your city.
Be realistic about the hidden costs, though. A crew of five finishes an average roof in one or two days; a solo homeowner working weekends may take three or four full days, leaving the deck vulnerable to rain in between. Factor in tool rental, your own time, and the risk premium of an open roof, and the savings shrink from dramatic to merely good.
A Sensible Middle Path
You do not have to choose between doing everything and doing nothing. Many homeowners split the job: they handle the tear-off and haul-away themselves to shave $1,500 to $3,000 off the bill, then hand a clean deck to a roofer for the technical dry-in and finish. Others hire out the main house and reserve their own labor for the porch, the shed, or the carport where the stakes are lower.
Whatever you choose, be honest about your comfort with heights, your free time, and your tolerance for redoing a leak in January. Done thoughtfully, diy roofing can be a smart, satisfying project. Done in a hurry on a steep roof with the wrong gear, it is one of the fastest ways to turn a savings plan into an emergency room visit.
Signs You Should Stop and Call a Pro
Certain discoveries mean the job just outgrew your skill set. Spongy decking underfoot, daylight through the sheathing, rot around a chimney, or multiple layers of old shingles all point to a bigger project than a weekend allows. Widespread granule loss, curling across whole slopes, or sagging ridgelines signal structural questions an experienced roofer needs to answer.
There is no shame in stopping. A roofer who inherits a partially finished job will still save you the cost of a full crew tear-off, and you will sleep better knowing the flashing and valleys were done by someone who does it every day. Know your limits before you climb, and you will make the right call.
Planning the Weather Window
Timing is half the battle on a DIY roof, and homeowners consistently underestimate how much weather dictates the schedule. Asphalt shingles want a mild, dry stretch between about 45°F and 85°F to seal and handle well. Below 40°F the shingles get stiff and the self-sealing strips will not activate until it warms up, which leaves them vulnerable to wind uplift; above 90°F the asphalt softens, scuffs under your boots, and tears easily.
Watch the forecast for a run of clear days, not just a clear morning. A partially stripped deck caught in an afternoon thunderstorm can soak your sheathing, run water into the ceilings below, and turn a savings project into a repair bill. As a rule, never open up more roof than you can dry-in with underlayment before the end of the day. Keep a couple of tarps staged at the ridge so you can button up fast if a storm blows in ahead of schedule.
Estimating Materials Without Overbuying
Roofing is sold by the square, which equals 100 square feet, and getting the count right saves both money and return trips. Measure each roof plane, multiply length by width, and add the planes together, then divide by 100 to get your squares. Add roughly 10 to 15 percent for waste on cuts, starter courses, and hip-and-ridge caps, and more if your roof has lots of valleys and dormers.
Do not forget the accessory list that surrounds the shingles. You will need starter strip along the eaves and rakes, hip-and-ridge cap shingles, a roll of underlayment per about three to four squares, ice-and-water shield for the eaves and valleys, drip edge for every eave and rake, and enough nails to run four to six per shingle. Buying these in the right quantities up front keeps the job moving and avoids the momentum-killing hardware store run in the middle of a dry-in race.