Anyone who has paid a contractor $4,000 in labor to install 500 square feet of flooring has asked the same question: what can I do myself next time? The honest answer is quite a lot. The easiest flooring to install delivers professional results for DIYers who can measure, cut straight, and follow instructions. Click-lock LVP, floating laminate, carpet tiles, and peel-and-stick vinyl have removed nearly every technical barrier that used to make flooring a pro-only job. This guide ranks the most DIY-friendly options, what tools each requires, realistic timelines, and where DIY stops making sense.
- Ranking the DIY Options
- 1. Rigid Core Click-Lock LVP (SPC or WPC)
- 2. Floating Laminate
- 3. Peel-and-Stick Vinyl Tile or Plank
- 4. Carpet Tiles
- 5. Floating Engineered Hardwood
- What Makes a Floor DIY-Friendly
- Tools Every DIY Installer Needs
- Prep: The Step Most DIYers Skip
- Room-by-Room Best Picks
- When to Call a Pro
- Realistic Timeline for a 200 sq ft Room
- Bottom Line
Ranking the DIY Options
1. Rigid Core Click-Lock LVP (SPC or WPC)
The easiest flooring to install for most homeowners today. Planks click together without glue, nails, or staples. Works over almost any hard subfloor with minimal prep. Waterproof, so kitchens and bathrooms are fair game. Brands include Pergo Extreme, COREtec, LifeProof, and Shaw Floorte.
- Tools needed: utility knife, miter saw or flooring shear, tape measure, pull bar, spacers.
- Skill level: beginner.
- Speed: 100 to 150 sq ft per day for a first-timer.
- Material cost: $2.50 to $6 per sq ft.
2. Floating Laminate
The original click-lock system and still a leader. Pergo, Mohawk RevWood, and Quick-Step install the same way as LVP but with a wood-based core. Not truly waterproof, so avoid bathrooms. Slightly louder underfoot than LVP without underlayment.
- Tools needed: miter saw, jigsaw, utility knife, pull bar, spacers, underlayment.
- Skill level: beginner.
- Speed: 100 to 150 sq ft per day.
- Material cost: $1.50 to $4 per sq ft.
3. Peel-and-Stick Vinyl Tile or Plank
The single easiest product to install if the subfloor is flat and clean. Peel the backing, press in place, roll to seat. Perfect for closets, small bathrooms, laundry rooms, and rentals.
- Tools needed: utility knife, straightedge, J-roller, tape measure.
- Skill level: absolute beginner.
- Speed: 50 to 100 sq ft per hour after setup.
- Material cost: $0.80 to $2.50 per sq ft.
- Caveat: budget tiles can lift within a few years. Splurge for premium peel-and-stick like FloorPops or Smart Tiles.
4. Carpet Tiles
Modular squares (typically 18 x 18 or 24 x 24 inches) that install with peel-and-stick dots or loose-laid with tackifier. FLOR, Mohawk Air.O, and Shaw Contract all offer DIY-friendly systems.
- Tools needed: utility knife, tape measure, chalk line, tackifier (if loose-lay).
- Skill level: beginner.
- Speed: 75 to 150 sq ft per hour.
- Material cost: $3 to $12 per sq ft.
5. Floating Engineered Hardwood
Click-lock engineered wood from Kahrs, Pergo Timbercraft, and similar brands. Real wood surface with the installability of laminate. Pricier than LVP but delivers genuine hardwood look.
- Tools needed: miter saw, pull bar, tapping block, spacers.
- Skill level: beginner to intermediate.
- Speed: 100 to 150 sq ft per day.
- Material cost: $4 to $9 per sq ft.
What Makes a Floor DIY-Friendly
Five factors determine whether a flooring type is truly easy for a homeowner to install.
- No wet adhesives: mortar, thinset, and urethane adhesive all require skill and timing.
- No specialty power tools: nail guns, table saws, and flooring kickers add cost and learning curve.
- Forgiving subfloor tolerances: click-lock LVP accepts 3/16 inch of variation over 10 feet; tile demands 1/8 inch.
- Simple cutting: score-and-snap or miter saw cuts beat wet saws and jigsaw-only cuts.
- Clear click systems: tight angle-in locks beat drop-lock or tap-lock systems that can be damaged by overzealous hammering.
Tools Every DIY Installer Needs
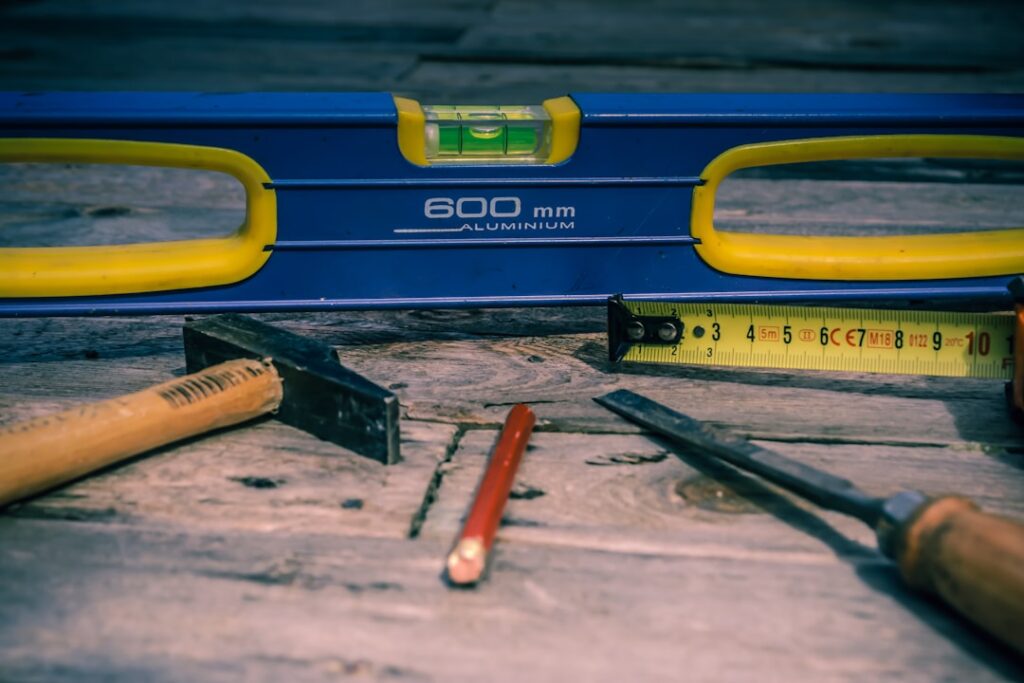
You can install most easy flooring types with a basic homeowner toolkit. Here is the minimum.
- Tape measure, pencil, and combination square.
- Utility knife with spare blades.
- Rubber mallet.
- Pull bar and tapping block (included in $20 installation kits).
- 1/4 inch spacers.
- Miter saw or flooring shear for cross cuts.
- Jigsaw for curves around toilet flanges and vents.
- Oscillating multi-tool for undercutting door jambs.
- Kneepads (your knees will thank you).
Prep: The Step Most DIYers Skip
The fastest way to fail a DIY install is to skip subfloor prep. Spend half a day on prep and the install goes smoothly.
- Clear the room including baseboards where necessary.
- Fix low spots on concrete with self-leveling compound.
- Fasten loose plywood with ring-shank nails or deck screws.
- Vacuum thoroughly — grit under LVP telegraphs through and wears the backing.
- Undercut door jambs before starting the first row.
- Test subfloor flatness with a 6-foot straightedge; shim or grind as needed.
Room-by-Room Best Picks
- Kitchen: rigid core click-lock LVP — waterproof, forgiving, easy to cut.
- Bathroom: rigid core click-lock LVP or peel-and-stick vinyl for small spaces.
- Bedroom: floating laminate or engineered wood.
- Living room: click-lock LVP or engineered wood, or carpet tiles.
- Basement: rigid core LVP over concrete (with vapor barrier if moisture present).
- Laundry room: peel-and-stick vinyl tile or LVP.
- Entryway: LVP or peel-and-stick tile with a sturdy mat.
When to Call a Pro
- Ceramic or stone tile — wet saws, thinset timing, and grout skill take training.
- Site-finished hardwood — sanders are powerful, dust is heavy, and mistakes ruin boards.
- Glue-down engineered wood — adhesive timing and roller technique matter.
- Herringbone or chevron patterns — layout math is unforgiving.
- Large rooms over 500 sq ft in complex shapes — pros move twice as fast.
Realistic Timeline for a 200 sq ft Room
- Prep: 3 to 5 hours.
- First row layout: 30 to 60 minutes.
- Main field: 4 to 6 hours.
- Cuts around obstacles: 1 to 2 hours.
- Baseboards and transitions: 2 to 3 hours.
- Total: 10 to 16 hours spread across a weekend.
Bottom Line
For a first-time DIYer, rigid core click-lock LVP is the easiest flooring to install with professional-looking results. Laminate runs a very close second. Peel-and-stick vinyl wins for tiny spaces and rentals. Carpet tiles handle bedrooms and playrooms without hassle. Skip tile, site-finished wood, and glue-down engineered unless you enjoy learning new trades. Budget realistic time, invest in a proper installation kit, and spend half a day on subfloor prep — the finished floor will be indistinguishable from a pro install, and you will pocket the $3 to $6 per sq ft labor charge.
Prefer to explore on your own?
See how new flooring looks in your actual room in seconds — free, no signup.
Try the free Floor Studio →