A tired, stained driveway drags down the whole look of a house, and epoxy driveway paint is one of the most popular ways to bring it back to life. Done correctly, it creates a hard, glossy, chemical-resistant surface that shrugs off oil drips, road salt, and the constant grind of tires. Done poorly, it peels within a season. This guide walks you through what the product actually is, how to apply it, what it costs, and the results you can realistically expect.
- What Epoxy Driveway Paint Actually Is
- The Benefits of Coating a Driveway
- What Epoxy Driveway Paint Costs
- Preparing the Surface Is Everything
- How to Apply Epoxy Driveway Paint Step by Step
- Real Results: What to Expect After Coating
- Common Mistakes to Avoid
- Epoxy Versus Other Driveway Finishes
- Adding Traction and Color for Safety and Style
- How Long the Coating Lasts and When to Recoat
- Is Epoxy Driveway Paint Right for You?
What Epoxy Driveway Paint Actually Is
Despite the name, most driveway epoxy is not paint in the traditional sense. It is a two-part coating: a resin and a hardener that you mix together right before application. That chemical reaction cures into a thick, plastic-like film that bonds tightly to concrete. Single-part “epoxy-fortified” paints also exist and are easier to use, but they are less durable than true two-component systems. For a driveway that sees vehicle weight and hot tires, a genuine two-part product delivers noticeably better longevity.
It is worth noting that classic epoxy performs best on concrete. On asphalt, most true epoxies do not adhere well, so asphalt driveways generally call for a dedicated coal-tar or acrylic sealer instead.
The Benefits of Coating a Driveway
Homeowners invest in a coating for both looks and protection. The upside is real when the prep is done right.
- Stain resistance: Cured epoxy repels motor oil, transmission fluid, and grease that would otherwise soak into bare concrete.
- Durability: The hard film resists abrasion from tires, foot traffic, and shovels.
- Easy cleaning: A sealed surface hoses off quickly instead of trapping dirt in porous concrete.
- Curb appeal: A uniform color, often with decorative flakes, hides old stains and patch marks.
- Moisture protection: The coating slows water intrusion that leads to freeze-thaw cracking.
What Epoxy Driveway Paint Costs
Budget is a mix of materials and prep tools. A quality two-part epoxy kit typically covers a few hundred square feet and runs anywhere from $50 to $150 per kit, and a standard two-car driveway of 500 to 700 square feet may need two or more kits. Add a concrete degreaser, an etching solution or a rented pressure washer, rollers, and a topcoat, and a DIY project often lands in the $200 to $600 range. Professional application, which includes grinding the surface for maximum adhesion, commonly costs $3 to $7 per square foot, so a full driveway can run $1,500 to $4,000 depending on size and system.
Preparing the Surface Is Everything
Nearly every epoxy failure traces back to poor prep. The coating can only grip a surface that is clean, dry, and slightly porous. Take these steps seriously.
- Repair cracks and spalls with a concrete patch and let them cure fully.
- Degrease oil spots with a dedicated concrete cleaner; epoxy will not stick to contaminated areas.
- Pressure wash the entire slab and let it dry completely, which can take a day or more.
- Etch the concrete with an acid or mechanically grind it to open the pores so the epoxy can bond.
- Test for moisture by taping a plastic sheet down overnight; condensation underneath means the slab is too damp to coat.
How to Apply Epoxy Driveway Paint Step by Step
Once prep is done, application moves quickly, so have everything staged before you mix.
- Choose a dry stretch of weather with temperatures generally between 50 and 90 degrees Fahrenheit.
- Mix the resin and hardener thoroughly and respect the pot life; the batch begins curing the moment it is combined.
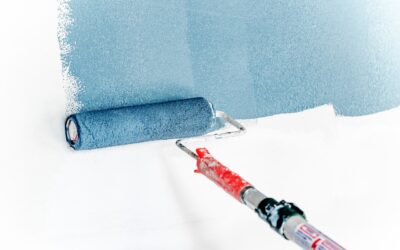
- Cut in the edges with a brush, then roll the main field in manageable sections using a wide roller on a pole.
- Broadcast decorative color flakes into the wet coat if you are using them.
- Allow full cure time, often several days before driving on it, and add a clear topcoat for extra gloss and traction.
A quick tip: work in sections and keep a wet edge so you avoid visible lap marks where one pass meets the next.
Real Results: What to Expect After Coating
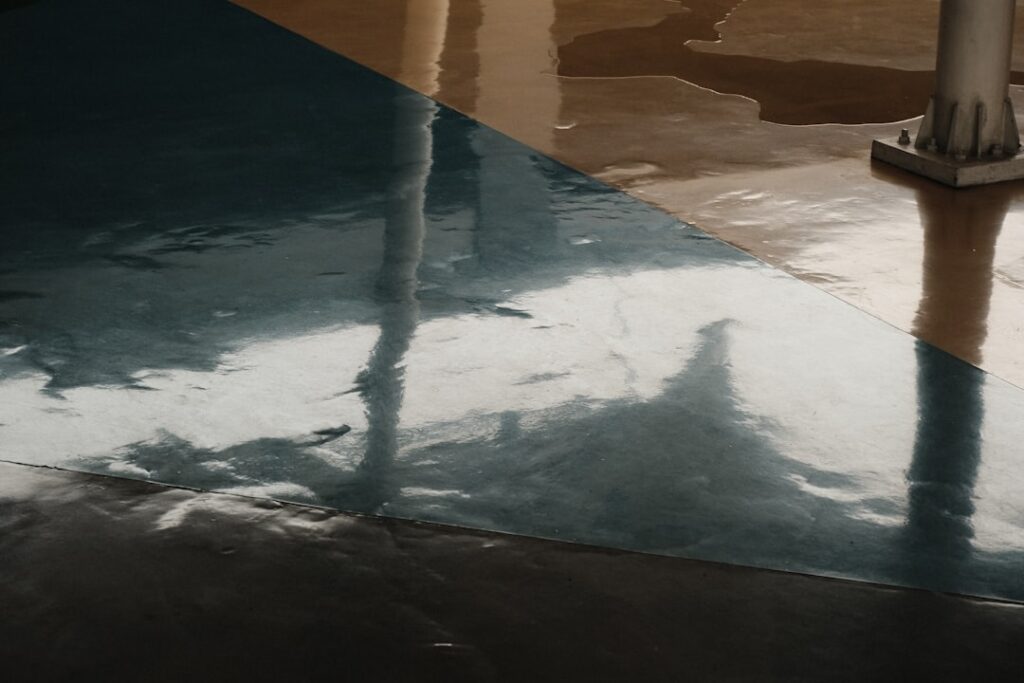
When applied over well-prepped concrete, epoxy driveway paint typically lasts several years before it needs a refresh, and high-quality professional systems can last considerably longer. You will get a glossy, easy-to-clean surface that resists stains and looks dramatically cleaner. Realistically, though, driveways take more abuse than garage floors. Direct sun can dull the gloss over time, hot tires can occasionally lift a poorly bonded coating, and heavy freeze-thaw cycles test every seal. Adding a UV-stable topcoat and reapplying when the finish starts to wear keeps results looking strong.
Common Mistakes to Avoid
Most disappointments are avoidable. Do not skip the etching or grinding step, because a smooth, sealed slab gives epoxy nothing to grab. Do not coat damp concrete, apply in freezing or scorching weather, or rush the cure by parking on it too soon. And do not assume a hardware-store single-part paint will match the durability of a true two-part kit; the price difference reflects a real performance difference.
Epoxy Versus Other Driveway Finishes
Before committing, it helps to see how epoxy stacks up against the alternatives. Acrylic concrete sealers are cheaper and easier to apply, but they wear faster and offer far less stain and abrasion resistance, so they need reapplication more often. Penetrating sealers soak into the concrete and protect from within without changing the look, which is great for preserving a natural finish but does nothing for appearance or stain-hiding. Polyaspartic and polyurea coatings are the premium tier: they cure fast, resist UV yellowing better than epoxy, and last longer, but they cost significantly more and usually require professional installation. For a homeowner who wants a durable, good-looking, budget-friendly upgrade on sound concrete, epoxy hits a sweet spot, especially when topped with a UV-stable clear coat.
Adding Traction and Color for Safety and Style
A glossy driveway can become slick when wet, so most quality systems let you build in traction. You can broadcast fine anti-slip aggregate, such as a polymer grit or silica sand, into the topcoat while it is still wet to create a subtle textured surface that grips underfoot and under tires. Decorative color flakes serve double duty here too: beyond their speckled, terrazzo-like appearance, they add a bit of surface texture and help hide dirt between cleanings. When choosing colors, mid-tone grays and tans hide tire marks and dust better than very light or very dark shades. Think through both looks and safety before you pick your kit, since adding traction after the fact means recoating.
How Long the Coating Lasts and When to Recoat
Longevity depends heavily on prep quality, product grade, climate, and traffic, so set realistic expectations. A well-applied two-part epoxy over properly prepped concrete generally holds up for several years before it needs attention, while cheaper single-part products may show wear within a year or two. Sun exposure gradually dulls the gloss, freeze-thaw cycles stress the bond, and hot tires can occasionally lift weak spots, especially where a car parks in the same place daily. Watch for early warning signs that a recoat is due: fading or chalky-looking gloss, thin worn patches in the tire paths, small chips exposing bare concrete, or peeling at the edges. Catching wear early is key, because a light scuff-sand and fresh topcoat over a still-bonded base is far easier than stripping a failed coating and starting over. A UV-stable clear topcoat added at install time and refreshed periodically is the single best way to stretch the years between full recoats and keep the driveway looking sharp.
Is Epoxy Driveway Paint Right for You?
If you have a sound concrete driveway with surface stains and you want a tougher, cleaner, better-looking finish, epoxy driveway paint is a rewarding project that pays off in both protection and curb appeal. Success comes down to honest prep and realistic expectations: prepare the surface meticulously, choose a genuine two-part system, respect the cure times, and top it with a UV-resistant clear coat. Follow that path and you will trade a dingy, stain-soaked slab for a smooth, durable surface that makes the entire front of your home look freshly renewed.