An epoxy pool deck is one of the fastest ways to turn cracked, faded concrete into a surface that looks finished and holds up to sun, splash, and bare feet. The coating bonds to your existing slab, seals out water, and gives you a custom color or flake pattern without tearing anything out. Done right, it lasts years. Done in a hurry, it peels by the second summer.
This guide walks you through what the system actually is, what it costs, how the surface gets prepped, and the slip-resistance details that matter most around water. Whether you plan to hire a contractor or roll it on yourself, you will know what a quality job looks like.
What an Epoxy Pool Deck Actually Is
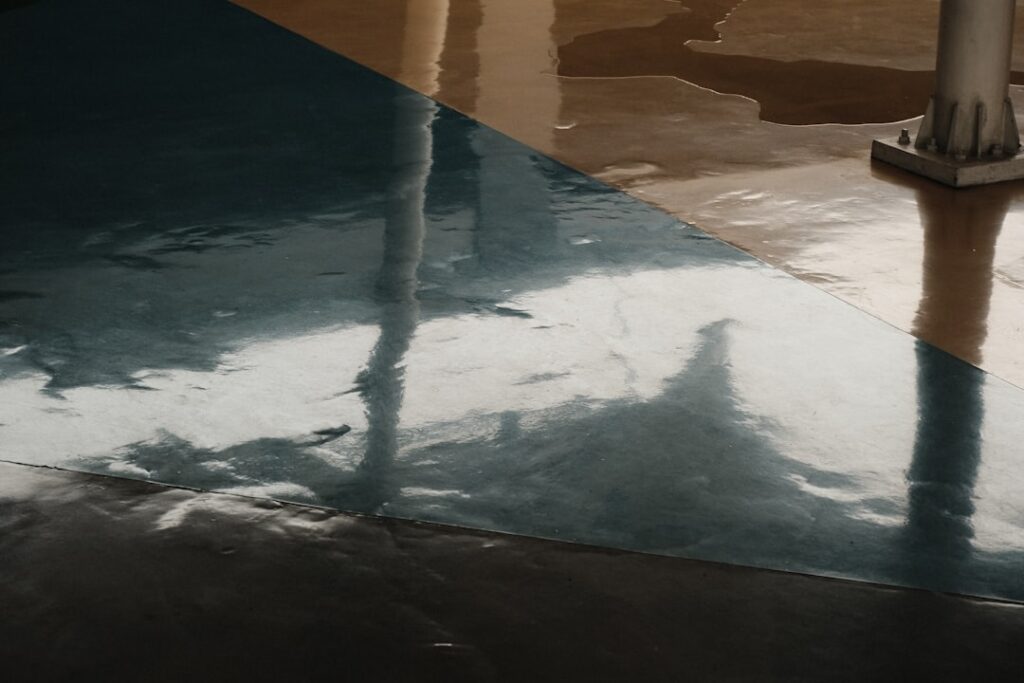
Most “epoxy” pool decks are really a layered system. A pigmented epoxy or polyaspartic base coat goes down first, decorative vinyl flakes or quartz aggregate get broadcast into it, and one or two clear topcoats lock everything in. The flakes are not just for looks. They build texture, hide minor imperfections, and create the micro-grip you want next to a pool.
Pure epoxy on its own can chalk and yellow under constant UV, which is why exterior decks usually finish with a polyaspartic or aliphatic urethane topcoat rated for sunlight. When someone sells you a “pool deck epoxy,” ask what the topcoat is. That single layer determines whether the color survives five summers of direct exposure.
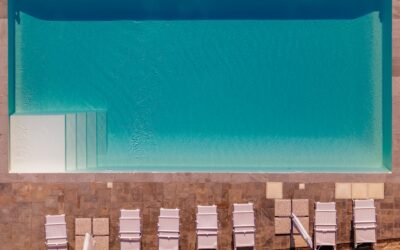
After the flooring is sorted, the right furniture makes all the difference. A set of poolside lounge chairs and a gazebo for shade can turn a basic pool deck into something that actually feels like a backyard retreat.
We may earn a commission when you purchase through our links.
Pros and Cons Around Water
The upside is real. A seamless coating means no grout lines to scrub, no pavers to shift, and a waterproof shell that keeps moisture out of the concrete below. You can match the deck to your home, add a cool-deck additive to reduce heat underfoot, and clean the whole thing with a hose and mild soap.
- Slip resistance: aggregate or flake broadcast gives traction even when wet.
- Speed: many crews finish a residential deck in two to three days.
- Cooler surface: lighter colors and cool additives cut barefoot heat.
- Repairability: chips can be patched and recoated without a full redo.
The downsides come from poor application. Coatings over a slab that traps moisture will bubble and delaminate. A smooth topcoat with no grit becomes dangerous when wet. And any system installed below its minimum temperature simply will not cure correctly.
What It Costs
Expect roughly $4 to $9 per square foot for a professionally installed flake or quartz system, with premium polyaspartic builds and heavy repair work pushing toward $10 to $14 per square foot. These are estimates that swing with your region, slab condition, and the number of coats. A 600-square-foot deck commonly lands somewhere between $2,500 and $6,000 installed.
A DIY kit covering 200 to 300 square feet typically runs $150 to $500 depending on the resin and the topcoat quality. The savings are tempting, but factor in the cost of a concrete grinder rental, the value of getting the prep right, and the reality that a failed coat costs more to strip than the original install.
Surface Prep: Where Jobs Are Won or Lost
Adhesion is everything, and adhesion starts with prep. The slab needs to be clean, sound, profiled, and dry. Skip any one of those and the coating has nothing to grab.
- Repair first. Fill cracks and spalls, and grind down any high spots or old coatings.
- Profile the concrete. Diamond-grinding or shot-blasting opens the surface to a CSP 2-3 profile so resin can key in. Acid etching is a weaker fallback.
- Test for moisture. Run a calcium chloride or relative-humidity test. Vapor pushing up from below is the number one cause of bubbling.
- Clean thoroughly. Vacuum dust, degrease oil stains, and let everything dry completely.
Check the manufacturer data sheet for slab age too. Fresh concrete usually needs to cure 28 days before it can take a coating.
Step-by-Step Application Overview
Once prep is done, the work moves fast and the working windows are short. Read the product data sheet and respect every temperature and recoat number it lists.
- Tape and mask edges, expansion joints, and any coping you want to protect.
- Mix the base coat in full kits, never by guesswork, and roll it on evenly.
- Broadcast flakes or quartz into the wet base until you hit refusal for full coverage.
- Once cured, scrape and vacuum loose flakes, then apply the clear topcoat.
- Add a second topcoat with anti-slip grit suspended in it for traction.
Air and surface temperature usually need to sit between 50°F and 90°F, and you want to avoid direct rain or heavy dew during cure. Polyaspartic topcoats cure quickly, sometimes within hours, while standard epoxy can need a full day between steps.
Slip Resistance and Safety
Around a pool, a slick deck is not a cosmetic flaw, it is a hazard. Build texture in deliberately. Broadcasting an anti-slip aggregate such as fine silica or polymer grit into the topcoat gives wet feet something to hold. Talk through the grit level with your installer, because too much makes the deck rough on bare feet and harder to clean, while too little defeats the purpose.
Treat the chemistry with respect as well. Epoxy and its hardeners off-gas during application, so work in open air, wear gloves and eye protection, and use a respirator rated for organic vapors when the data sheet calls for it. Keep the area ventilated until cure is complete.
Most important: let the deck reach full cure before water touches it. Light foot traffic might be fine in a day, but full chemical cure and the green light for pool splashing and standing water can take several days. Refilling or swimming too soon can ruin the bond you paid for.
DIY or Hire a Pro
A small, sound, dry slab in a mild climate is a reasonable weekend DIY project if you rent a grinder and follow the data sheet line by line. The risk is concentrated in prep and moisture testing, two steps homeowners tend to rush.
For large decks, slabs with a moisture history, or any job where you want a long warranty, hire a licensed coatings contractor. Ask to see local pool-deck work a few summers old, confirm the topcoat is UV-rated, and get the slip-resistance plan in writing. A pro absorbs the prep risk and stands behind the result.
Keeping It Looking New
Maintenance is light. Rinse debris, wash with a mild pH-neutral cleaner, and avoid harsh solvents that can dull the topcoat. Rinse off pool chemicals promptly so they do not sit and etch the finish. Inspect once a year, touch up any chips early, and plan on a fresh clear topcoat every several years to refresh both the gloss and the grip.
With honest prep, a UV-stable topcoat, and built-in traction, an epoxy pool deck gives you a clean, cohesive surface that shrugs off sun and splash for years. Match the system to your slab and your climate, respect the cure times, and the deck will reward you every summer you own it.