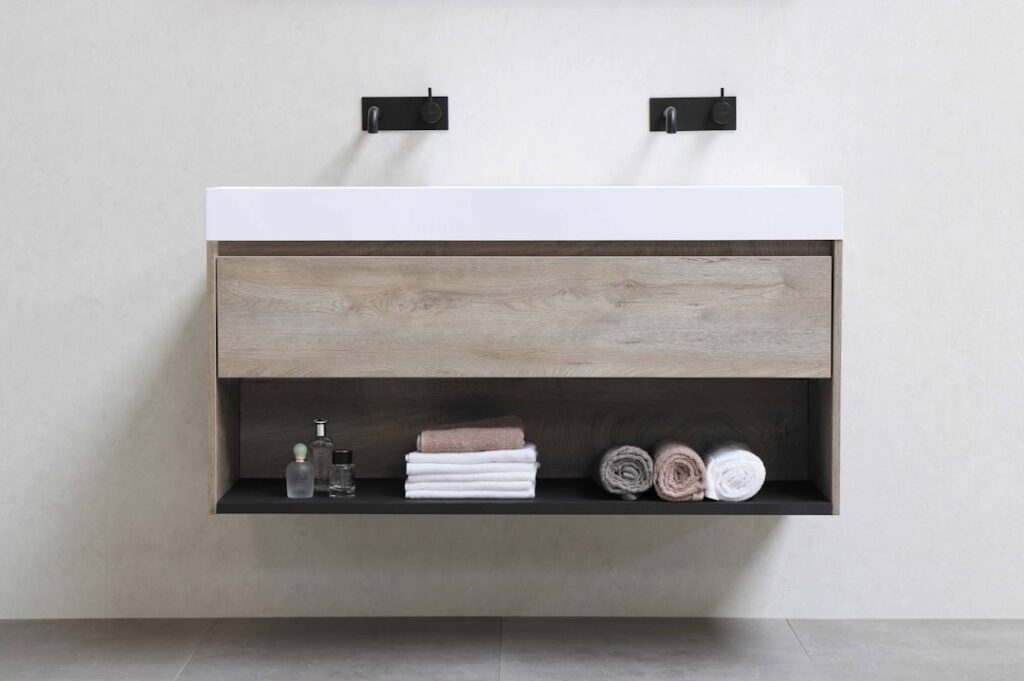
The dead space under a bathroom sink is one of the most wasted storage spots in the house, and a flip top vanity is the clever fix. That false panel across the front of a vanity — the one that looks like a drawer but is not — tilts out to reveal a hidden tray perfect for toothbrushes, sponges, and small clutter. It turns a decorative dead panel into real, usable storage, which in a small bathroom is worth a surprising amount.
- What a Flip Top Vanity Actually Is
- Why the Space Under a Sink Is Usually Wasted
- What to Store in the Flip-Out Tray
- Retrofitting vs. Buying New
- How to Retrofit a Tip-Out Tray
- Sizes and Fit
- What a Flip Top Vanity Costs
- Kitchen Sink Versions
- Tips for the Best Result
- Combining Flip-Out Storage With the Rest of the Vanity
- Choosing a Vanity With the Feature
- Keeping the Tray Clean and Functional
- The Bottom Line
Here is how flip-front vanities work, what they store best, the sizes and prices, and how to add one to your bathroom.
What a Flip Top Vanity Actually Is
The term describes a vanity where the front panel below the sink — normally a fixed, fake drawer front because the sink basin and plumbing block a real drawer — is instead hinged to tilt down and out. Behind it sits a shallow tray or tip-out tray. It is sometimes called a tip-out tray, flip-down front, or tilt-out drawer. The mechanism is simple: special hinges let the panel pivot forward, and a small plastic or metal tray clips to the back of it or mounts to the cabinet.
The genius is that it reclaims the space directly in front of the sink bowl — space a normal drawer can never use because the basin is in the way.
Why the Space Under a Sink Is Usually Wasted
In any vanity, the sink basin and its drain drop straight down behind the top front panel. That is why the panel there is almost always a fixed false front — you cannot put a working drawer where the bowl sits. The flip-out tray solves exactly this problem by using the thin sliver of space in front of and beside the bowl that would otherwise be sealed off forever. It is not deep, but it is perfectly sized for the small stuff that clutters a counter.
What to Store in the Flip-Out Tray
The tray is shallow, so it shines for small, flat, frequently used items:
- Toothbrushes and toothpaste
- Sponges and dish scrubbers (at a kitchen sink version)
- Makeup brushes, tweezers, nail clippers
- Hair ties, bobby pins, small combs
- Razors and small grooming tools
- Rings and small jewelry you take off at the sink
Keeping this stuff off the counter is the whole point — it makes a small vanity look dramatically less cluttered.
Retrofitting vs. Buying New
You have two paths to a flip top vanity:
- Buy a vanity with the feature built in. Many manufacturers now include a tip-out front as standard. Cleanest result, no work.
- Retrofit your existing vanity. Tip-out tray kits are sold specifically to convert a fixed false front into a working flip-out. This is a very doable DIY project.
The retrofit is popular because almost every existing vanity has that useless false front just waiting to be converted, and the kits are inexpensive.
How to Retrofit a Tip-Out Tray
The DIY conversion is straightforward for anyone comfortable with a screwdriver:
- Remove the false front panel. It is usually held by screws, glue blocks, or clips from behind.
- Check clearance. Open the cabinet and confirm the sink bowl leaves room for a shallow tray behind the panel.
- Install the tip-out hinges on each side of the opening per the kit instructions.
- Attach the tray to the panel or cabinet as the kit specifies.
- Re-hang the panel on the hinges and test the tilt action for smooth, full travel.
The whole job takes 30-60 minutes and needs only a drill/driver, the kit, and a little patience getting the hinges aligned.
Sizes and Fit
Tip-out fronts come in standard vanity widths and tray depths. The panel width matches your existing false front — commonly found on vanities from 24 inches up. The tray depth is shallow, typically 2-4 inches, dictated by how close the sink bowl sits to the front. Measure the clearance behind your false front before buying a kit so the tray actually fits without hitting the basin or plumbing.
What a Flip Top Vanity Costs
Realistic 2025 pricing:
- Tip-out tray retrofit kit (hinges + trays): $10-$30
- Vanity with built-in flip-out front (24-36 in.): $200-$600
- Larger or higher-end vanity with the feature: $600-$1,500+
The retrofit route is one of the highest-value small upgrades in a bathroom — a $20 kit that adds genuinely useful storage in under an hour.
Kitchen Sink Versions
The same idea appears at kitchen sinks, where the false front below the sink flips out to hold sponges, scrub brushes, and dish soap. Kitchen tip-out trays are a bit deeper and are made to resist water and detergent. If your kitchen has that fixed false panel under the sink, the identical retrofit works there, and it is arguably even more useful — it gets the wet sponge off the counter and out of sight.
Tips for the Best Result
A few things learned from doing these:
- Buy quality hinges. Cheap tip-out hinges wear and sag; a slightly better kit stays smooth for years.
- Do not overload the tray. It is for lightweight small items, not heavy bottles.
- Check the tray is removable for cleaning — toothpaste and water collect in it.
- Match the tray depth to your clearance so the panel closes flush.
Combining Flip-Out Storage With the Rest of the Vanity
The flip-out tray is one piece of a smart vanity, not the whole solution. It handles the small daily items, but you still need a plan for everything else. Pair the tip-out front with drawers on the sides — where there is no sink bowl in the way — for towels, hair tools, and larger toiletries. Use the cabinet space below and around the P-trap for cleaning supplies and backup stock. Add a mirror cabinet or wall shelf above for medicine and overflow. Thinking of the flip-out tray as the “counter clutter catcher” and letting the drawers and cabinet handle bulk storage is how you get a genuinely organized vanity rather than one clever feature surrounded by chaos.
Choosing a Vanity With the Feature
If you are shopping new rather than retrofitting, a few things to check so the flip-out front actually earns its keep:
- Tray material and removability — look for a removable tray you can pull out and rinse, since it collects toothpaste and water.
- Hinge quality — better vanities use smooth, durable tip-out hinges that will not sag over years of daily use.
- Tray depth — deeper trays hold more, but only if the sink bowl leaves room; check the spec.
- Overall storage mix — make sure the vanity also has real drawers or shelves, not just the novelty tray.
A good flip-out front is a genuine convenience; a flimsy one with sagging hinges becomes an annoyance, so it is worth spending a little more on the hardware whether you buy new or retrofit.
Keeping the Tray Clean and Functional
The one downside of a flip-out tray is that it collects the residue of everything you keep in it — toothpaste smears, water, hair, and dust. A little upkeep keeps it pleasant to use. Choose a model with a removable tray so you can pull it out, dump it, and rinse it under the tap every couple of weeks. Wipe the panel and hinges occasionally so grit does not work into the pivot and make it stiff. Keep only lightweight, dry-ish items in it — toothbrushes, clips, grooming tools — and avoid leaky bottles or anything heavy that stresses the hinges. Treated this way, the tray stays clean and the tilt action stays smooth for years, and the small habit is well worth the counter space it frees up.
The Bottom Line
A flip top vanity is one of those small, smart upgrades that punches well above its cost. It converts the useless false panel in front of your sink into a shallow, perfectly sized tray for toothbrushes, grooming tools, and the small clutter that piles up on a counter. Buy a vanity with the feature built in, or retrofit your existing one with a $10-$30 tip-out kit in under an hour. Either way, you reclaim storage from the most wasted spot in the bathroom — and a tidier counter to show for it.