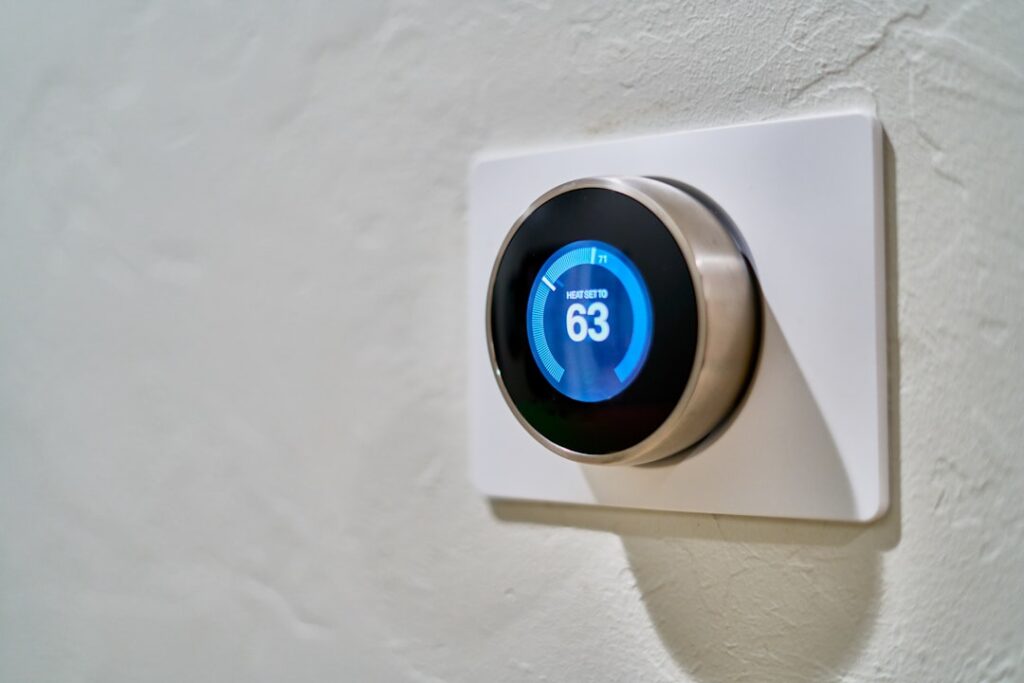
The heating mat gets all the attention, but the small box on the wall is what actually decides how comfortable your warm floor feels and how much it costs to run. A floor heat thermostat is the brain of any radiant floor system, reading the temperature of the floor itself and switching the heating cable on and off to hold your target. Choose the right one and the floor warms up before your alarm and shuts off when you leave, sipping electricity. Choose poorly and you either overheat the room or pay to warm an empty bathroom all day.
This guide breaks down the thermostat types, the critical role of the floor sensor, the smart features worth paying for, and the wiring basics so you can match the control to your system with confidence.
Why a Floor Heat Thermostat Is Different
A radiant floor thermostat is not the same as the wall thermostat that runs your furnace, and using the wrong one causes real problems. A standard thermostat measures air temperature, but a radiant floor is about the temperature of the surface under your feet, which can be warm even when the room air is comfortable. A dedicated floor heat thermostat therefore uses a floor sensor buried in the slab or mortar as its primary reference, so it controls the floor directly rather than guessing from the air.
Just as important, radiant systems draw significant current, and a floor heat thermostat is built with a relay and load rating sized for that draw, typically up to 15 amps, along with built-in GFCI protection required by code in wet areas like bathrooms. A furnace thermostat is not rated to switch that kind of load and lacks the GFCI, which is why you must use a purpose-built radiant control.
The Floor Sensor: The Most Important Part
The floor sensor is a thin probe on a wire that gets embedded in the mortar between two runs of heating cable during installation, and it is the reason the thermostat can protect both your comfort and your floor. Because the sensor reads actual floor temperature, it prevents the surface from exceeding a safe limit, which matters enormously for temperature-sensitive finishes; engineered wood and luxury vinyl often cap out around 82 to 85°F, and the sensor is what enforces that ceiling.
Most quality thermostats can operate in three modes: floor sensing only, air sensing only, or a combination that uses air temperature to control the room while the floor sensor acts as a high-limit safety. The combination mode is often ideal, giving you responsive room heating without ever letting the floor overheat. Because the sensor is buried and hard to replace, install a spare sensor wire in the same conduit during construction; if the primary ever fails, you can switch to the backup without tearing up the floor.
Programmable Versus Smart Thermostats
The cheapest option is a simple non-programmable dial or digital thermostat that holds one setpoint until you change it. It works, but it wastes energy because the floor runs the same around the clock. A 7-day programmable thermostat is the practical standard for most homeowners, letting you schedule the floor to warm up 30 to 60 minutes before you wake, ease off during the day, and warm again in the evening, which is where radiant heating gets its low operating cost.
Smart Wi-Fi thermostats add remote control from a phone app, integration with voice assistants and home automation, energy-use reporting, and adaptive learning that figures out how long your specific floor takes to reach temperature so it starts heating at exactly the right moment. Brands like Nuheat Signature, Warmup, Schluter DITRA-HEAT, and Honeywell offer smart radiant thermostats generally priced between $150 and $300. For a floor you use on a daily schedule, the scheduling and adaptive-start features usually pay for themselves in reduced runtime.
Key Features Worth Paying For
A few features separate a frustrating thermostat from a set-and-forget one. Adaptive or early-start learning is near the top of the list, because it warms the floor to be ready exactly when you want it rather than making you guess at a start time. A clear, backlit touchscreen makes programming painless, and a floor-temperature limit setting protects sensitive finishes automatically.
Built-in GFCI or GFEP protection is required in bathrooms and is a safety must; confirm any thermostat you buy includes it for wet locations. Energy-monitoring displays help you see what the system actually costs to run, which tends to reassure owners who worry about the electric bill. Finally, check the amperage rating against your heating mat’s draw; a single bathroom mat fits comfortably within a 15-amp thermostat, but a large open floor may need a relay or contactor to handle the load.
Wiring and Installation Basics
Installing a floor heat thermostat involves line-voltage wiring and, in wet areas, a dedicated GFCI-protected circuit, which puts the final electrical connection firmly in licensed-electrician territory in most jurisdictions. The thermostat mounts in a standard electrical box on the wall, with three sets of connections: the incoming power from the breaker, the heating mat’s power leads, and the floor sensor wire. The sensor and mat leads are run through conduit from the box down to the floor during the tile or slab work.
A critical step often overlooked is testing the heating cable’s resistance with a multimeter before, during, and after the mortar goes down, and confirming the thermostat reads the sensor correctly before the floor is finished. Once everything is buried and tiled, troubleshooting a wiring error means demolition, so verify every connection while the floor is still open. Always follow the manufacturer’s wiring diagram exactly, since terminal layouts differ between brands.
Matching the Thermostat to Your System
The safest path is to buy the thermostat from the same manufacturer as your heating mat whenever possible, because the sensor, the connectors, and the control logic are designed to work together and the warranty stays intact. If you mix brands, confirm the thermostat’s sensor is electrically compatible with your mat’s sensor resistance, since a mismatch throws off the temperature reading. For most bathroom and kitchen projects, a mid-range smart or 7-day programmable floor heat thermostat with GFCI protection, adaptive start, and a floor-temperature limit hits the sweet spot of comfort, safety, and low running cost, and it is the component you will interact with far more than the mat you will never see again.
Prefer to explore on your own?
See how new flooring looks in your actual room in seconds — free, no signup.
Try the free Floor Studio →