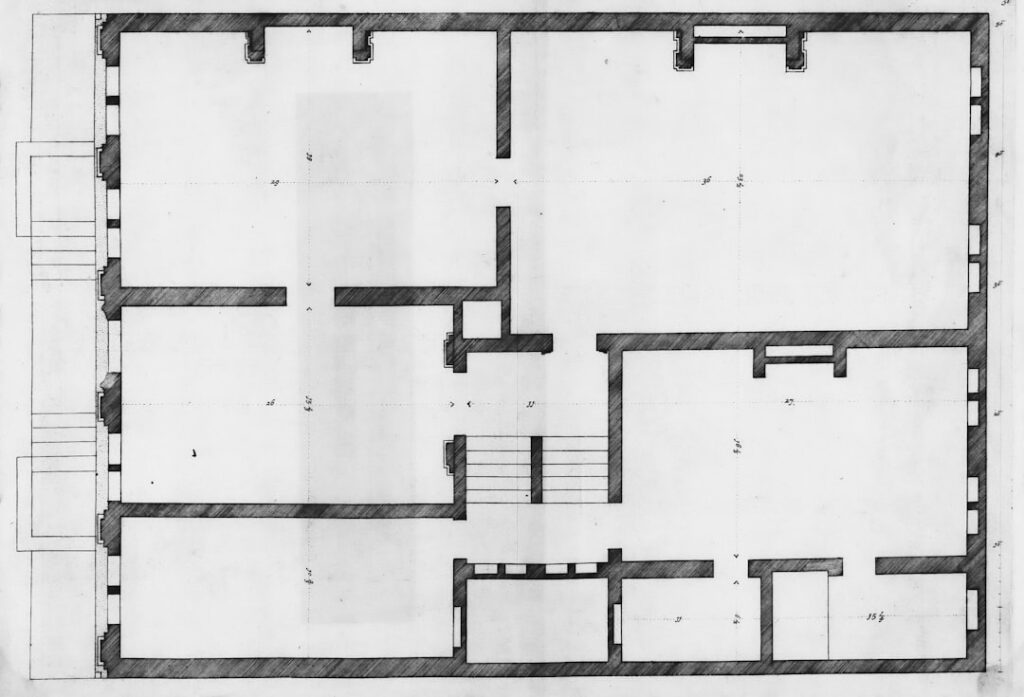
Before you order flooring, rearrange furniture, or plan a renovation, you need to know exactly what you are working with. A floor plan drawing is a scaled, top-down map of a room or home that shows walls, doors, windows, and dimensions, and it is the single most useful tool for planning any space accurately. You do not need to be an architect to make one. With a tape measure and either graph paper or free software, any homeowner can produce a clear, usable plan in an afternoon.
What a Floor Plan Drawing Shows
A floor plan is a view looking straight down at a space, as if the roof were removed. It captures the layout to scale, which means everything is drawn at a consistent ratio to its real size. A good plan includes the elements that matter for planning.
- Wall positions and lengths
- Door locations and swing direction
- Window placement and width
- Room dimensions and overall square footage
- Fixed features like stairs, closets, and built-ins
- Sometimes electrical outlets, plumbing, and furniture placement
For a flooring project, the plan tells you exactly how much material to order and how to lay it out. For a remodel, it becomes the foundation for everything that follows.
Step One: Measure Accurately
Accuracy starts with good measurements, so take your time here. Work room by room with a tape measure or, faster and more precise, a laser distance measurer.
- Sketch a rough outline of the room freehand first, without worrying about scale.
- Measure each wall’s length and note it on the sketch. Measure to the inch.
- Record the width of doorways and windows, and the distance from the corner to each opening.
- Note ceiling height and any alcoves, columns, or angled walls.
- Double-check by confirming opposite walls match and that your measurements add up around the room.
A laser measurer speeds this up dramatically and reduces errors, especially in larger or oddly shaped rooms.
Step Two: Choose a Scale
Scale is what turns rough measurements into a proportional drawing. A common choice for residential plans is 1/4 inch on paper equals 1 foot in real life, which fits most rooms on a standard sheet. For a large home you might use 1/8 inch per foot. Graph paper makes this easy, since you can simply let each square represent a set number of inches or feet. Whatever scale you pick, label it on the drawing so anyone reading it understands the proportions.
Step Three: Draw by Hand or Use Software
You have two good paths, and the right one depends on your comfort and the project’s complexity.
By hand: Graph paper, a ruler, and a pencil are all you need. Plot the walls to scale square by square, then add doors, windows, and features. Hand drawing is quick for a single room and requires no learning curve.
With software: Free and low-cost floor plan tools make polished, editable plans and often calculate square footage automatically. Many let you drag in furniture, test layouts, and even view the room in 3D. Popular options for homeowners include browser-based design tools and mobile apps, some of which can generate a rough plan just by scanning a room with a phone camera. Software shines for multi-room plans, repeated revisions, and sharing the file with a contractor or flooring supplier.
Adding Detail That Matters
Once the basic shape is down, layer in the details relevant to your project. For flooring, mark the direction you plan to run planks or the layout origin for tile, and note transitions between rooms. For furniture planning, draw pieces to the same scale so you can confirm a sofa or island actually fits with proper clearances. Standard symbols exist for doors, which are drawn as an arc showing the swing, windows, and stairs, and using them keeps the plan readable.
Common Mistakes to Avoid
- Sloppy measuring: Small errors compound. Measure twice and confirm the numbers close around the room.
- Ignoring scale: A drawing that is not to scale is just a sketch and will mislead your material estimates.
- Forgetting door swings and clearances: A layout that looks fine on paper can block a door or a walkway in reality.
- Leaving out fixed features: Radiators, columns, and built-ins all affect flooring and furniture, so include them.
- Not labeling dimensions: Write the measurements directly on the plan so you do not have to remeasure later.
Choosing Floor Plan Software
If you go the digital route, several types of tools fit different needs. Browser-based home design apps let you drag and drop walls, doors, and furniture with no installation, and many are free for basic projects. Mobile apps can scan a room with your phone’s camera or sensors to generate a rough plan automatically, which is a huge time-saver for measuring. For more detailed or professional work, dedicated CAD-style programs offer precise control and layered drawings, though they carry a steeper learning curve.
When picking a tool, prioritize ease of use over feature lists for a one-off homeowner project. Look for automatic square-footage calculation, a library of standard symbols, the ability to set your own scale, and an option to export or print the plan so you can hand it to a contractor or flooring supplier.
Reading an Existing Floor Plan
Sometimes you already have a builder’s plan and just need to understand it. Learn the common conventions and the drawing becomes easy to read. Walls appear as parallel lines, with thicker lines for exterior walls. Doors show as a line with a curved arc indicating the swing. Windows appear as thin breaks or triple lines in a wall. Stairs are drawn as a series of parallel lines with an arrow showing the up direction. Dimension lines with numbers give exact measurements. Once you recognize these symbols, you can verify the plan against your own measurements and spot any discrepancies before ordering materials.
Putting the Plan to Work
A finished floor plan drawing pays off immediately. Calculate square footage by multiplying length by width for each rectangular section, adding the sections together, and then adding about 5 to 10 percent extra for flooring waste and cuts. Use the plan to experiment with layouts before lifting a single board, to get accurate quotes from contractors, and to communicate your vision clearly. Keep a copy with your home records, since an accurate plan is useful again and again for future projects.
A floor plan drawing turns guesswork into a confident plan. Measure carefully, pick a clear scale, and draw it by hand or with free software, then add the details your project needs. With an accurate plan in hand, you will order the right amount of material, avoid layout surprises, and tackle any flooring or remodeling job with a real roadmap.
Prefer to explore on your own?
See how new flooring looks in your actual room in seconds — free, no signup.
Try the free Floor Studio →