
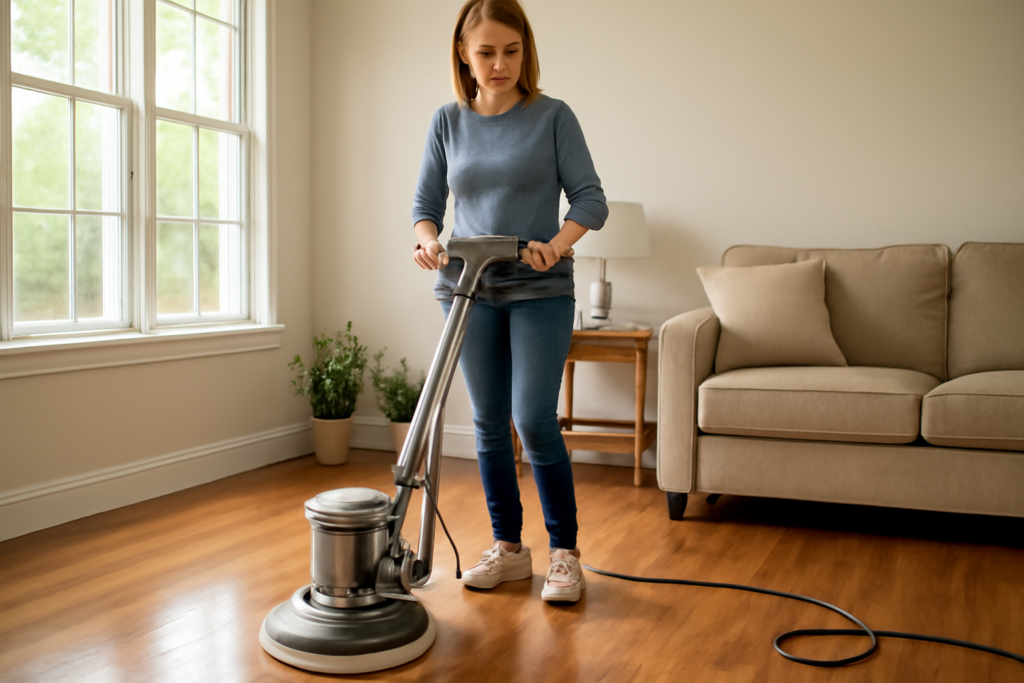
Hand-mopping can clean a floor, but it cannot restore the deep, even shine that makes a room look freshly remodeled. A floor polisher does exactly that, using a rotating pad to scrub, buff, and bring out a smooth gloss on hardwood, tile, vinyl, and stone. Whether you want to revive a tired entryway or keep a large kitchen looking its best, understanding the machine types and techniques will help you get professional-looking results at home.
What a Floor Polisher Does
A floor polisher uses one or more spinning pads or brushes to work across the floor surface. Depending on the pad and the machine speed, the same tool can scrub away grime, strip and apply finish, buff in polish, and burnish a floor to a high shine. The motorized agitation does the work your arms cannot match, producing a far more uniform result than hand polishing and covering large areas quickly.
Types of Floor Polishers
There are a few main categories, and choosing the right one depends on your floors and how much area you cover:
- Rotary (single-disc) polishers: A single pad spins at the base. Versatile and powerful, good for scrubbing and polishing, but they take practice to steer.
- Orbital and dual-action polishers: The pad vibrates or moves in small orbits. Much easier for beginners to control and gentler on delicate finishes.
- Twin or multi-disc home polishers: Lightweight machines with two or three small pads, designed for residential use on wood, tile, and laminate. Easy to handle.
- High-speed burnishers: Spin fast to create a wet-look gloss on finished floors. Specialized rather than all-purpose.
Polishing Different Floor Types
Technique and products change with the surface:
- Hardwood: Use a soft buffing pad and a wood-specific polish or finish restorer. Never flood wood with water, and always go with the grain on the final pass.
- Tile and stone: A polisher with the right pad brings up shine and works polish into the surface. Natural stone may need a stone-specific product and sealing afterward.
- Vinyl and laminate: Light-duty pads and a compatible polish refresh the surface. Avoid aggressive pads that can scratch the wear layer.
Always test in an inconspicuous corner first and confirm the polish is compatible with your floor before doing the whole room.
Choosing the Right Pad
Pads are the business end of any polisher. They range from aggressive scrubbing and stripping pads to soft polishing and buffing pads. As a general rule, darker pads are more aggressive and meant for stripping or heavy scrubbing, while lighter pads are for polishing and buffing to a shine. Start with the least aggressive pad that will do the job, and keep a few on hand since they wear out.
How to Use a Floor Polisher Safely
Rotary machines pull to one side, so the first few minutes can feel unwieldy. Work through these steps:
- Sweep and vacuum thoroughly. Grit under the pad will scratch your floor.
- Attach the correct pad, centered, and check it before plugging in.
- Hold both handles firmly, start with the pad flat, and let the machine glide rather than forcing it.
- Steer a rotary by slightly raising or lowering the handle. Small movements steer it left and right.
- Work in slow, overlapping passes and keep the cord behind you, away from the spinning pad.
Wear closed-toe shoes, keep children and pets clear, unplug before changing pads, and ventilate the room if you are using strippers or finishes.
Buy or Rent
The decision comes down to frequency and floor area. If you polish floors only once or twice a year, renting a commercial-grade machine for a day is the cheaper route and spares you storage. If you have large hard-surface floors, pets, or simply like keeping a high shine year-round, a lightweight residential polisher pays for itself in convenience. Prices for home polishers span a wide range depending on power and features, while rentals are charged by the half-day, day, or week. Compare the cumulative cost against your real usage before deciding.
Features Worth Looking For
If you decide to buy a residential floor polisher, a few features make a real difference in daily use. A lightweight design with an adjustable handle keeps the machine comfortable to maneuver and easy to steer. A built-in solution tank that dispenses polish or cleaner as you work saves you from stopping to apply product by hand. Variable speed lets you scrub gently or buff to a higher shine on the same machine. A long power cord, or a quality cordless model, reduces the hassle of unplugging and replugging as you move room to room. Finally, check that replacement pads are readily available and affordable, since pads are consumables you will buy repeatedly over the machine’s life.
Maintenance of Your Polisher
A floor polisher will last for years if you take care of it. After each use, remove the pads and clean them according to their type, letting them dry fully before storing so they do not develop odor or mildew. Wipe down the machine to remove polish residue and dust, and clear any solution tank to prevent buildup or clogging in the dispensing system. Check the cord for wear and store the machine in a dry place. Inspect the pad driver and brushes periodically for wear, and replace pads once they are matted or torn, since a worn pad gives poor results and can scratch the floor. Simple, consistent upkeep keeps the machine performing like new.
Getting the Best Shine
Preparation is everything. Clean the floor completely first so you are buffing a clean surface, not grinding dirt in. Apply polish in thin, even amounts rather than puddles. Keep the machine moving so it never dwells and burns one spot. Let finishes dry fully between coats, and step back periodically to catch missed areas. With the right machine, the correct pad, and a methodical approach, a floor polisher can make your floors look years newer and keep them that way with regular upkeep.
If you are just starting out, practice in a low-traffic area or a closet floor to get comfortable with how the machine handles before tackling a prominent room. Take your time on your first few projects, work in small sections, and check your results frequently under good lighting so you can adjust before finishing the whole floor. Over time you will develop a feel for the right pad, the right amount of product, and the steady pace that produces an even, professional shine every time you use the machine.
Prefer to explore on your own?
See how new flooring looks in your actual room in seconds — free, no signup.
Try the free Floor Studio →

