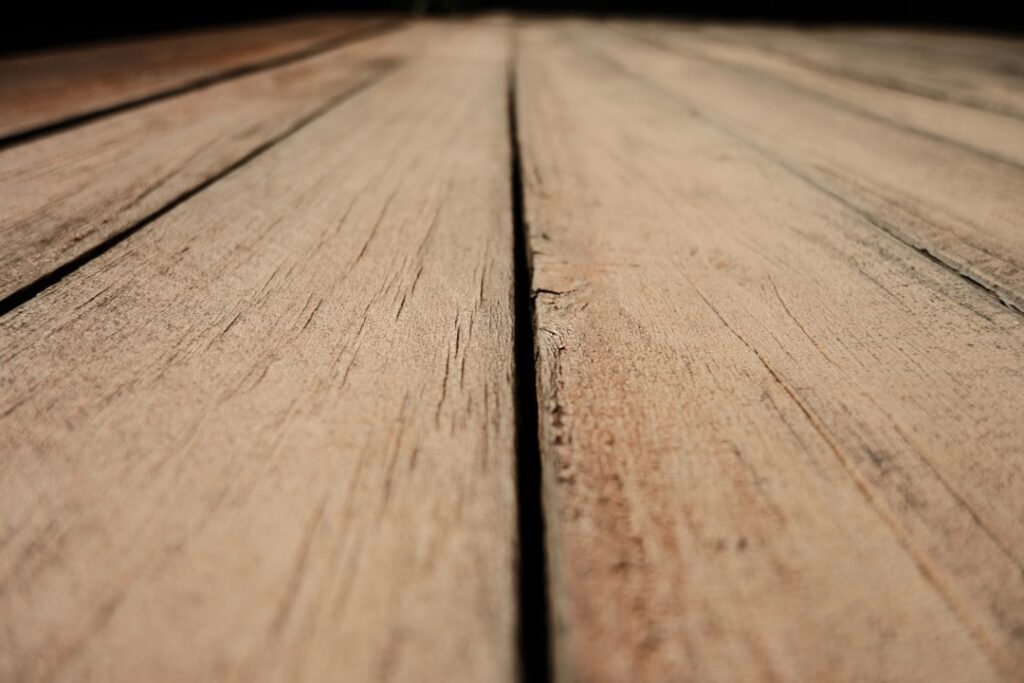
A weathered deck with peeling stain and a gray, splintery surface can look brand new again with the right preparation. Using a floor sander for deck refinishing strips away old coatings and rough wood far faster than hand sanding, giving you a smooth, clean surface ready for fresh stain or sealer. This guide explains which sander to use, how to choose the right grit, the proper technique, and the safety gear that makes the job safe.
Why Sand a Deck Before Refinishing
Stain and sealer only perform as well as the surface beneath them. A deck that has gone gray from sun exposure, or that has flaking old finish, will not accept new stain evenly. Sanding removes the degraded top layer, opens the wood grain, and creates the clean, smooth base a fresh finish needs to bond and last.
Power sanding also tackles raised grain and splinters that develop as boards weather, leaving a surface that is comfortable underfoot and far more attractive. Skipping this step is the most common reason a refinishing job looks blotchy or fails prematurely.
Choosing the Right Sander
Decks are not the same as interior hardwood floors, and the heavy drum sanders used indoors are usually too aggressive and hard to control on deck boards. The gaps between boards and the softer, weathered wood call for a more forgiving tool.
- Random orbital sander: The most popular choice for decks, controllable and unlikely to gouge, ideal for most homeowners.
- Belt sander: Faster material removal for badly weathered boards, but requires a steady hand to avoid uneven spots.
- Detail or corner sander: Reaches railings, edges, and tight spots the larger sander cannot.
- Floor buffer with sanding screen: Useful for a light overall scuff on large, flat deck areas.
For most deck projects, a random orbital sander paired with a detail sander for the edges and railings handles the entire job well without risking deep gouges.
Selecting the Correct Grit
Grit selection makes the difference between a smooth, finish-ready surface and one that is either too rough or burnished. The general approach is to work from coarser to finer in stages.
- Start with a coarser grit, often around 60 to 80, to remove old finish and gray, weathered wood.
- Follow with a medium grit, roughly 80 to 100, to smooth out the surface.
- Avoid going too fine, since over-sanding can close the grain and keep stain from absorbing properly.
For exterior decks you generally do not need the ultra-fine grits used on interior floors, because some texture helps the stain penetrate. Always check the recommendations of the stain or sealer you plan to use, as some specify a target grit.
Safety Gear and Precautions
Sanding generates large amounts of fine wood dust and noise, so protecting yourself is essential. Several pieces of protective equipment are non-negotiable for this job.
- Eye protection: Safety glasses or goggles to keep dust and debris out of your eyes.
- Hearing protection: Power sanders are loud over a full day of work.
- Dust mask or respirator: Wood dust is harmful to breathe, so wear a proper mask rated for fine particles.
- Gloves and sturdy footwear: To protect against vibration, splinters, and dropped tools.
One critical caution applies to older decks: paint or finish applied before 1978 may contain lead, and sanding it releases hazardous dust. If your deck is old and you are unsure about the existing coating, have it tested and consult a professional before sanding, since disturbing lead-based finishes requires special handling.
Step-by-Step Sanding Process
With the right tool, grit, and safety gear, the work itself is straightforward but rewards patience. Rushing leads to uneven results.
- Clear the deck, hammer down or replace any protruding nails and screws, and repair loose boards.
- Clean the deck and let it dry fully, since sanding damp wood gums up the abrasive.
- Sand with the grain using your coarse grit, keeping the sander moving to avoid dwelling in one spot.
- Switch to the medium grit and repeat for a smooth, even surface.
- Use a detail sander on railings, edges, and corners.
- Sweep, vacuum, and wipe away all dust before applying stain or sealer.
Keep the sander flat and moving at all times, and let the tool do the work rather than pressing down hard, which can create uneven low spots.
After Sanding: Finishing the Deck
A freshly sanded deck is vulnerable to moisture and UV, so apply your protective finish promptly once the surface is clean and dry. Choose a stain or sealer suited to your climate and wood type, and follow the manufacturer’s directions for application and dry time.
Remove every trace of dust first, since leftover grit ruins a smooth finish. Apply thin, even coats and respect the recommended drying intervals between coats and before letting traffic back on the deck.
Final Thoughts
Renting Versus Buying a Sander
For a one-time deck project, you may not need to own a sander at all. Weighing rental against purchase comes down to how often you expect to use the tool and how large the job is.
- Renting: Cost-effective for a single project, gives access to larger machines, and saves storage space. Often the smart choice for a one-time deck refinish.
- Buying: Makes sense if you have multiple decks, ongoing woodworking projects, or expect to refinish on a regular schedule.
If you rent, reserve the machine in advance and ask the provider which model suits a deck, since they can steer you toward a controllable random orbital rather than an aggressive drum sander meant for interior floors. Either way, budget for sandpaper or sanding discs in several grits, which are consumed quickly on rough deck wood.
Common Deck Sanding Mistakes
A few avoidable errors account for most disappointing deck-sanding results. Knowing them ahead of time keeps your finish smooth and even.
- Sanding damp wood: Moisture clogs the abrasive and prevents an even cut, so let the deck dry fully first.
- Dwelling in one spot: Holding the sander still gouges the soft wood, so keep it moving steadily.
- Over-sanding to too fine a grit: This closes the grain and keeps stain from absorbing.
- Skipping protruding fasteners: Nails and screws above the surface tear the sandpaper and damage the wood.
- Leaving dust before finishing: Residual dust ruins a smooth stain coat, so clean thoroughly first.
Working methodically along the grain, board by board, and resisting the urge to rush produces the most uniform result.
Refinishing a deck is one of the most satisfying weekend projects a homeowner can tackle, and the right tool makes it manageable. Using a floor sander for deck work, specifically a controllable random orbital model with the proper grit progression, strips away years of weathering and sets the stage for a finish that looks great and lasts. Wear your eye, ear, and dust protection, watch for lead-paint hazards on older decks, and take your time for results you will enjoy for seasons to come.