A floor sanding machine rental can turn a $2,000 professional refinishing job into a few hundred dollars of equipment and materials, which is why so many homeowners take on their own hardwood floors. The savings are real, but so are the risks: a powerful drum sander can carve a permanent dip into your floor in a matter of seconds if you handle it wrong. Understanding what to rent, which grits to buy, and how to move the machine is the difference between a floor that looks professionally done and one that shows every mistake under the new finish.
What It Costs to Rent
Rental pricing depends on the machine and your area, but these ranges are typical:
- Drum sander: $50 to $80 per day, the aggressive workhorse for flattening old finish fast.
- Orbital or square-buff sander: $40 to $60 per day, gentler and far more forgiving for beginners.
- Edger: $25 to $40 per day, a handheld disc sander for the perimeter the big machine can’t reach.
- Sandpaper: Budget $50 to $150 in assorted grits; most stores let you return unused packs.
For an average room you can usually finish in a single day rental, so expect a total of roughly $150 to $300 including paper and finish, versus $3 to $8 per square foot for a professional refinish.
Drum vs. Orbital: Which to Rent
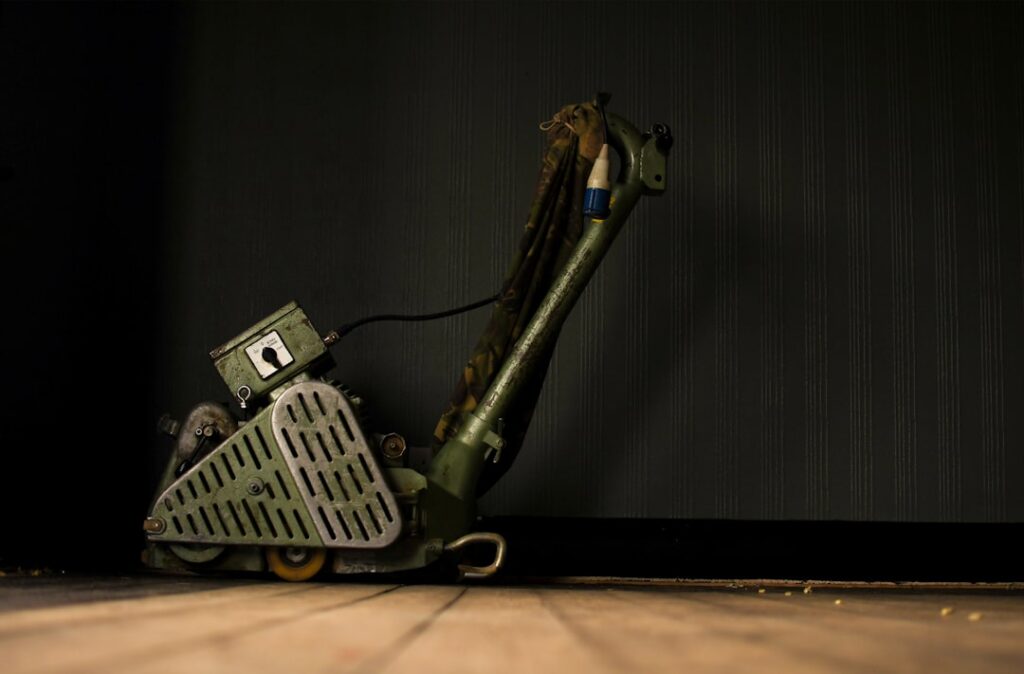
This is the most important decision you will make. A drum sander is powerful and removes old finish quickly, but it cuts aggressively and unforgivingly; pause in one spot or tip it wrong and it gouges. It is the pro’s tool and it demands respect. An orbital or square-buff sander is much slower but nearly impossible to damage the floor with, making it the smart choice for first-timers and for floors that only need a light refresh. If your floor has heavy old finish, deep stains, or significant unevenness, the drum sander is the right tool. If you just want to freshen a floor in decent shape, rent the orbital and save yourself the anxiety.
Understanding Sandpaper Grits
Refinishing is a sequence of progressively finer grits, and skipping steps leaves scratches that only appear after you apply the finish. A typical progression looks like this:
- Coarse (36 to 40 grit): Strips old finish and levels the surface.
- Medium (60 grit): Removes the scratches left by the coarse pass.
- Fine (80 to 100 grit): Smooths the wood for finishing.
Buy several of each grit, because worn paper cuts poorly and can burnish the wood. Change the paper the moment it stops cutting freely rather than pushing a dull sheet.
The Right Technique to Avoid Gouges
With a drum sander, the golden rule is that the machine must always be moving. Lower the drum only while walking forward, lift it before you stop, and never let it dwell in one place. Work with the grain of the wood in long, overlapping passes, keeping a steady walking pace. Tipping the machine back too abruptly or setting it down while the drum spins carves an instant divot. With an orbital sander the technique is much more relaxed, since the random pattern will not gouge, but you still move steadily and let the machine do the work rather than leaning on it.
Handling the Edges and Corners
The big sander cannot reach within a few inches of the walls, so you rent an edger for the perimeter. The edger is a fast, spinning disc that also cuts aggressively, so practice on a hidden area first and keep it moving in small arcs. Corners and tight spots around radiators get finished by hand with a scraper and sandpaper. Blending the edged perimeter into the field sanded by the big machine takes patience; a visible ring around the room is the classic DIY giveaway, so feather the transition with your fine grit.
Dust, Prep, and Safety
Sanding hardwood generates enormous amounts of fine dust. Wear a proper respirator, not a paper mask, plus eye and hearing protection. Empty the machine’s dust bag often, because an overfull bag reduces suction and, in rare cases with oil-based residue, poses a fire risk. Before you start, remove all furniture, pull or set every protruding nail, and seal off doorways with plastic to keep dust out of the rest of the house. Vacuum thoroughly between grits and again before finishing, since a single speck of grit ruins a smooth topcoat.
Planning the Job and the Rental Window
The biggest surprise for first-timers is how much the clock matters once the machine is in your garage. A floor sanding machine rental is typically billed by the day or in four-hour blocks, so it pays to have the room completely ready before you pick up the equipment. That means the furniture is out, the nails are set below the surface, the baseboards are protected or removed, and the doorways are sealed with plastic, all done the day before rather than on rental time. A single average bedroom is realistic in one day for a prepared DIYer, but a large living room, a whole floor, or a job with lots of edging can easily spill into a second day, so be honest about the square footage before you commit to a one-day rate. It is also smart to reserve the machine ahead of a weekend, since rental counters run short on Saturdays, and to confirm whether the quoted price is a four-hour or a full twenty-four-hour window so you can plan the sanding, the vacuuming, and at least a first coat of finish around it. Rushing the last grit to beat a return deadline is exactly how gouges and swirl marks end up locked under the topcoat.
Choosing and Applying the Finish
Sanding is only half the project, and the finish you choose shapes both the look and the timeline. Oil-based polyurethane is durable and inexpensive and gives wood a warm amber tone, but it is slow to dry and high in fumes, so plan for good ventilation and longer waits between coats. Water-based polyurethane dries fast, stays clear without yellowing, and lets you apply several coats in a day, though it typically costs more. Whichever you pick, the surface has to be immaculate first: vacuum thoroughly, then wipe with a tack cloth to lift the last fine dust, because a single speck trapped under the finish shows as a bump you will feel every time you walk by. Apply thin, even coats with the grain, let each cure per the label, and lightly buff between coats for a glass-smooth result. Most floors want two to three coats, and the real payoff of a careful sanding job only becomes visible once that finish goes down and reflects the light evenly across the room.
Is a Rental Right for You
A floor sanding machine rental makes sense for confident DIYers refinishing floors in fair to good condition, especially with the forgiving orbital sander. If your floors are very thin from previous sandings, badly damaged, or a prized antique, hire a professional, because a mistake with a rented drum sander can mean replacing boards. For everyone else, renting the right machine, buying enough grits, and respecting the technique delivers a professional-looking floor at a fraction of the cost.
Prefer to explore on your own?
See how new flooring looks in your actual room in seconds — free, no signup.
Try the free Floor Studio →