The biggest design challenge in a modern master bath is fitting both a soaking tub and a real shower into a footprint that used to hold a single combo unit. Smart freestanding tub with shower ideas solve this by treating the two fixtures as one cohesive zone, not as separate awkward objects shoved against opposite walls. After designing or consulting on more than 40 master baths over the past five years, I have seen the layouts that work, the ones that waste square footage, and the ones that flood the floor in the first month. Here are the looks worth copying.
The Wet Room Layout
A wet room places the freestanding tub inside the shower zone itself, behind a single glass partition that contains both fixtures. The entire area drains to a linear floor drain, and water from the showerhead can splash onto the tub or the floor without consequence. This is the most flexible approach for a tight footprint, since the tub and shower share floor space rather than competing for it.
Plan a minimum wet room footprint of 7 feet by 8 feet to comfortably hold both fixtures. The walls and floor inside the zone must be fully waterproofed with a system like Schluter Kerdi or Wedi backer board, not just standard cement board with thinset. Plan on the membrane and pan adding $1,000 to $2,500 over standard shower waterproofing for a typical zone.
Side-by-Side With Glass Partition
For a wider master bath, placing the tub against one wall and the shower next to it behind a single fixed glass panel reads as both spa-like and practical. The shower stays dry-zone-focused with a clear curb and door, and the tub gets its own visual moment without being splashed.
The trick is matching the floor plane. Both fixtures should sit on the same tile pattern with no transitions between zones. A 36 by 36 inch shower next to a 67-inch freestanding tub fits in a standard 11-foot wall. The glass partition between them runs 60 to 72 inches tall, depending on whether you want full visual separation or a half-wall effect.
Tub in Front of Window, Shower Behind
One of the most common dream-bathroom layouts puts the freestanding tub in front of a large window for natural light during a soak, with a fully enclosed shower behind. This works beautifully if your window is positioned correctly and your privacy situation allows it.
Use frosted glass or sheer linen curtain panels if the window faces a neighbor. Skip the open-window look if the tub is on an exterior wall in a cold climate, because the radiant heat loss makes the tub cold to sit in even when filled. Tub deck filler placement matters too. Floor-mounted faucets behind the tub block the window view, while wall-mounted fillers on the side wall keep the window open visually.
Shared Wall Plumbing for Efficiency
The cheapest way to add a freestanding tub to an existing shower-only bathroom is to share the wall plumbing. Run the shower mixing valve and the tub filler off the same vertical chase behind a single wall, then split the supply at the rough-in. A plumber can do this in a half day if the wall is already open during a remodel.
The freestanding tub filler then sits in front of the same wall, supplied by 1/2-inch PEX or copper rising through the floor at the back of the tub. Skip the cheap plastic tub-filler kits sold under $300 because the diverter valves fail within 2 to 3 years. Brizo Litze, Hansgrohe Talis, and Kohler Purist all run $800 to $1,800 and last decades.
Fixture and Faucet Placement
Where you mount the tub filler affects the entire room layout. Three options each have trade-offs:
- Floor-mounted behind the tub: most dramatic visual moment, requires 6 inches of clear floor space behind the tub, plumbing rough-in must be exact within 1/8 inch.
- Wall-mounted to the side: cleanest look from across the room, easiest plumbing, but locates the tub close to a wall and limits placement to one side.
- Deck-mounted on a thin pedestal next to the tub: most flexible installation, works with center-of-room tub placement, but adds visual clutter.
For first-time installs, wall-mounted fillers offer the easiest path. Save floor-mounted for new construction where the rough-in can be marked precisely before the slab is poured.
Lighting the Combined Zone
A freestanding tub deserves its own lighting moment beyond a single can light. A pendant or small chandelier centered over the tub, hung 30 to 36 inches above the rim, transforms the entire room. Use a wet-rated fixture rated for the IPX4 or higher zone above a tub. Visual Comfort, Hudson Valley Lighting, and Restoration Hardware all carry wet-rated options under $500.
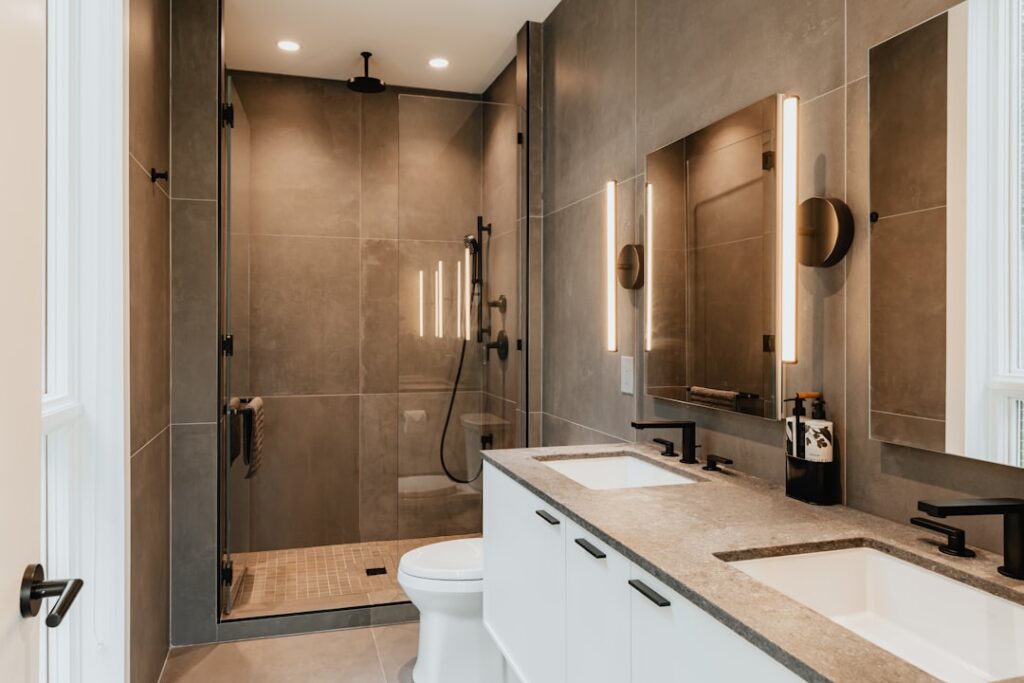
For the shower itself, two recessed cans rather than one provide even lighting across both standing and seated positions. A vertical sconce on the wall outside the shower glass casts a soft glow that flatters the whole zone in the evening.
Flooring That Survives the Splash
Both the tub area and the shower zone need waterproof flooring with good slip resistance. Large-format porcelain tile at 12 by 24 or 24 by 48 inches reads as luxurious and clean. Look for a DCOF rating above 0.42, which is the safety threshold for wet floors. Honed natural stone like marble or travertine looks great but requires sealing every 6 to 12 months and gets dangerously slippery when wet.
Avoid wood-look luxury vinyl in the immediate splash zone of a freestanding tub. Even waterproof LVP can swell at edges over years of standing water around tub bases. Tile every surface that might get repeatedly wet, then transition to LVP or hardwood at least 4 feet away from the tub.
Cost Range to Plan Around
Adding a freestanding tub to an existing shower-only master bath, including new plumbing, waterproofing, the tub itself, fillers, and tile work, typically runs $8,000 to $18,000 depending on materials and region. A full wet room layout from scratch in new construction adds $3,000 to $6,000 over a standard tile shower.
Mid-range freestanding tubs like the Kohler Underscore or Signature Hardware Lockhart run $1,200 to $2,800. Premium options from Victoria + Albert or Wetstyle hit $5,000 to $12,000 for the tub alone. Set a tub budget first because it drives every other decision in the room.
Final Layout Advice
The combined tub-and-shower zone reads best when both fixtures share a visual language. Match the metal finishes, the tile pattern, and the lighting style across both. Skip overly themed rooms with too many features competing. A simple white freestanding oval, a clear glass shower partition, and one statement light fixture create a bathroom that still feels current 10 years later, which is exactly what these projects should aim for.