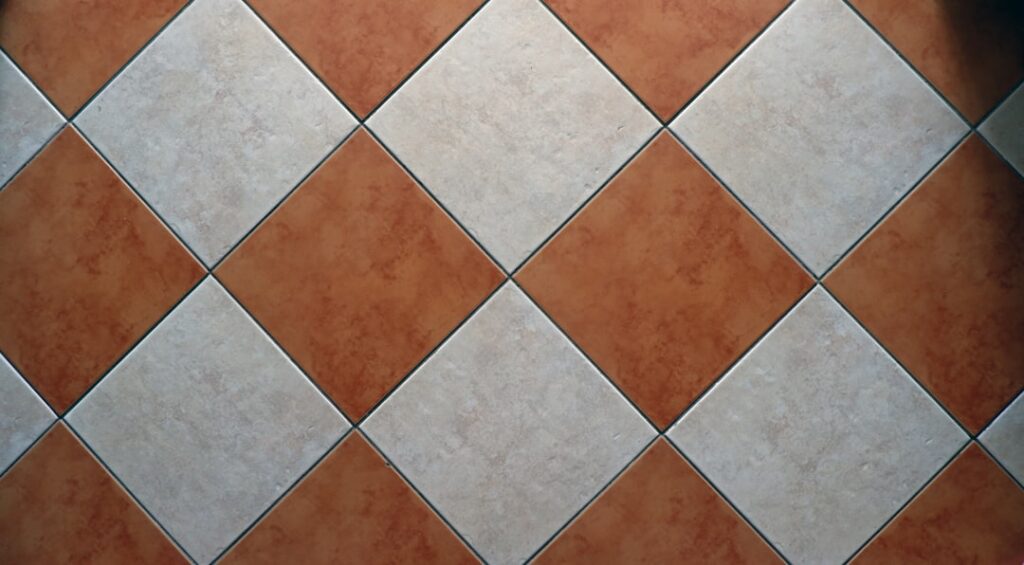
Dingy, stained grout can make an otherwise clean tile floor or backsplash look tired, and a grout paint pen is one of the fastest, cheapest ways to fix it. A grout paint pen is a marker-style applicator filled with specialized paint that recolors and seals the grout lines between your tiles, restoring a crisp, uniform look without the mess of regrinding or replacing grout.
For homeowners who want a refresh in an afternoon rather than a full renovation, this little tool punches well above its weight. This guide covers how grout pens work, when they shine, step-by-step application, how long the results last, and the small details that separate a pro-looking finish from a sloppy one.
What a Grout Paint Pen Is
A grout pen looks like an oversized marker. Inside is a water-resistant, often epoxy- or acrylic-based paint formulated to bond to cured grout and resist moisture, mildew, and light scrubbing. You shake it to mix the paint, press the tip to start the flow, and trace it along the grout lines. The result is a fresh, even color that hides stains, discoloration, and uneven patches.
Pens come in a range of shades, with bright white and various grays being the most popular. Some homeowners also use them to change the color of their grout entirely, going darker to hide future dirt or lighter to brighten a room. The effect is purely cosmetic on the surface, but a good pen also adds a thin protective, sealing layer.
Grout Pen vs. Other Grout Fixes
It helps to understand where a pen fits among your options:
- Grout pen: Best for cosmetic recoloring of intact grout. Fast, cheap, and beginner-friendly.
- Grout colorant or stain: A brush-applied product for larger areas, offering similar recoloring with more coverage.
- Regrouting: Removing and replacing the top layer of grout, needed when grout is cracked, crumbling, or missing.
- Deep cleaning: Worth trying first, since sometimes grout just needs a good scrub rather than paint.
The key rule is that a pen recolors grout that is structurally sound. If your grout is falling apart, no amount of paint will fix the underlying problem, and you need to regrout instead.
When to Use a Grout Paint Pen
Reach for a pen when your grout is intact but stained, yellowed, or discolored unevenly. It is ideal for bathroom and kitchen backsplashes, shower walls, tile floors, and any spot where the tile is fine but the lines look grimy. It also works wonderfully when you want to update a room’s look by shifting the grout color without retiling.
Avoid a pen on grout that is cracked, loose, powdery, or harboring active mold deep in the joint. In those cases, repair or replacement comes first. Painting over a moldy or crumbling line just traps the problem and disappoints you a few months later.
How to Apply a Grout Paint Pen
Patience and prep make all the difference. Follow this sequence:
- Clean deeply. Scrub the grout with a grout cleaner and a stiff brush to remove dirt, soap scum, and grease. Paint bonds to clean grout, not grime.
- Dry completely. Let the area dry fully, ideally overnight, so moisture does not interfere with adhesion.
- Prime the pen. Shake well, then press the tip on a paper towel until paint flows evenly.
- Trace the lines. Run the tip steadily along each grout line, applying even pressure. Work in small sections so you can correct mistakes before they dry.
- Wipe overspill. If paint gets on the tile, wipe it off promptly with a damp cloth or your fingernail before it sets. The tile will not absorb it the way grout does.
- Apply a second coat. For deep stains or color changes, a second coat after the first dries gives the most uniform, opaque finish.
Let everything cure according to the label before exposing the area to water. Rushing a shower back into service can streak fresh paint.
Tips for a Professional Finish
A few habits elevate the result. Use a steady hand and let the tip do the work rather than pressing hard, which floods the line and spills onto tile. For very thin grout lines, a fine-tip pen gives more control, while wider lines may need a chisel-tip or two passes. Keep a damp microfiber cloth and a few cotton swabs handy for instant cleanup of stray marks.
Lighting matters too. Work in good light so you can see missed spots and uneven coverage. Stepping back periodically helps you catch streaks while they are still fixable. Doing one full tile section at a time keeps your work consistent and prevents lap marks.
How Long Results Last
With proper prep and a quality pen, results typically hold up for a couple of years in moderate-use areas, sometimes longer on walls and backsplashes that see less abrasion. High-traffic floors and frequently scrubbed shower floors wear faster. The good news is that touch-ups are easy: when a spot fades, you simply trace over it again.
To extend the life of the finish, clean with mild, non-abrasive products and avoid harsh scrubbing pads that grind away the paint. Sealing the grout afterward with a compatible grout sealer can add extra protection, though many pens already include a sealing component.
Cost and Value
A single grout paint pen is inexpensive, usually in the range of a few dollars to around fifteen dollars depending on size and brand, and one pen covers a surprising amount of grout. Treat any figure as an estimate, since prices vary by retailer. Compared to the cost and disruption of regrouting or retiling, a pen delivers an outsized visual improvement for very little money.
For homeowners weighing effort against payoff, a grout paint pen is one of the highest-return small projects in the home. It is approachable for beginners, forgiving with a little care, and capable of making a kitchen or bathroom look freshly renovated in a single afternoon. Best of all, the skill carries over to every tiled surface you own, so once you have refreshed one room you can move room to room with the same simple technique and a fresh pen.
Before you buy, measure your grout-line width and total length so you purchase enough pens for full coverage plus a spare for touch-ups. Buying one pen short, then having to color-match a second batch weeks later, is a common frustration. With the right shade, sound grout, and a patient hand, the finished lines look clean and intentional, and visitors will assume you regrouted rather than simply traced a marker along the joints.