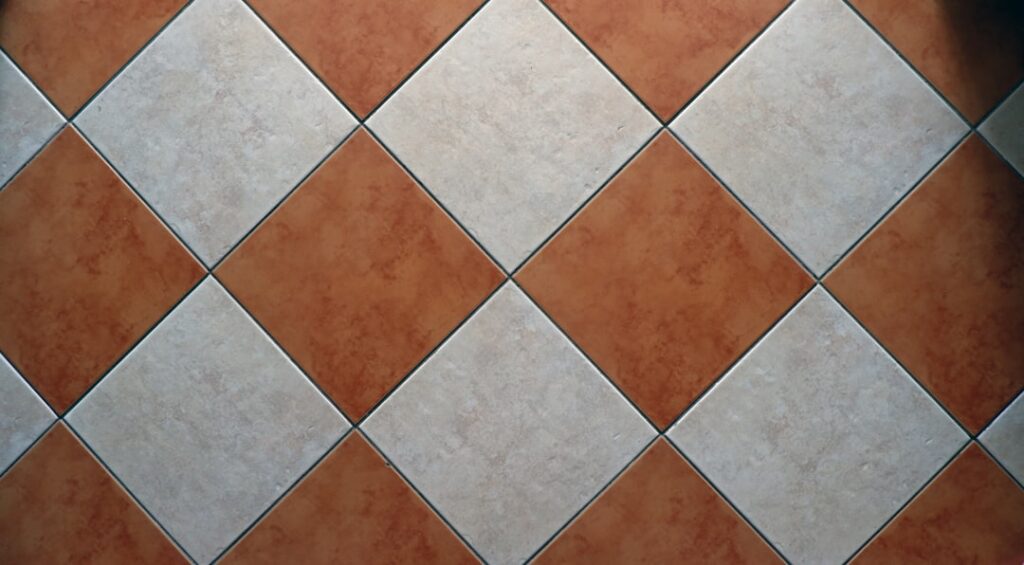
The tile may be waterproof, but the grout between it usually is not, which is why grout sealant is the unsung hero that keeps your floors, showers, and backsplashes clean and intact. Cement-based grout is porous, soaking up water, dirt, soap scum, and spills that lead to staining, mold, and eventual deterioration. A quality sealer creates a protective barrier that repels moisture and grime, making grout easier to clean and far longer lasting. This guide explains the types of sealer, how to apply them, and how to keep your grout protected.
- Why Grout Needs Sealing
- Which Grout Needs Sealing and Which Does Not
- Types of Grout Sealant
- When to Seal New and Old Grout
- How to Apply Grout Sealant
- Safety and Ventilation
- Testing and Maintaining the Seal
- Common Mistakes to Avoid
- Sealing Different Areas of the Home
- Choosing the Right Applicator
- Final Thoughts
Why Grout Needs Sealing
Most traditional grout is a porous cement mixture full of tiny capillaries that draw in liquids. In a shower, that means water working its way behind tile over time. On a kitchen floor or backsplash, it means coffee, grease, and dirt settling into the grout lines and darkening them. Unsealed grout stains quickly, harbors mold and mildew, and breaks down faster.
Sealing fills or coats those pores so liquids bead up and wipe away instead of soaking in. The result is cleaner grout, less scrubbing, and protection against the water damage that ruins tile installations.
Which Grout Needs Sealing and Which Does Not
Not every grout requires a sealer, so identify what you have first. Cement-based grout, both sanded and unsanded, is porous and should be sealed. Epoxy grout, by contrast, is non-porous and stain-resistant by design, so it generally does not need sealing.
- Cement-based sanded grout: Seal it; used in wider joints.
- Cement-based unsanded grout: Seal it; used in narrow joints.
- Epoxy grout: Usually no sealing needed.
If you are unsure, drip a few drops of water on the grout. If it darkens or absorbs within a minute or two, it needs sealing.
Types of Grout Sealant
There are two main categories, and choosing the right one matters for both protection and appearance. Penetrating sealers soak into the grout’s pores and protect from within, leaving the natural look and texture unchanged. They are the go-to for floors and wet areas because they let the grout breathe while repelling water and stains.
Membrane-forming or topical sealers sit on the surface as a thin coating. They can add stain resistance and slight sheen but are generally not recommended for showers and floors, where trapped moisture can cause problems and the coating can wear unevenly. For most homeowners, a penetrating sealer is the safer, more durable choice.
When to Seal New and Old Grout
Timing matters. New cement grout needs to cure before sealing, typically around 48 to 72 hours, though you should follow the grout manufacturer’s stated cure time. Sealing too early traps moisture and prevents proper bonding.
For existing grout, clean it thoroughly and let it dry completely before sealing, since any trapped dirt or moisture gets locked in. Reseal periodically as the protection wears off, which brings us to maintenance below.
How to Apply Grout Sealant
Application is straightforward but rewards patience and good prep. Work in a ventilated area, wear gloves, and follow the product label exactly.
- Clean the grout thoroughly and let it dry fully, ideally 24 hours after cleaning.
- Apply the sealer to the grout lines with an applicator bottle, small brush, or roller, depending on the product.
- Let it penetrate for the time stated on the label, usually 5 to 15 minutes.
- Wipe excess sealer off the tile surface before it dries to avoid haze.
- Apply a second coat if recommended, and allow full cure before exposing the area to water.
Keep the area dry during the cure window the manufacturer specifies, often 24 to 48 hours, so the sealer sets properly.
Safety and Ventilation
Many grout sealers contain solvents and give off fumes. Open windows, run a fan, and wear gloves and eye protection. Keep children and pets away during application and curing, and never deviate from the safety directions printed on the product. Store leftover sealer sealed and away from heat. Following the manufacturer’s guidance on ventilation and protective equipment keeps the job safe and the results sound.
Testing and Maintaining the Seal
To check whether grout is sealed, drop a little water on it; if the water beads up, the seal is working. If it soaks in and darkens the grout, it is time to reseal. Most penetrating sealers last one to several years depending on the product and traffic.
As a general guide, reseal high-moisture areas like showers and busy kitchen floors every year or two, and lower-use areas less often. Clean grout with a pH-neutral cleaner rather than harsh acids or bleach, which can strip the sealer prematurely.
Common Mistakes to Avoid
A few errors undermine even good sealer. Sealing dirty or damp grout locks problems in, so always clean and dry first. Leaving excess sealer on tile creates a hazy film that is tough to remove later. Using a topical sealer in a shower can trap moisture. And skipping resealing altogether lets protection quietly fade until staining returns.
Sealing Different Areas of the Home
Where the grout lives changes how aggressively you should seal and maintain it. Shower and tub grout faces constant moisture and benefits from a quality penetrating sealer and more frequent resealing. Kitchen floors and backsplashes deal with grease and spills, so prompt cleaning plus a good seal keeps them from darkening. Entryways and mudrooms see grit and tracked-in water, where sealing helps the grout shrug off staining.
Outdoor and patio grout is exposed to weather and freeze-thaw cycles, so use a sealer rated for exterior use and reseal on schedule. In low-moisture areas like a guest bathroom floor, sealing is still worthwhile but you can stretch the resealing interval.
Choosing the Right Applicator
The tool you use affects how clean and efficient the job is. A small applicator bottle with a roller or sponge tip lets you run sealer precisely down narrow grout lines with minimal overlap onto the tile. A foam brush works well for detailed areas and edges. For large floors, a paint pad or roller covers ground faster, but you must wipe excess off the tile promptly to avoid haze. Whichever you choose, keep clean rags handy to remove overspill before it dries, since cured sealer on tile is far harder to remove.
Final Thoughts
Grout sealant is a small step that pays off for years in cleaner, more durable tile. Identify whether your grout needs sealing, choose a penetrating sealer for floors and wet areas, apply it to clean, dry grout with proper ventilation, and reseal on schedule. Do that, and your grout will resist stains, mold, and water damage far longer.