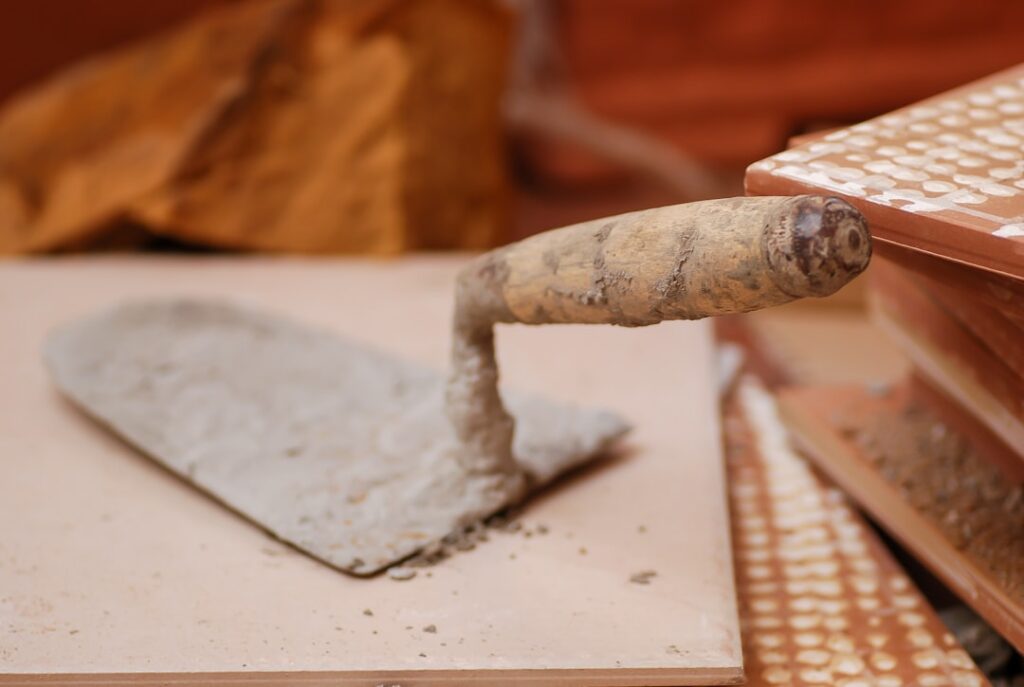
Walk the tile aisle and you will see a wall of rubber-faced tools that all look roughly alike, priced from $6 to $40. The tool most people call a grout trowel is properly a grout float — a flat pad of rubber or urethane on a handle, used to force grout down into joints and shear the excess off the tile face — and the differences between a cheap one and a good one, or a soft float and a hard one, show up directly in your finished joints. I have grouted everything from mosaic pans to 800-square-foot commercial floors, and the float is one of the few tile tools where spending $15 more genuinely changes the result. Here is how to pick the right one for your job, plus the technique that separates full, dense, even joints from the low, crumbly ones that fail early.
- Grout trowel, grout float, notched trowel: naming things correctly
- What a grout float is and why the rubber matters
- Matching the float to the grout and the tile
- The packing pass: technique that fills joints
- The removal pass: shear, don't scoop
- Margin floats and the fiddly spots
- Caring for a float, and what wears out
Grout trowel, grout float, notched trowel: naming things correctly
Quick vocabulary, because the store search results mix three different tools. The grout float — the rubber-padded tool this article covers — is what actually applies grout. The notched trowel, with square or U-shaped teeth along its edges, spreads thinset mortar for setting tile and has no role in grouting; buy one of each, not one to do both. And the margin trowel, a small flat steel blade, is the mixing-and-scooping sidekick that moves grout from bucket to float and scrapes down the bucket walls. When an online listing says grout trowel, it almost always means the float, but check the photo: if you see teeth, you are looking at a setting tool, and grouting with it will drag the joints hollow. A complete grouting kit is the float, a margin trowel, two sponges, and a bucket — under $40 all in.
What a grout float is and why the rubber matters
A grout float has three working parts: a dense foam or rubber pad (the body), a smooth face that contacts the tile, and a handle. The face does two opposing jobs. Pushed at a low angle, it acts like a squeegee-press, packing grout into the joint under real pressure. Tilted up steep and dragged diagonally, its edge becomes a scraper that shears excess grout cleanly off the surface. Both jobs depend on the face material: too soft and it flexes into the joints on the scrape pass, gouging out the grout you just packed; too hard and it skips over the surface without compressing grout into the joint, and it can scratch delicate glazes and soft stone.
That balance is why floats come in versions. The main types you will actually encounter:
| Float type | Face | Cost | Best for |
|---|---|---|---|
| Standard gum-rubber float | Medium-soft rubber | $6–$15 | Walls, ceramic, general DIY |
| Pro urethane/hard rubber float | Firm, non-stick face | $15–$30 | Floors, sanded grout, big jobs |
| Epoxy grout float | Firm with sharp edge, solvent-resistant | $15–$40 | Epoxy and urethane grouts |
| Margin float | Narrow pad, ~2×6 in | $8–$15 | Niches, edges, mosaics, corners |
| Combination wall/floor float | Medium firm | $10–$20 | One-float households |
Matching the float to the grout and the tile
Sanded cement grout on floors: use a firm float. Sanded grout is stiff and needs pressure to consolidate in 1/8 to 1/4 inch joints; a soft pad wastes your effort in flex. Unsanded grout on walls: a standard softer float is fine — the material is creamier and wall joints are narrow. Epoxy grout: use a dedicated epoxy float, no exceptions. Epoxy is heavy, sticky, and abrasive to work; epoxy floats have firmer, sharper-edged, non-stick faces that release the resin and cut it off the tile cleanly, and standard rubber drags miserably. Textured or structured tile: a firm float rides the high spots and leaves less smear in the texture; follow with more aggressive sponging. Polished marble and soft glazes: stick with clean, smooth, softer rubber and make sure no dried grout crumbs are embedded in the face, because a crumb under a float is a scratch stylus.
One more spec worth checking: pad attachment. Cheap floats are glued and the pad peels off mid-job once solvents or heat get at the joint; better ones are molded or riveted through a plastic backer. If you grout more than once a year, the $20 urethane float is the buy-once answer.
The packing pass: technique that fills joints
Grouting rewards a simple, repeatable motion. Scoop a fist-sized mound of mixed grout onto the tile (or butter the float from the bucket for walls). Then:
- Hold the float at 30 to 45 degrees to the tile and push the grout diagonally across the joints — at roughly 45 degrees to the joint lines, never parallel to them. Diagonal strokes bridge the joint so the float edge cannot dip in and drag grout back out.
- Press hard. You are compacting mortar, not spreading frosting. Full joints come from pressure; hollow, weak joints come from a timid first pass. Make two or three passes from different directions over each area so every joint fills from both sides.
- Work areas of 10 to 20 square feet at a time, less with fast-setting or epoxy grout, so cleanup never falls behind the set.
The removal pass: shear, don’t scoop
Once an area’s joints are packed, rotate the float up to nearly 90 degrees and drag its edge diagonally across the tile to shear off the excess. Steep angle, diagonal direction, light-to-moderate pressure — the goal is to leave the tile face nearly clean and the joints full and slightly proud, ready for the sponge. The two classic mistakes both happen here: dragging parallel to joints (the edge dives in and rakes out grout, leaving low lines you will re-grout later) and scraping at a shallow angle (which smears grout across the field and re-wets the joints). Return the removed excess to the bucket and remix it in while it is still plastic.
Then sponging, which is its own skill but briefly: wait until the grout in the joints firms to a thumbprint-hard state (10 to 30 minutes depending on temperature and grout), then tool the joints with a barely damp sponge in light circles, followed by diagonal cleanup strokes, rinsing constantly. A dripping sponge at this stage washes cement out of the joint surface and causes weak, mottled, low grout — more grout jobs are ruined by wet sponges than by any float error.
Margin floats and the fiddly spots
A full-size float is clumsy inside niches, along shower curbs, on mosaic borders, and at wall-floor junctions. The margin float — a narrow 2×6-ish pad — packs those areas with control, and I consider it the most underrated $10 in the grouting kit. For genuinely tight spots (behind toilet flanges, around valve trim), a gloved fingertip dipped in grout is the traditional precision tool; just remember cement grout is abrasive and alkaline, so nitrile gloves are not optional for finger work.
Caring for a float, and what wears out
Wash the float completely before the grout on it sets — cured crumbs embedded in the rubber scratch tile on the next job and gouge fresh joints. Store it flat or hanging so the pad does not take a set. Retire a float when the edges round over or the face nicks, because a rounded edge cannot shear cleanly and starts leaving smear everywhere; for a $12 tool, replacement beats nostalgia. Epoxy floats deserve immediate cleaning with the manufacturer’s recommended solution during the job, since cured epoxy ends the tool permanently.
If you are buying for one bathroom this weekend: get a $15 to $20 firm combination float, add an $8 margin float if the job has a niche or mosaic, and spend your saved money on an extra sponge and kneepads. Practice the two angles on the first few square feet — low and hard to pack, steep and diagonal to shear — and keep the sponge wrung out like you mean it. The grout trowel is a humble tool, but run it with those habits and your joints come out full, flat, and uniform, which is 90 percent of what makes a tile job read as professional from the doorway.