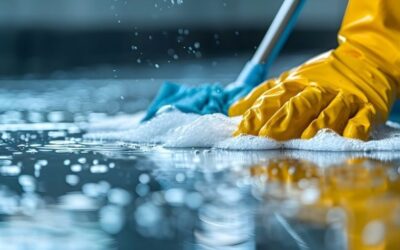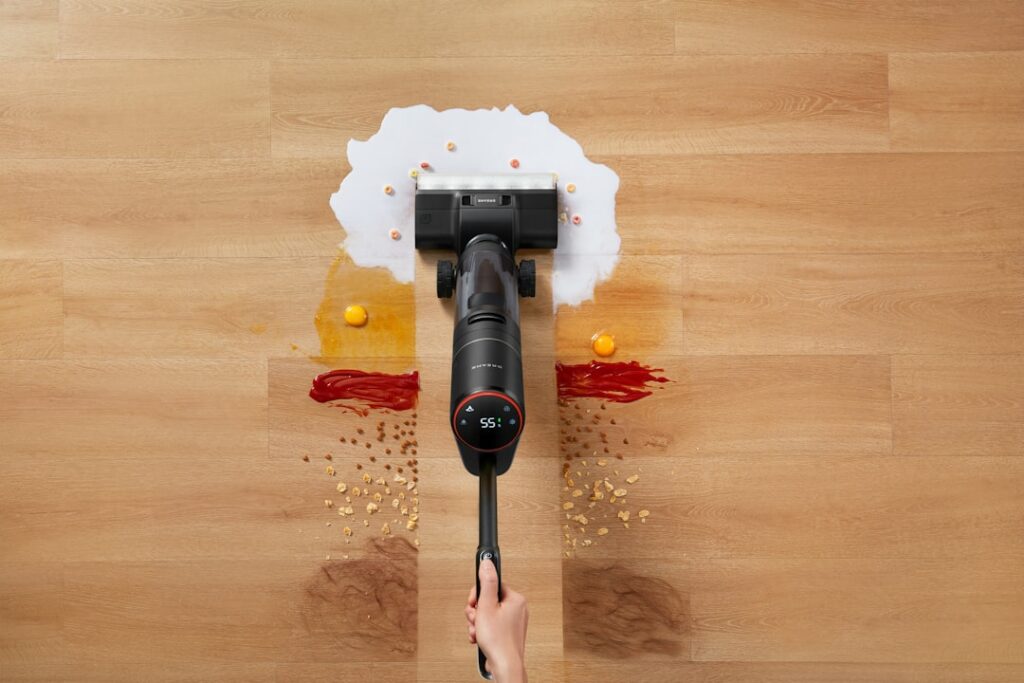
The fastest way to ruin a wood floor is to clean it like a tile floor. Wood and standing water are enemies, and the wrong product can dull a finish permanently in a single mopping. Choosing the right hardwood floor cleaner liquid is less about brand loyalty and more about understanding pH, dilution, and how your particular floor is finished, because a cleaner that is perfect for a polyurethane surface can wreck an oiled or waxed one.
This guide breaks down what belongs in a bottle of wood floor cleaner, how to read a finish before you clean it, and the technique that leaves floors clean without the streaks and haze that plague most DIY efforts.
Why pH Is the Whole Ballgame
Wood floor finishes are chemically sensitive, and pH is what determines whether a cleaner protects or erodes them. A good hardwood cleaner sits close to pH neutral, roughly 7, so it lifts dirt without attacking the finish. Alkaline cleaners like ammonia, pine oil, and general-purpose degreasers slowly break down polyurethane and leave a dulling film; acidic cleaners like vinegar etch the finish over time and strip its protective sheen.
This is why the internet’s favorite vinegar-and-water recipe is bad advice for finished wood. It may cut grease once, but repeated use etches microscopic scratches into the surface that scatter light and make the floor look permanently cloudy. A purpose-made pH-neutral cleaner avoids all of that. When in doubt, neutral is always the safe choice for any modern surface-finished floor.
Match the Cleaner to Your Finish
Before buying anything, identify your finish, because it dictates everything. Most floors installed in the last 30 years are surface-sealed with polyurethane, which forms a hard plastic-like coating; these tolerate water-based liquid cleaners well as long as they are neutral. To test, put a drop of water on a high-traffic area: if it beads and sits, you have a sealed finish and can use a standard water-based cleaner.
If the water soaks in and darkens the wood, the floor is oil-finished, penetrating-sealed, or waxed, and it needs different care. These floors should never get a water-based cleaner meant for polyurethane; they require a solvent-based or oil-soap product formulated to nourish rather than sit on top. Waxed floors in particular react badly to water and to acrylic “restorer” liquids, which cloud the wax. When the finish type is unknown, use the smallest amount of a neutral cleaner and test an inconspicuous corner first.
Ready-to-Use vs. Concentrate
Liquid cleaners come two ways, and the choice affects both cost and control. Ready-to-use spray bottles are the most convenient, pre-diluted to the correct strength so you cannot over-concentrate them, and ideal for quick weekly cleaning. The trade-off is cost per use, since you are paying to ship water, typically $4 to $8 for a 32-ounce bottle that covers a few hundred square feet.
Concentrates are far cheaper over time. A capful diluted into a gallon of water can clean an entire floor, and a single bottle lasts months, often working out to a fraction of a cent per square foot. The risk is mixing too strong, which leaves a sticky residue that attracts dirt, so follow the label dilution exactly, usually something like 1/4 cup per gallon of warm water. For large homes or frequent cleaning, concentrate wins on economy; for a small space and simplicity, ready-to-use is fine.
How to Clean Wood Floors Without Streaks
Technique matters more than product. Always dry-clean first: sweep, dust-mop, or vacuum with a hard-floor setting to remove grit, because grit is abrasive and dragging it across the floor with a wet mop grinds fine scratches into the finish. Only clean with liquid once the loose dirt is gone.
The golden rule is damp, never wet. Spray a light mist of cleaner directly onto the floor or onto a microfiber pad, not a sopping string mop, and work in the direction of the wood grain. The mop should feel barely moist and the floor should dry within a minute or two on its own; if you can see puddles or a wet sheen lingering, you used far too much liquid. Excess water is the number one cause of cupping, gapping, and finish failure. Change your pad or rinse the mop when it turns gray, since a dirty mop just redeposits grime and causes streaks.
What to Keep Off Your Floors
Several popular products quietly damage wood, and it is worth knowing the list. Steam mops force hot moisture into seams and under the finish, and most manufacturers explicitly void warranties over their use, so keep them off wood entirely. Oil soaps and acrylic waxes build up a hazy film over time that eventually has to be professionally stripped. Ammonia and bleach are far too alkaline and will dull and discolor the finish.
Also skip anything promising an instant shine, because those liquids deposit a temporary polymer coating that looks great for a week, then flakes, yellows, and forces a full recoat to remove. A quality neutral cleaner does not need a shine additive; a clean, properly finished floor reflects light on its own. If your floor genuinely looks dull, the answer is a professional screen-and-recoat, not a bottle of restorer.
Building a Simple Cleaning Routine
A floor stays beautiful through consistency rather than intensity. Sweep or dust-mop high-traffic paths every day or two to keep abrasive grit from accumulating, place walk-off mats at exterior doors, and add felt pads under furniture legs to prevent scratches. This routine prevents the vast majority of wear before any liquid touches the floor.
Reserve damp-mopping with your hardwood floor cleaner liquid for once a week in busy areas and every two to three weeks in low-traffic rooms; over-cleaning a wood floor does more harm than under-cleaning it. Wipe spills immediately, since even water left standing for hours can whiten a finish or swell a plank. Followed steadily, this light-touch approach keeps a wood floor’s finish intact for 10 to 20 years before it needs anything more than cleaning.
Tackling Common Problems and Spots
Even a well-kept floor picks up trouble spots, and each has a specific fix. For sticky residue or a hazy film left by an old cleaner or too much product, do a clarifying pass: damp-mop with your neutral cleaner, then follow with a plain water rinse mop, wrung nearly dry, to lift the buildup. Scuff marks from shoes usually rub off with a tennis ball or a melamine sponge used dry and gently, no water needed.
Water rings and white cloudy marks are moisture trapped under the finish; they often fade if you buff the spot with a soft cloth and a tiny amount of the appropriate cleaner, though deep white marks may need professional attention. Never attack a spot with a scouring pad or abrasive powder, which scratches the finish permanently. For a genuinely dull whole floor, resist the urge to reach for a shine product and instead schedule a screen-and-recoat, which restores the finish properly.
Homemade Cleaners: What Works and What Doesn’t
Plenty of DIY recipes circulate online, and only some are safe. The vinegar-and-water mix is the one to avoid on finished wood, since its acidity slowly etches and dulls polyurethane, despite its popularity. A safer homemade option for sealed floors is a few drops of pH-neutral dish soap in a gallon of warm water, used as a lightly damp mop, though even mild soap can leave residue if overused, so rinse and go easy.
For most homeowners, a commercial pH-neutral hardwood cleaner is simply more reliable than mixing your own, because it is formulated to clean without residue, streaks, or finish damage and costs only a few cents per use as a concentrate. If you prefer natural products, look for a plant-based neutral cleaner rather than improvising with pantry acids. The money saved by a risky homemade mix is trivial next to the cost of refinishing a floor its acidity slowly ruined.
Prefer to explore on your own?
See how new flooring looks in your actual room in seconds — free, no signup.
Try the free Floor Studio →