Knowing how to clean LVP flooring properly is the difference between a floor that looks new for 20 years and one that dulls, scratches, and voids its warranty within 5. Luxury vinyl plank is one of the most durable and low-maintenance flooring options available, but “low maintenance” does not mean “no maintenance.” Using the wrong cleaner, the wrong mop, or the wrong technique can damage the wear layer, leave residue, and cause problems that are expensive to fix.
This guide covers the exact daily, weekly, and deep cleaning routine for LVP floors, the best cleaners and tools, stain removal by type, scratch prevention, and what you must avoid to keep your warranty intact.
Daily Cleaning Routine
The most important step in how to clean LVP flooring is daily dust removal. Dirt, sand, and grit are the primary enemies of vinyl plank floors — not water, not stains, but abrasive particles that act like sandpaper under foot traffic, gradually scratching and dulling the wear layer.
Dust mop with a microfiber pad. A flat microfiber dust mop is the single best tool for daily LVP maintenance. The microfiber fibers attract and trap dust, pet hair, and fine grit without scratching the surface. Run the dust mop over high-traffic areas every day and the entire floor every other day.
Vacuum with the right settings. If you prefer vacuuming, use a vacuum with the beater bar turned off or raised. Spinning beater bars can scratch vinyl plank surfaces. Canister vacuums, stick vacuums with hard-floor settings, and robot vacuums with rubber extractors are all safe for LVP.
Sweep with a soft-bristle broom. A soft-bristle broom works well for quick pickups, though it is less efficient than microfiber at capturing fine dust. Avoid stiff-bristle brooms that can scratch the finish.
Time investment: Daily dust mopping takes 3 to 5 minutes for an average home. This small daily habit prevents the vast majority of LVP wear and keeps the floor looking new.
Weekly Cleaning Routine
Once a week, damp mop your LVP floor to remove the grime, residue, and sticky spots that dry dusting cannot capture.
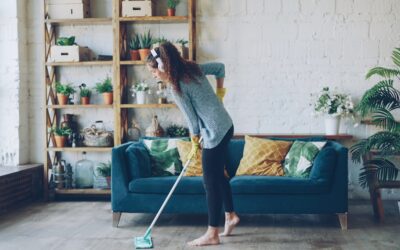
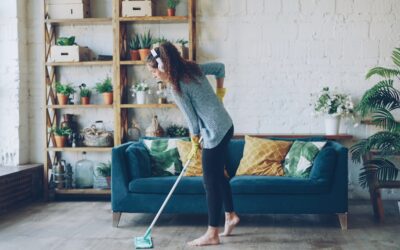
Step 1: Dust mop first. Always remove loose debris before wet mopping. Mopping over grit pushes abrasive particles across the surface, causing scratches.
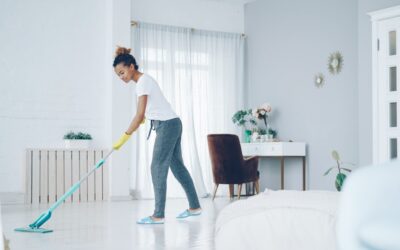
Step 2: Damp mop — not wet mop. Wring your mop until it is barely damp. The mop should leave no visible water trail on the floor. Excessive water can seep between plank seams, especially in click-lock floating installations, and cause edge swelling or subfloor damage over time. A spray mop (like Bona or O-Cedar) that mists a fine amount of cleaner is ideal because it controls the amount of liquid applied.
Step 3: Use a pH-neutral cleaner. Mix a small amount of LVP-specific cleaner with warm water according to the product directions. Do not add extra cleaner thinking it will clean better — excess cleaner leaves a sticky residue that attracts dirt and dulls the floor.
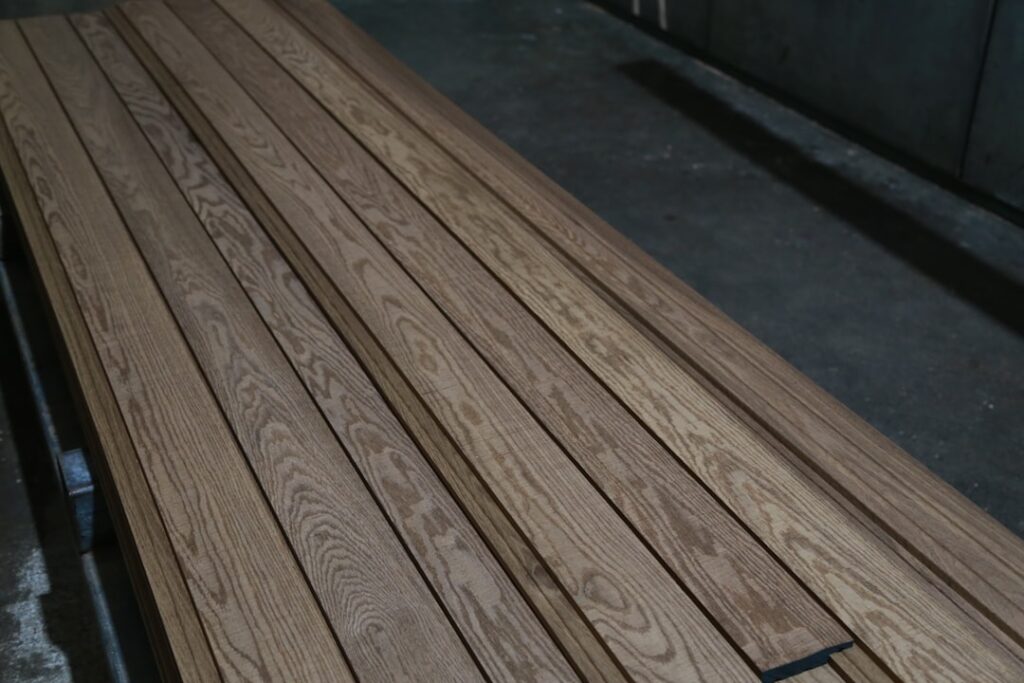
Step 4: Mop in the direction of the planks. This is a minor detail but it prevents pushing dirty water into the seams between planks. Mop with the grain, not across it.
Step 5: Dry if needed. If any water is visible after mopping, go over the area with a dry microfiber pad. Standing water is never beneficial for LVP, even though the surface is waterproof.
Deep Cleaning (Monthly or As Needed)
Deep cleaning removes built-up residue, ground-in grime, and stubborn spots that weekly mopping does not address.
Method: Mix the LVP cleaner at a slightly stronger concentration (follow the “heavy cleaning” directions on the bottle). Apply to one section at a time. Let the solution sit for 2 to 3 minutes to loosen grime, then scrub with a soft-bristle brush or microfiber mop. Wipe up the solution with a clean, damp mop, then dry with a microfiber towel.
For dull, filmy floors: If your LVP floor has a hazy, dull appearance, it likely has cleaner residue buildup. Mix one cup of white vinegar per gallon of warm water and mop the entire floor once. The mild acidity of vinegar dissolves cleaner residue without damaging the vinyl. Follow with a clean water rinse. This is the one time vinegar is beneficial — for removing residue, not routine cleaning.
Frequency: Deep clean every 1 to 3 months depending on household traffic, pets, and children.
Best LVP Cleaners
The best LVP cleaners are pH-neutral, residue-free formulas specifically designed for vinyl and hard-surface floors. Here are the top options.
| Product | Type | Best For | Price |
|---|---|---|---|
| Bona Hard-Surface Floor Cleaner | Ready-to-use spray | Weekly mopping, spray mop systems | $7 – $10 |
| Rejuvenate Luxury Vinyl Floor Cleaner | Ready-to-use spray | Weekly mopping, streak-free shine | $6 – $9 |
| Zep Neutral pH Floor Cleaner | Concentrate | Budget-friendly, large areas | $8 – $12 per gallon |
| Shaw Hard Surface Cleaner | Ready-to-use spray | Shaw LVP warranty compliance | $8 – $12 |
| COREtec Floor Cleaner | Concentrate | COREtec LVP warranty compliance | $10 – $15 |
DIY cleaner: If you prefer homemade cleaners, mix one gallon of warm water with one tablespoon of dish soap (Dawn or similar). Use sparingly — dish soap can leave residue if overused. Rinse with clean water after mopping.
For more vinyl floor cleaning tips, see our how to clean vinyl flooring guide.
Stain Removal by Type
LVP is highly stain-resistant, but some substances can discolor or bond to the surface if left too long. Here is how to remove common stains.
| Stain Type | Removal Method |
|---|---|
| Food and beverage (juice, coffee, wine) | Wipe with damp cloth. If dried, apply Bona or Rejuvenate cleaner, let sit 2 minutes, wipe clean. |
| Grease and cooking oil | Apply dish soap solution directly to stain. Let sit 5 minutes. Wipe with damp cloth. Rinse. |
| Ink and marker | Apply rubbing alcohol (isopropyl) to a cloth. Dab the stain — do not scrub. Wipe clean. Repeat if needed. |
| Scuff marks (shoe marks) | Rub with a tennis ball, pencil eraser, or WD-40 on a cloth. Wipe clean with damp cloth after. |
| Nail polish | Apply acetone-free nail polish remover to a cloth. Dab carefully. Do not use acetone — it damages vinyl. |
| Paint (latex) | If wet, wipe immediately with damp cloth. If dried, soften with warm water and scrape gently with a plastic scraper. |
| Pet urine | Wipe up immediately. Clean with enzyme-based pet cleaner to eliminate odor. LVP surface will not stain if cleaned promptly. |
| Adhesive residue (tape, stickers) | Apply mineral spirits or Goo Gone to a cloth. Rub gently. Wipe clean with damp cloth. |
Universal rule: Never use abrasive scrub pads (steel wool, Scotch-Brite green pads) on LVP. These scratch the wear layer permanently. Use only soft cloths, microfiber, or soft-bristle brushes.
Scratch Prevention
Preventing scratches is easier and cheaper than repairing them. These habits protect your LVP investment.
Felt pads on all furniture legs. Apply adhesive felt pads to the bottom of every chair, table, sofa, and cabinet leg. Check and replace felt pads every 6 months — they compress and collect grit over time, which can scratch the floor. Use heavy-duty felt pads (at least 1/4″ thick) for dining chairs that slide frequently.
No rubber-backed rugs. Rubber-backed and latex-backed rugs can cause chemical discoloration on LVP — a yellow or brown stain where the rubber contacts the vinyl. This discoloration is often permanent. Use rugs with breathable, non-staining backings, or place a breathable rug pad between the rug and the floor.
Doormats at entrances. Place doormats at all exterior doors to capture sand, gravel, and grit before they reach the LVP. Outdoor coir mats for scraping and indoor microfiber mats for dust capture are the most effective combination.
Trim pet nails. Long pet nails are a common source of LVP scratches. Keep dogs’ and cats’ nails trimmed short and smooth.
Use furniture sliders for moving. When rearranging furniture, place felt or plastic furniture sliders under each leg. Never drag heavy furniture directly across LVP.
Rolling chair mats. Use a hard-surface chair mat under rolling office chairs. The concentrated weight and repetitive rolling motion of desk chairs can wear through the LVP wear layer faster than normal foot traffic.
What to Avoid on LVP Flooring
Understanding what not to do is just as important as knowing how to clean LVP flooring. These common mistakes damage LVP floors.
Never use a steam mop. Steam mops are the number one enemy of LVP floors. The extreme heat (212+ degrees Fahrenheit) softens the vinyl, loosens the adhesive bond, damages the click-lock connections, warps the planks, and voids virtually every manufacturer warranty. No matter what the steam mop marketing claims, do not use steam on LVP.
Never use abrasive cleaners. Scouring powders (Ajax, Comet, Bar Keepers Friend) scratch the wear layer. Steel wool, Scotch-Brite pads, and stiff-bristle brushes cause the same damage. Only use soft cleaning tools on LVP.
Never use wax or polish. LVP does not need wax, polish, or “shine restoring” products. These products build up on the surface, create a slippery film, attract dirt, and are difficult to remove. If someone has already applied wax to your LVP, strip it with a manufacturer-recommended wax remover.
Never use excessive water. While LVP surfaces are waterproof, the subfloor underneath is not. Flooding the floor with water during mopping allows moisture to seep through seams and edges, potentially damaging the subfloor, causing mold, and loosening the floor. Always use a damp mop, never a soaking wet one.
Never use ammonia or bleach for routine cleaning. Both are too harsh for regular LVP care. Ammonia can dull the finish and bleach can discolor the surface. If you need to disinfect, use a dilute hydrogen peroxide solution or a disinfectant product labeled safe for vinyl floors.
Never use acetone. Acetone (found in some nail polish removers) dissolves vinyl. If you need to remove nail polish, use an acetone-free remover.
Maintaining Your Warranty
Most LVP manufacturers require specific maintenance practices to keep the warranty valid. Violating these requirements — even unintentionally — can void your coverage.
Common warranty requirements:
- Use only manufacturer-approved or pH-neutral cleaners
- No steam cleaning
- No wax, polish, or shine products
- Felt pads on all furniture
- Doormats at entrances
- Maintain consistent indoor temperature (55-85 degrees Fahrenheit) and humidity (35-65%)
- No excessive water during cleaning
- Professional installation (for installation-related warranty claims)
Keep your purchase records. Save the receipt, warranty card, and product specification sheet. Some manufacturers require registration within 30 to 90 days of purchase. Take photos of the floor at installation for comparison if you ever need to file a claim.
Brand-specific cleaners: Using your brand’s recommended cleaner is the safest way to stay warranty-compliant. Shaw, COREtec, Mohawk, and Karndean all sell branded cleaners formulated for their specific products. While third-party pH-neutral cleaners (Bona, Rejuvenate) are generally safe, some manufacturers specifically require their branded cleaner for warranty compliance.
Frequently Asked Questions
Can I use a Swiffer on LVP flooring?
Yes. Swiffer Sweeper dry cloths are safe for daily dust removal on LVP. Swiffer WetJet is also generally safe — its cleaning solution is mild and the mop applies a controlled amount of liquid. However, check your LVP manufacturer’s warranty to confirm WetJet is approved, as some brands restrict anything other than their branded cleaner.
Can I use vinegar to clean LVP?
Occasionally, yes — but not routinely. A dilute vinegar solution (one cup per gallon of water) is useful for removing cleaner residue buildup. However, regular vinegar use can gradually dull the LVP finish over time because of its acidity. Use a pH-neutral LVP cleaner for routine mopping and reserve vinegar for occasional residue removal only.
Why does my LVP floor look dull?
The most common cause is cleaner residue buildup from using too much product or using the wrong cleaner. Mop the floor with a vinegar-water solution (one cup per gallon) to dissolve the residue, then rinse with clean water. Going forward, use less cleaner and wring your mop more thoroughly. Other causes include fine scratches from grit (improve your dust mopping routine) and wax/polish buildup.
How often should I mop LVP flooring?
Dust mop daily. Damp mop weekly in high-traffic areas and bi-weekly in low-traffic areas. Deep clean monthly or quarterly. Adjust based on your household — homes with pets, children, or high foot traffic need more frequent mopping.
Can I use a robot vacuum on LVP?
Yes. Robot vacuums with rubber extractors (like iRobot Roomba) are excellent for daily LVP maintenance. They gently remove dust, pet hair, and grit without scratching. Avoid robot vacuums with stiff bristle rollers that could scratch the surface. Robot mops (like iRobot Braava) are also safe for LVP as they use controlled amounts of water.
Will a steam mop damage LVP?
Yes. Steam mops damage LVP by softening the vinyl, warping planks, loosening click-lock connections, and potentially separating layers. Steam cleaning voids virtually every LVP manufacturer warranty. Never use a steam mop on luxury vinyl plank flooring.
How do I remove scratches from LVP?
Light surface scratches can sometimes be minimized by rubbing with a small amount of mineral oil or a vinyl floor repair kit. Deep scratches that penetrate the wear layer cannot be repaired — the affected plank must be replaced. Prevent scratches by maintaining felt pads, daily dust mopping, and keeping pet nails trimmed.
Prefer to explore on your own?
See how new flooring looks in your actual room in seconds — free, no signup.
Try the free Floor Studio →