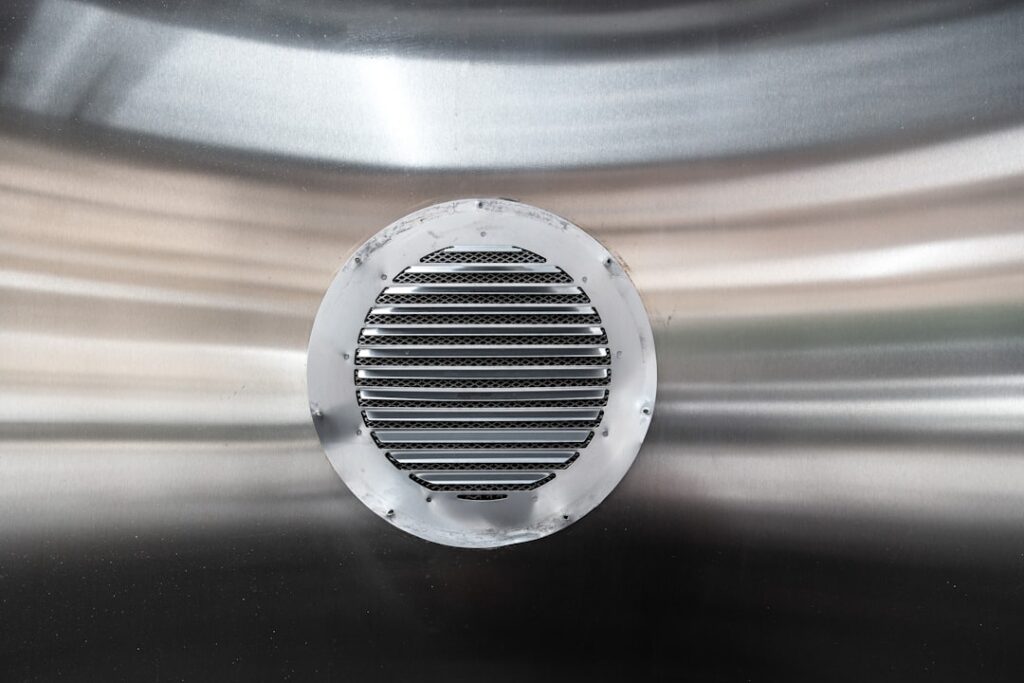
A clogged dryer vent is not just an inconvenience, it is one of the leading causes of home fires, with thousands of dryer fires reported every year, most traced to lint buildup. Knowing how to clean outside dryer vent ductwork is a simple, 30-minute job that cuts that fire risk dramatically, shortens your drying times, and extends the life of the appliance. The lint your lint trap misses collects in the duct and around the exterior vent flap, restricting airflow. Here is exactly how to clear it out safely.
- Why the Outside Vent Matters
- Signs Your Dryer Vent Needs Cleaning
- Tools You Will Need
- Step-by-Step: Cleaning the Outside Dryer Vent
- 1. Turn Off and Unplug the Dryer
- 2. Locate and Open the Exterior Vent
- 3. Pull Out the Loose Lint by Hand
- 4. Vacuum the Opening
- 5. Brush the Duct From Outside
- 6. Clean From the Dryer End Too
- 7. Vacuum Up the Debris
- 8. Reassemble and Test
- Common Mistakes to Avoid
- How Often to Clean and When to Call a Pro
- Why a Clean Vent Saves You Money
- Full System Cleaning: Don't Stop at the Outside Vent
- The Bottom Line
Why the Outside Vent Matters
Your dryer pushes hot, moist air and fine lint through a duct that exits your home at an exterior wall or roof vent. The lint screen inside catches only part of the lint; the rest travels down the duct, and much of it settles right at the outside vent, where a flapper hood and often a screen further trap it. A blocked exterior vent chokes airflow, so the dryer runs hotter and longer, wastes energy, and the trapped, dry lint sitting next to a heat source becomes a serious fire hazard. Clearing the outside end is one of the most important parts of the whole system.
Signs Your Dryer Vent Needs Cleaning
- Clothes take two cycles or come out still damp or hotter than usual.
- The outside of the dryer feels very hot during operation.
- A burning or musty smell when the dryer runs.
- The exterior vent flap does not open fully, or you see lint packed around it.
- Excess lint around the lint trap or on clothes.
- It has been over a year since the last cleaning. Most experts recommend cleaning at least once a year, more often for large households.
Tools You Will Need
- A dryer vent cleaning brush kit with flexible rods (around $15 to $30 at any hardware store) that extends to reach the full duct length
- A cordless drill (optional, to power-spin the brush) or the manual rods
- A vacuum with a hose attachment, ideally a shop vacuum
- A screwdriver for the vent cover
- Gloves and a dust mask
- A ladder if the vent exits high on a wall or roof
Step-by-Step: Cleaning the Outside Dryer Vent
1. Turn Off and Unplug the Dryer
Safety first. Unplug the dryer, and if it is a gas model, shut off the gas supply valve before doing any work.
2. Locate and Open the Exterior Vent
Find where the duct exits outside, usually a hooded flap or louvered cover on an exterior wall. Remove or open the vent cover; some unscrew, others simply lift. Note whether there is a pest screen behind it, which tends to trap a lot of lint.
3. Pull Out the Loose Lint by Hand
Put on gloves and reach in to pull out the visible clumps of lint packed around the opening and the flapper. You will often be surprised how much comes out just by hand. Clear the flapper so it moves freely.
4. Vacuum the Opening
Use the shop vacuum hose to suck out the loosened lint from the vent opening and as far into the duct as the hose reaches.
5. Brush the Duct From Outside
Attach the first rod to the brush head and insert it into the vent opening. Push it in with a twisting motion so the bristles sweep the duct walls, adding rods to reach deeper. If using a drill, spin the brush clockwise as you push and pull; never reverse the drill, or the rods can unscrew and come apart inside the duct. Work the brush back and forth along the whole length to dislodge packed lint.
6. Clean From the Dryer End Too
For a thorough job, also disconnect the flexible duct at the back of the dryer, vacuum out the dryer’s blower housing and the duct, and brush from that end toward the outside. Cleaning from both ends clears the entire run.
7. Vacuum Up the Debris
Go back to the outside vent and vacuum out all the lint the brushing pushed loose. Repeat brushing and vacuuming until little to no lint comes out.
8. Reassemble and Test
Reattach the duct securely at the dryer with a clamp (avoid using screws that project into the duct, since they snag lint), replace the exterior vent cover, plug the dryer back in, and run it on a heat cycle. Go outside and confirm strong, warm airflow is coming out and the flapper opens freely.
Common Mistakes to Avoid
- Skipping the exterior end. Many people only clean the lint trap and the back of the dryer, leaving the most-clogged spot, the outside vent, untouched.
- Running the drill in reverse. This unscrews the rods and can leave a brush head stuck in the duct.
- Using screws to connect ducting. Interior screws catch lint and create clogs; use foil tape or clamps instead.
- Leaving the pest screen clogged. If your vent has a screen, it traps lint fast; consider a louvered no-screen cover designed for dryers.
- Forgetting to check airflow after. Always verify the flap opens and air flows before calling it done.
How Often to Clean and When to Call a Pro
Clean the outside dryer vent at least once a year, and every six months for busy households or homes with long or complex duct runs. If your duct is very long, runs up through a roof, has multiple bends, or you cannot get airflow moving after cleaning, a professional vent cleaning service (typically $100 to $200) has the equipment to clear it fully. Long roof-exit vents in particular are worth leaving to a pro with the right rods and ladders.
Why a Clean Vent Saves You Money
Beyond the fire-safety payoff, a clear dryer vent has real financial upside that most people overlook. A clogged duct forces the dryer to run longer cycles, and every extra cycle burns energy. A restricted vent can add 20 to 50 percent to your drying time, which shows up directly on your electric or gas bill. Over a year, a badly clogged vent can waste $30 to $50 or more in wasted energy for an average household.
The bigger savings is on the appliance itself. When airflow is choked, the dryer’s heating element and motor work harder and run hotter, which shortens their lifespan and leads to premature failure. The thermal cutoff fuse, a common casualty of overheating from a blocked vent, is a repair that runs $100 to $200 with a technician. Keeping the vent clear helps a dryer reach its full 10- to 13-year service life instead of dying early, which is real money compared to the price of a new machine.
Full System Cleaning: Don’t Stop at the Outside Vent
The exterior vent is the most-clogged spot, but a truly thorough job addresses the whole path the lint travels. Clean the lint screen after every single load, and once a month wash the screen with soap and water to remove the invisible film that dryer sheets leave behind, which restricts airflow. Every few months, vacuum out the lint-trap slot itself, where a surprising amount of lint collects below the screen. Pull the dryer away from the wall a couple of times a year to vacuum behind and under it, and inspect the flexible transition duct for kinks, crushing, or sagging that traps lint. If your transition duct is the old vinyl or foil accordion type, replace it with rigid or semi-rigid metal ducting, which is safer and far less prone to clogging. Handling the whole system, not just the outside cap, is what keeps the dryer running safely.
The Bottom Line
Learning how to clean outside dryer vent ductwork is a straightforward yearly task that pays off in faster drying, lower energy bills, a longer-lasting dryer, and, most importantly, a much lower fire risk. Unplug the dryer, clear the exterior vent by hand and with a vacuum, brush the duct from both ends, and confirm strong airflow when you are done. Keep the flapper clean and moving, avoid the common connection mistakes, and your dryer will run safer and more efficiently all year long.