
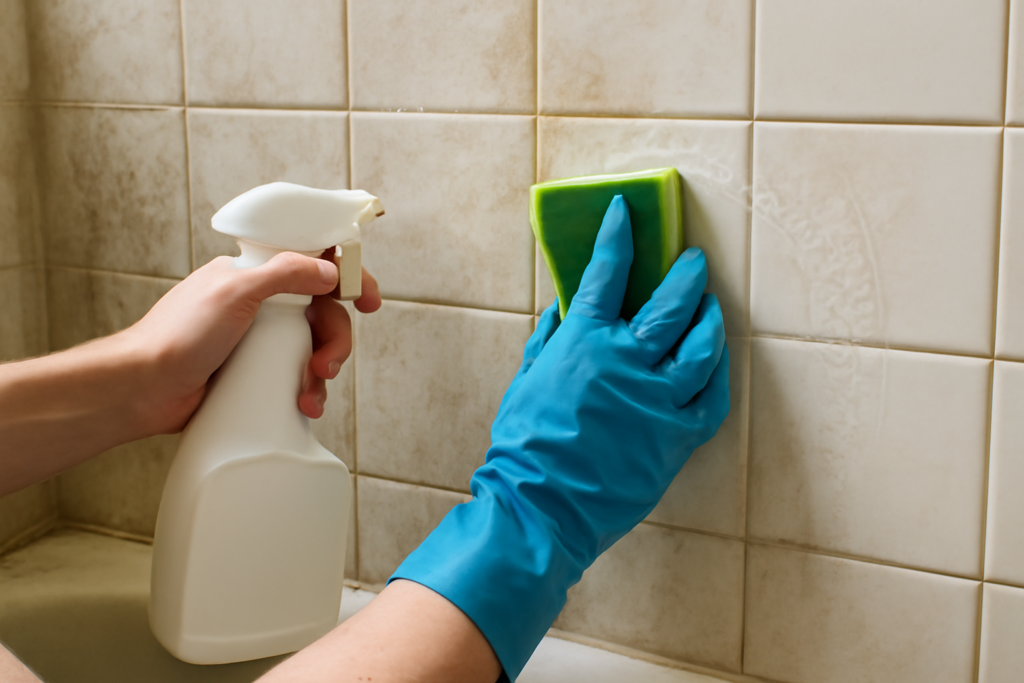
That chalky white film clouding your shower tile is the residue of thousands of showers, and figuring out how to clean years of soap scum off tile takes more than a quick spray-and-wipe. Soap scum is a stubborn mix of soap fats, body oils, and hard-water minerals that bonds to tile and grout in layers. After years of buildup, it’s practically a coating. The good news: with the right chemistry and a little patience, even the worst filmy tile comes back to a shine.
- Why Old Soap Scum Is So Hard to Remove
- What You’ll Need
- Method 1: The Dish Soap and Vinegar Spray
- Method 2: Baking Soda Paste for Stubborn Crust
- Cleaning Soap Scum Out of Grout
- When to Reach for Stronger Products
- Keeping Soap Scum From Coming Back
- A Realistic Timeline for Neglected Tile
- Frequently Asked Questions
I’ve restored shower walls that hadn’t seen a deep clean in a decade. The trick is matching your cleaner to what soap scum actually is, then giving it dwell time to break the bond before you scrub. Here’s the full process.
Why Old Soap Scum Is So Hard to Remove
Fresh soap scum wipes off. Aged scum is different. Over months and years, the fatty acids in bar soap react with calcium and magnesium in hard water to form an insoluble, waxy mineral deposit. Each shower adds a microscopic layer, and the buildup hardens as it dries. By the time it’s years deep, you’re dealing with a bonded crust that ordinary bathroom spray just beads off of.
That’s why dwell time matters more than elbow grease. The cleaner has to sit and chemically dissolve the layers. Rush it, and you’ll scrub for an hour and barely touch it.
What You’ll Need
- An acidic cleaner (white vinegar, or a commercial product like CLR or a lime-and-scum remover) for hard-water mineral scum
- A degreasing dish soap like Dawn for the fatty, oily component
- Baking soda for a gentle abrasive paste
- A stiff nylon scrub brush and a grout brush
- A non-scratch scrubbing pad or pumice stone for extreme buildup
- Rubber gloves, eye protection, and a fan or open window
- A plastic spray bottle and microfiber cloths
One warning up front: never mix an acid (vinegar, CLR) with bleach or any product containing bleach. The combination releases toxic chlorine gas. Pick one chemistry per session and rinse thoroughly before switching.
Method 1: The Dish Soap and Vinegar Spray
This is my go-to first attempt because it attacks both halves of soap scum, the grease and the minerals, at once. Total cost is a couple of dollars.
- Warm one cup of white vinegar in the microwave for about 45 seconds; warm acid works faster.
- Pour it into a spray bottle and add a tablespoon of Dawn dish soap. Swirl gently, don’t shake into foam.
- Spray the tile generously, top to bottom, until it’s visibly wet and clinging.
- Let it dwell 30 minutes minimum, an hour for years-deep buildup. Re-spray if it starts to dry.
- Scrub in circles with a nylon brush. You’ll feel the film turn slick as it releases.
- Rinse with hot water and wipe dry with a microfiber cloth.
For most bathrooms, one or two passes of this clears the majority of the haze. If a stubborn crust remains in spots, move to the paste.
Method 2: Baking Soda Paste for Stubborn Crust
Where the buildup is thick, especially the lower third of walls and around fixtures, a mild abrasive paste does the mechanical work the spray can’t.
- Mix three parts baking soda to one part Dawn into a spreadable paste.
- Smear it onto the worst areas with a gloved hand or sponge, coating the crust.
- Let it sit 15 to 20 minutes.
- Scrub firmly with a damp non-scratch pad. The baking soda gives you gentle grit without scratching ceramic or porcelain glaze.
- Rinse fully, then hit the same area with the vinegar spray to dissolve any loosened mineral haze.
The one-two punch of alkaline paste followed by acidic spray is what finally breaks decade-old scum. Just rinse between the two, or the baking soda and vinegar neutralize each other into a fizzy but weak mess.
Cleaning Soap Scum Out of Grout
Grout is porous and holds scum deep in its texture. After the tile faces are clean, dip a stiff grout brush or an old toothbrush in the baking soda paste and work each line individually. For discolored grout, an oxygen bleach (like OxiClean) mixed to a paste and left 30 minutes lifts staining without the fumes of chlorine bleach. Rinse well and let it dry to see the true result before deciding whether to reapply.
When to Reach for Stronger Products
If natural methods leave a haze on truly neglected tile, step up to a commercial remover. Products like CLR, Bar Keepers Friend (its oxalic acid cuts mineral film well), or a dedicated soap-scum remover cost $5 to $12 and pack more acid than vinegar. Follow label dwell times, ventilate hard, and test on a hidden tile first, some acidic cleaners can etch natural stone like marble or travertine. For stone showers, use only a pH-neutral stone-safe cleaner; acid will permanently dull the finish.
Keeping Soap Scum From Coming Back
Once your tile is clean, staying ahead of scum is far easier than a yearly demolition job:
- Switch from bar soap to a liquid body wash, no fatty soap, dramatically less scum.
- Keep a squeegee in the shower and wipe the walls after each use; 30 seconds prevents the mineral crust.
- Run the exhaust fan during and after showers to dry surfaces faster.
- Do a quick weekly vinegar-and-Dawn spray so buildup never gets a foothold.
- Consider a water softener if you have hard water, it cuts the mineral half of scum at the source.
A Realistic Timeline for Neglected Tile
Set your expectations before you start. A shower that’s been scrubbed occasionally comes back in a single 45-minute session. A shower that hasn’t had a real deep clean in five or ten years is a two- or three-session project, and that’s normal. Trying to force decade-old scum off in one afternoon leads to sore arms and a scratched glaze from over-aggressive scrubbing.
My approach on the worst bathrooms is to work in stages. Day one, saturate everything with the vinegar-and-Dawn spray, let it dwell an hour, scrub, and rinse. That knocks off the top layers and reveals what you’re actually dealing with. Day two, hit the remaining crust with baking soda paste and spot-treat with a commercial remover where needed. By the third pass you’re polishing, not demolishing. Breaking it up this way also protects the tile, because each round softens the buildup a little more so you never have to grind at it. Patience beats muscle every time with cured-on soap scum.
Frequently Asked Questions
Does vinegar really remove years of soap scum?
Yes, warm white vinegar dissolves the hard-water mineral portion of scum, and paired with dish soap it also cuts the greasy layer. The key is dwell time, give it 30 to 60 minutes on aged buildup rather than wiping immediately.
Can I use a magic eraser or pumice on shower tile?
A melamine “magic eraser” is safe on glazed ceramic and porcelain. Pumice stones work on porcelain and glass but can scratch softer glazes and natural stone, so test in a hidden spot first and keep the surface wet while you rub.
What’s the fastest way to clean years of soap scum off tile?
Combine chemistry and dwell time: spray warm vinegar mixed with Dawn, let it sit an hour, then scrub with a nylon brush and finish stubborn spots with a baking soda paste. That two-step system clears the most buildup in a single session.
Will these methods damage my grout?
Baking soda paste and oxygen bleach are grout-safe. Avoid chlorine bleach and strong acids on colored or old grout, since they can lighten or erode it over time. Always rinse thoroughly after cleaning.
Is it safe to mix vinegar and baking soda?
They’re safe together but largely cancel each other out, so use them in sequence rather than mixed. Never combine vinegar or any acid with bleach, that produces dangerous chlorine gas.
Match the cleaner to the scum, give it real dwell time, and follow up with a weekly squeegee habit, and you’ll never have to fight years of buildup again.
Prefer to explore on your own?
See how new flooring looks in your actual room in seconds — free, no signup.
Try the free Floor Studio →

