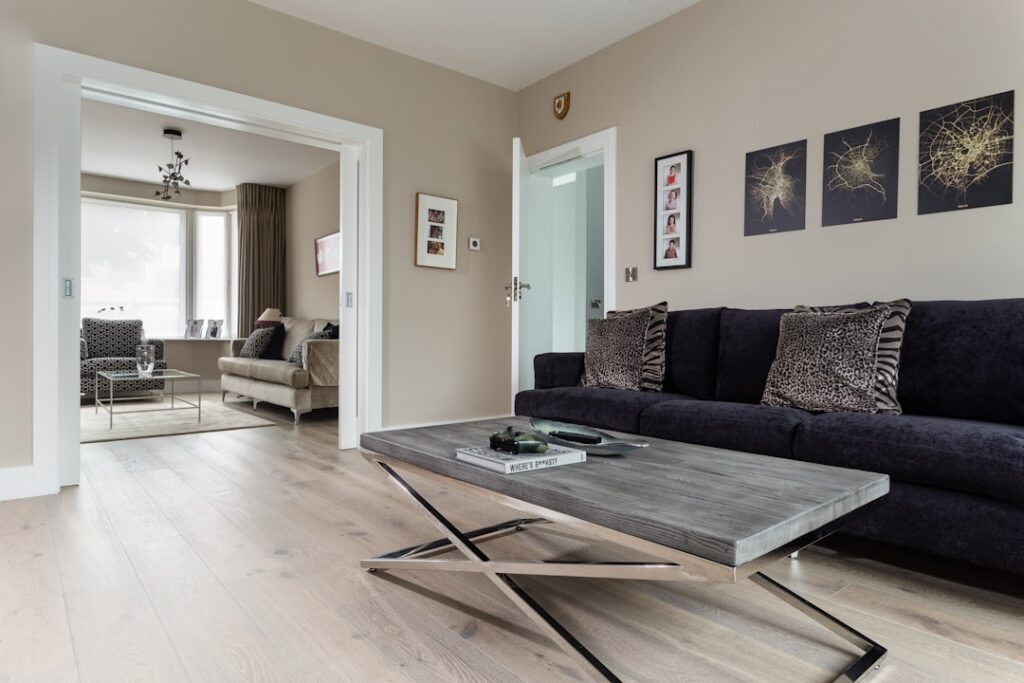
Installing laminate flooring is one of the most beginner-friendly home projects out there, but every clean install comes down to one skill — making accurate, chip-free cuts. Learning how to cut laminate properly is the difference between tight, professional-looking seams and splintered, gappy edges that ruin the whole floor. The good news is that laminate cuts easily with tools you may already own, as long as you use the right blade, cut from the correct side, and measure carefully. This guide covers the tools, the cuts you’ll need, and the technique for each.
Understanding Laminate Before You Cut
Laminate flooring is a layered product: a tough melamine wear layer over a printed design layer, bonded to a dense fiberboard core. That hard top wear layer is exactly why laminate chips — the surface is brittle, and a saw can splinter it if you cut from the wrong side or use the wrong blade. The core, by contrast, cuts cleanly.
The key principle behind every clean cut is controlling which side the saw teeth exit, because chipping happens on the exit side. Get that right and your cuts come out crisp every time.
Tools for Cutting Laminate
Several tools cut laminate well, and the best one depends on the type of cut. Here’s what each does.
Laminate Cutter (Guillotine)
A manual laminate cutter works like a paper guillotine, shearing through planks with a lever. It makes fast, dust-free, silent crosscuts and produces no chipping at all — ideal for the many straight end cuts in a room. It can’t do lengthwise rips or detailed notches, but for crosscuts it’s the cleanest, quickest option.
Circular Saw or Miter Saw
A circular saw with a fine-tooth blade handles crosscuts quickly, and a miter saw is excellent for repetitive, precise end cuts and angles. Both create dust and noise, so wear protection. Cut laminate face-down with these saws, since the blade exits through the top — keeping chipping on the underside.
Jigsaw
The go-to for curves, notches, and cutouts around door frames, pipes, and vents. Use a fine-tooth, down-cutting (reverse) laminate blade and cut face-up; the down-cutting teeth pull chipping to the back so the visible face stays clean.
Table Saw
Best for lengthwise rips — cutting planks narrower along their length, as you’ll need for the last row. Cut laminate face-up on a table saw, since the blade teeth exit downward through the bottom.
Hand Saw or Utility Knife
In a pinch, a fine-tooth hand saw works, and thinner laminate can be score-and-snapped with a sharp utility knife. Slower, but quiet and dust-free.
The Golden Rule: Which Side Faces Up
This single concept prevents most chipping. The saw chips the surface where the teeth exit the material, so you always keep the good side away from the exit path.
- Circular saw and miter saw: cut with the laminate face-DOWN (teeth cut up through the top, so chipping is on the hidden underside).
- Table saw: cut face-UP (teeth exit through the bottom).
- Jigsaw with a down-cutting blade: cut face-UP (the reverse blade keeps chipping on the back).
- Laminate guillotine cutter: face-up, no chipping either way.
When in doubt, do a test cut on a scrap piece and check which side chips. Match your good-side orientation accordingly before cutting your real planks.
How to Make Straight Crosscuts
Most cuts in a laminate install are straight crosscuts to length at the ends of rows. Here’s the clean way to do them.
- Measure the gap from the wall to the last full plank, remembering to subtract for the expansion gap (typically 1/4 to 3/8 inch) at the wall.
- Mark the cut line clearly across the plank with a pencil and a square.
- Orient the plank correctly for your tool — face-down for a circular or miter saw.
- Make the cut in one smooth, steady pass, supporting the offcut so it doesn’t break away and tear.
- Dry-fit the piece before locking it in, trimming if needed.
How to Make Lengthwise (Rip) Cuts
The final row almost always needs planks ripped narrower along their length. A table saw is ideal, with a fine-tooth blade and the laminate face-up. Set the rip fence to the measured width — again accounting for the expansion gap against the wall — and feed the plank through steadily with a push stick to keep your hands clear. A circular saw with a straightedge guide works too if you don’t have a table saw; just cut face-down.
How to Cut Notches and Curves
Doorways, pipes, vents, and irregular walls call for notches and curves — the trickiest cuts. A jigsaw with a down-cutting laminate blade is your friend here.
- Make a template for complex shapes using cardboard, then trace it onto the plank.
- For pipes, drill a hole slightly larger than the pipe, then cut a slit from the plank edge to the hole so you can slide the plank around it.
- For door casings, it’s often easier to undercut the casing itself and slide the plank underneath for a clean look.
- Cut face-up with the down-cutting blade, following your line slowly and steadily.
Tips for Clean, Chip-Free Cuts
- Use a sharp, fine-tooth blade made for laminate or fine finish work — more teeth means cleaner edges.
- Apply painter’s tape over the cut line on the visible face to reduce splintering on tricky cuts.
- Support the plank fully on both sides of the cut so it doesn’t sag and tear.
- Cut slow and steady — forcing the saw causes burning and chipping.
- Always wear eye and hearing protection and a dust mask, since laminate dust is fine and irritating.
- Cut outdoors or in a ventilated area with power saws to manage the dust.
Putting It All Together
Knowing how to cut laminate cleanly turns a daunting install into a satisfying weekend project. Match the tool to the cut — a guillotine or miter saw for crosscuts, a table saw or guided circular saw for rips, and a down-cutting jigsaw for notches — keep the right side facing the saw’s exit, use a sharp fine-tooth blade, and never forget the expansion gap at the walls. Measure twice, test on a scrap, and cut once. Master those basics and every plank will snap together with tight, splinter-free seams that look like a pro laid the floor.
Prefer to explore on your own?
See how new flooring looks in your actual room in seconds — free, no signup.
Try the free Floor Studio →