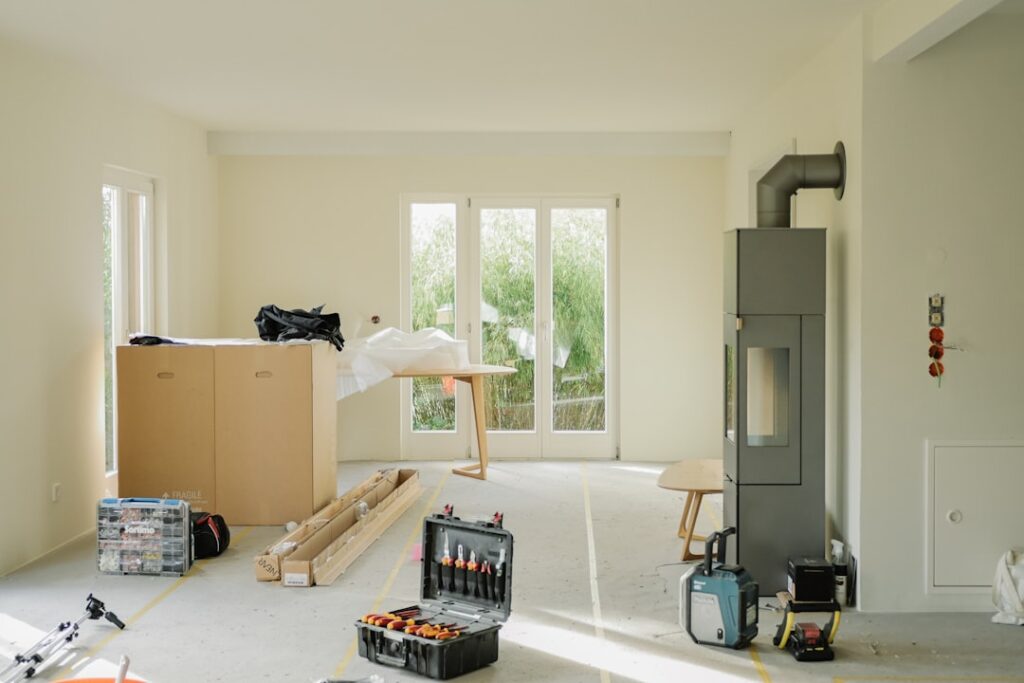
Learning how to install baseboards is one of the most satisfying home improvement skills you can develop. Baseboards hide the expansion gap between your flooring and the wall, protect wall surfaces from scuffs and vacuum bumps, and provide a clean visual transition that makes any room look finished. Whether you are completing a flooring project or upgrading outdated trim, this guide walks you through every step from measuring to final paint touch-ups.
- Tools and Materials You Will Need
- Step 1: Measuring and Planning
- Step 2: Cutting Basics
- Step 3: Inside Corners (Coping)
- Step 4: Outside Corners (Mitering)
- Step 5: Nailing Baseboards to the Wall
- Step 6: Scarf Joints for Long Walls
- Installing Over Different Flooring Types
- Step 7: Caulking and Filling
- Step 8: Painting and Finishing
- Frequently Asked Questions
The project requires basic tools, moderate carpentry skills, and a weekend of focused work. Most homeowners can install baseboards in a 12-by-12-foot room in three to four hours once they are comfortable with the cutting techniques.
Tools and Materials You Will Need
Before you learn how to install baseboards, gather the following tools and materials. Having everything ready before you start prevents frustrating mid-project trips to the hardware store.
| Tools | Materials |
|---|---|
| Miter saw (power or manual miter box) | Baseboards (MDF, pine, poplar, or oak) |
| Coping saw | Finish nails (15-gauge or 16-gauge, 2 to 2.5 inches) |
| Brad nailer or finish nail gun | Wood filler or spackle |
| Tape measure | Paintable caulk (latex) |
| Pencil | Primer and paint (semi-gloss or satin) |
| Stud finder | 120-grit and 220-grit sandpaper |
| Level (4-foot) | Construction adhesive (optional) |
| Utility knife | Painter’s tape |
Tip: Purchase 10 to 15 percent more baseboard material than your total linear footage to account for cutting waste and mistakes. Floor trim profiles are sometimes discontinued, so having extra stock avoids matching headaches later.
Step 1: Measuring and Planning
Start by measuring each wall in the room. Use a tape measure along the base of the wall at floor level — not at countertop height, because walls are rarely perfectly straight or plumb. Record each measurement and note which walls have inside corners, outside corners, or butt joints against door casings.
Draw a simple floor plan of the room and label each wall with its measurement and the type of joint needed at each end. This map prevents confusion when you start cutting.
Planning tips for measuring:
- Measure each wall individually — do not assume opposite walls are the same length.
- Add 1/8 inch to each measurement for a snug friction fit.
- Identify stud locations with a stud finder and mark them lightly on the wall with painter’s tape. Studs are typically 16 inches on center.
- Remove existing baseboards carefully with a pry bar and putty knife if you are replacing old trim. Pull any remaining nails from the wall.
Step 2: Cutting Basics
A miter saw is the essential tool for learning how to install baseboards. All baseboard cuts fall into four categories: straight cuts (butt joints against door casings), miter cuts (outside corners), cope cuts (inside corners), and scarf joints (joining two pieces on a long wall).
Set up your miter saw on a stable surface with support on both sides for long pieces. Always make your cuts with the baseboard positioned against the miter saw fence the same way it will sit against the wall — flat on the bottom (representing the floor) with the back flat against the fence (representing the wall).
Key cutting rules:
- Always cut slightly long and test-fit before nailing. You can shave off material, but you cannot add it back.
- Use a sharp, fine-toothed blade (80 to 100 teeth) for clean cuts in MDF and softwoods.
- Support long pieces with roller stands or a helper to prevent the baseboard from dropping and tearing at the end of the cut.
- Wear safety glasses — always.
Step 3: Inside Corners (Coping)
Coping is the professional technique for inside corners. While beginners often try to miter both pieces at 45 degrees to form an inside corner, this approach fails because walls are rarely perfectly square, and the joint opens as wood expands and contracts. Coping produces a tight joint that conceals gaps regardless of the wall angle.
How to cope a baseboard joint:
- Install the first piece: Cut the first baseboard with a straight (square) cut and push it tight into the corner. Nail it to the wall studs.
- Back-cut the second piece: Set your miter saw to 45 degrees and make an inside miter cut on the end of the second baseboard. This exposes the profile of the baseboard on the cut face.
- Trace the profile: Use a pencil or the side of a pencil lead to highlight the front edge of the profile. This line is your cutting guide.
- Cope the cut: Use a coping saw to cut along the highlighted profile line. Angle the coping saw blade slightly backward (called back-cutting) so that only the front edge of the baseboard contacts the first piece.
- Test the fit: Press the coped end against the first piece already installed on the wall. The profile of the coped piece should nest perfectly against the face of the first piece.
- Fine-tune: Use a round file, sandpaper, or utility knife to remove any high spots that prevent a tight fit.
Coping takes practice. Expect your first few attempts to require significant fine-tuning. By the third or fourth corner, the process becomes much faster and cleaner.
Step 4: Outside Corners (Mitering)
Outside corners are the one situation where miter joints are the correct choice. Two pieces of baseboard meet at a 45-degree miter to form a clean 90-degree outside corner.
- Measure from the wall or last joint to the point of the outside corner. Mark the baseboard on the bottom edge at this measurement.
- Set the miter saw to 45 degrees and cut so the long point of the miter aligns with your mark.
- Cut the adjoining piece at an opposing 45-degree angle.
- Dry-fit both pieces on the wall. If the corner is not exactly 90 degrees (most are not), adjust the miter angle by one or two degrees until the joint closes tightly.
- Apply a thin bead of wood glue to both miter faces before nailing. This reinforces the joint against seasonal movement.
- Nail both pieces into the wall studs, then drive one pin nail horizontally through the corner joint to lock the two pieces together.
Step 5: Nailing Baseboards to the Wall
Understanding the nailing technique is critical to mastering how to install baseboards. You have two options: a pneumatic or cordless finish nailer (15-gauge or 16-gauge) or hand-driven finish nails.
Nail gun method (recommended): A finish nailer drives and countersinks nails in one trigger pull, producing a small hole that is easy to fill. Use 15-gauge nails (2 to 2.5 inches) for baseboards 1/2 inch thick or more. Use 16-gauge nails for thinner baseboards or delicate profiles. Nail into wall studs for maximum holding power.
Hand nailing method: Use 8d (2.5-inch) finish nails. Pre-drill pilot holes through the baseboard to prevent splitting, especially near the ends. Drive nails with a hammer until the head is just above the surface, then countersink with a nail set.
Nailing pattern:
- Drive one nail near the top of the baseboard and one near the bottom at each stud location.
- Keep nails at least 1 inch from the ends to prevent splitting.
- For baseboards taller than 5 inches, add a third nail in the middle at each stud.
- If you cannot hit a stud in a critical area, use construction adhesive as supplemental support.
Step 6: Scarf Joints for Long Walls
When a wall is longer than your available baseboard lengths (typically 8, 12, or 16 feet), you need a scarf joint to join two pieces invisibly. A scarf joint is made by cutting both pieces at matching 45-degree angles — one with the long point on the front face and the other with the long point on the back — so they overlap at the joint.
Always locate scarf joints over a wall stud so both pieces can be nailed securely at the joint. Apply wood glue to the overlapping faces, press the joint together, and nail through both pieces into the stud. After filling and painting, a well-executed scarf joint is virtually invisible.
Installing Over Different Flooring Types
The relationship between baseboards and your flooring type is important. Here is how to handle each scenario:
Hardwood and engineered wood: These floors require a 1/4 to 1/2 inch expansion gap at the walls. The baseboard should cover this gap without pressing down on the flooring surface. Place a nickel or thin spacer on the floor surface and rest the baseboard on it while nailing — this ensures a small clearance gap that allows the floor to expand freely.
Laminate flooring: Laminate also needs an expansion gap (typically 1/4 to 3/8 inch). Follow the same spacer technique. Never nail through the baseboard into the floor — only into the wall. If the expansion gap is too wide for the baseboard to cover, install quarter-round or shoe molding at the base. See our floor transition strips guide for more options.
Vinyl plank and LVT: Vinyl plank floors need a smaller expansion gap (1/4 inch is typical). Baseboards cover this gap easily. Avoid pressing the baseboard tightly against the vinyl surface, which can restrict expansion and cause buckling.
Tile: Tile floors do not expand and contract, so the baseboard can sit directly on the tile surface. Caulk the joint between the baseboard and tile with color-matched or paintable caulk for a clean finish.
Carpet: Install baseboards before carpet installation. The carpet installer will tuck the carpet edges under the baseboards using tack strips positioned 1/4 to 3/8 inch from the wall. Leave the baseboards at standard wall height — the carpet will be tucked beneath them.
For complete flooring installation guidance, our dedicated guide covers all flooring types in detail.
Step 7: Caulking and Filling
Caulking and filling are what separate professional-looking baseboard installations from amateur ones. This step takes 30 to 45 minutes per room but makes a dramatic difference in the final appearance.
Fill nail holes: Use lightweight spackle or wood filler to fill every nail hole. Apply with a putty knife, slightly overfilling each hole. Let it dry completely (usually 30 to 60 minutes), then sand flush with 220-grit sandpaper.
Caulk the top edge: Run a continuous bead of paintable latex caulk along the joint between the top of the baseboard and the wall. Use a damp finger or caulk smoothing tool to create a clean, concave line. This step hides any gaps caused by uneven walls and creates the illusion that the baseboard is seamlessly integrated with the wall.
Caulk inside joints: If any coped or mitered joints have minor gaps, fill them with caulk rather than wood filler — caulk remains flexible and will not crack as the wood moves seasonally.
Do not caulk the bottom edge of the baseboard where it meets the floor. This joint should remain open (or be covered by shoe molding) to allow for floor expansion.
Step 8: Painting and Finishing
If your baseboards are pre-primed (most MDF baseboards are), you can proceed directly to the topcoat after filling and caulking. Unprimed wood baseboards need one coat of primer before painting.
- Apply painter’s tape along the floor edge and the wall above the baseboard.
- Lightly sand the entire baseboard with 220-grit sandpaper for paint adhesion.
- Wipe away sanding dust with a tack cloth.
- Apply one coat of primer (if needed) with a 2 to 2.5-inch angled brush.
- Apply two coats of semi-gloss or satin paint, allowing proper drying time between coats.
- Remove painter’s tape while the final coat is still slightly tacky for the cleanest lines.
Semi-gloss paint is the traditional choice for baseboards because it is durable, easy to clean, and provides a subtle contrast with the typical eggshell or matte wall paint. Satin finish is a popular modern alternative that shows fewer brush strokes.
Frequently Asked Questions
Should I install baseboards before or after flooring?
For most floating floors (laminate, vinyl plank, engineered hardwood), install flooring first, then baseboards. For carpet, install baseboards first — the carpet gets tucked underneath. For nail-down hardwood, either order works, but installing flooring first is generally easier.
Can I install baseboards without a nail gun?
Yes. Use 8d finish nails with pre-drilled pilot holes and a nail set. A nail gun saves significant time and produces cleaner results, but hand nailing works for small projects. Cordless brad nailers are available for under $150 and are worth the investment if you plan to do any trim work.
How do I install baseboards on uneven walls?
For minor wall irregularities, use caulk to fill gaps between the baseboard and the wall. For significant bowing, you may need to scribe the baseboard to the wall contour or use additional nails and construction adhesive to pull the baseboard tight against the wall at low spots.
What size baseboards should I use?
Standard baseboard heights range from 3.25 inches to 5.25 inches. Rooms with 8-foot ceilings look best with 3.25 to 4-inch baseboards. Rooms with 9 to 10-foot ceilings can handle 5 to 7-inch baseboards. Taller baseboards add a more traditional, substantial feel to a room.
Do baseboards need to touch the floor?
Baseboards should be close to the floor but do not need to press against it. Leave a small gap (the thickness of a nickel) above floating floors to allow expansion. If the gap is visible and bothers you, add quarter-round or shoe molding to cover it. See our transition strips guide for molding options.
How much does it cost to have baseboards installed professionally?
Professional baseboard installation typically costs $4 to $8 per linear foot, including materials and labor. A standard 12-by-12-foot room (44 linear feet minus doorways) costs approximately $130 to $280 for professional installation. Complex trim profiles and hardwood baseboards increase the cost.