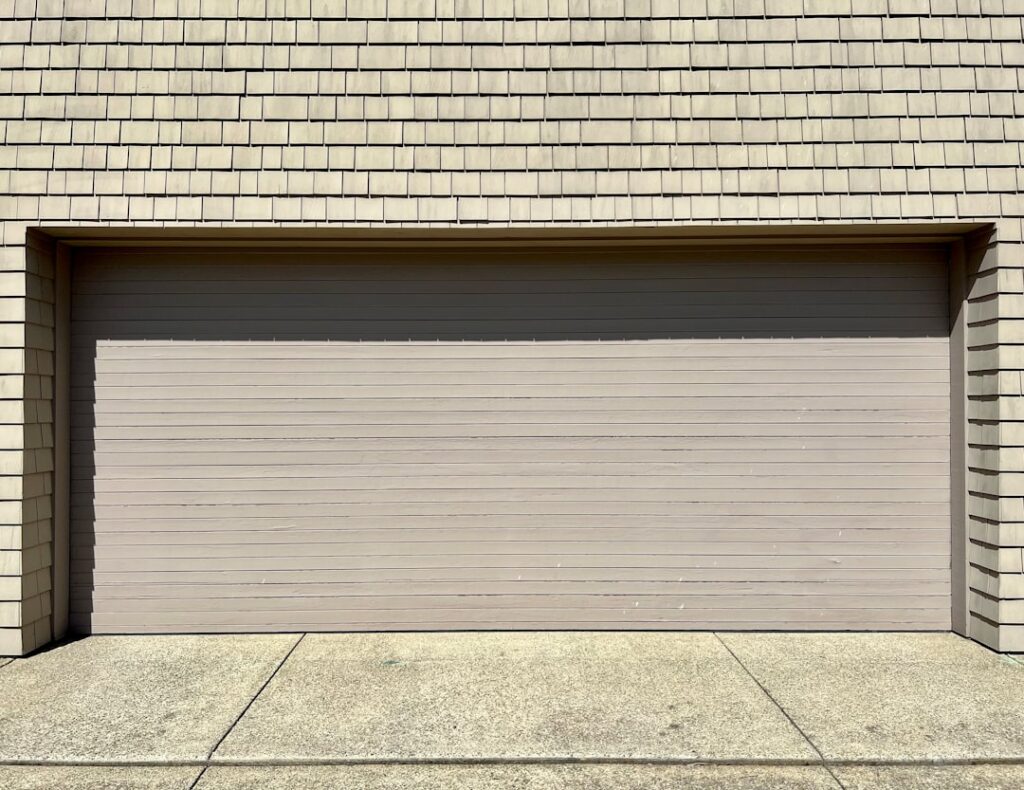
A gap the width of a pencil under a garage door does not sound like much, but across a 16-foot opening it adds up to nearly the same air leak as leaving a small window wide open all winter. Learning how to install garage door weather stripping is one of the highest-value weekend projects a homeowner can tackle: the materials cost $30 to $80, the job takes an afternoon, and a sealed garage stays warmer, drier, and free of the leaves, dust, and mice that ride in through the gaps. This guide walks through sealing the bottom, the sides, and the top of the door.
Where Garage Doors Leak Air
A typical garage door has three separate weather seals, and each fails in its own way. The bottom seal, a rubber or vinyl gasket that presses against the floor, is the one that wears out first because it drags across concrete every cycle. The side and top seals, usually a flexible flap attached to the wood or metal stop molding around the frame, crack and shrink from sun exposure. Finally, the threshold on the floor itself can be added to seal an uneven slab. Diagnosing which one is failing tells you what to buy.
Tools and Materials You Will Need
- Replacement bottom seal (astragal) in the correct retainer profile, or a threshold kit
- Vinyl or rubber garage door stop molding for the sides and top
- Tape measure and a utility knife or fine-tooth saw
- Galvanized or stainless roofing nails, or 1-5/8-inch exterior screws
- Hammer or drill/driver, pry bar, and a caulk gun with exterior sealant
- Dish soap and water as a lubricant for threading the bottom gasket
The single most important step happens before you buy anything: identify your bottom retainer. Most modern steel doors use an aluminum channel with either a T-shaped or a bead-and-groove slot. Slide a piece of the old gasket out and take it to the store, or measure the slot width so the replacement actually fits. A T-style seal will not thread into a bead-style retainer.
Step 1: Replace the Bottom Seal
Open the door about halfway and support it so it cannot fall, or work with it closed if the retainer is accessible. Pull the old gasket out of the aluminum channel from one end; decades of grime may require a pry and some patience. Cut the new seal to the door width plus about an inch of overhang on each side.
Spray the channel and the ridges of the new gasket with soapy water. Feed both edges of the T or bead into their grooves at one end and pull the seal through the full length of the retainer like threading a belt. Two people make this easier on a wide door. Trim the excess and let the ends hang slightly long so the corners seal.
Step 2: Seal the Sides and Top
The side and top seal is the flexible flap on the stop molding, the strip of wood or PVC that the door closes against. If the existing molding is rotten, pry it off. Measure the two side jambs and the header, then cut new vinyl-flap stop molding to length, mitering the top corners at 45 degrees for a clean fit.
Close the door first, then position each piece so the flexible flap just kisses the face of the door panel, pressing lightly against it without binding. Nail or screw through the rigid part of the molding into the jamb every 16 inches. Getting the flap pressure right is the whole trick: too loose leaves a gap, too tight and the door strains against it. Finish by caulking the outside seam where the molding meets the siding.
Step 3: Consider a Threshold Seal
If your garage floor slopes or has low spots that let water and drafts under even a good bottom gasket, add a threshold seal. This is a raised rubber ramp glued to the concrete that the door closes against. Dry-fit it, mark the position, clean the floor thoroughly, and bond it with the manufacturer’s adhesive, weighting it overnight while it cures. A threshold plus a bottom gasket creates a double seal, though be aware the raised ramp can trap water inside if the floor drains outward.
Choosing the Right Bottom Seal Profile
The bottom gasket comes in several shapes, and matching the shape to your floor is what determines whether the seal actually closes the gap. A T-style seal has two T-shaped edges that slide into a double-channel aluminum retainer and is the most common on modern steel doors. A bead or P-bulb style uses a rounded tube that squashes flat against the floor and seals well on slightly uneven concrete. A U-shaped or double-fin gasket flexes wide and is the best choice when the slab has a noticeable slope or worn low spots. Bring a sample of your old seal and a photo of the retainer channel to the store, because buying the wrong profile is the single most common mistake and it will not thread into the wrong retainer no matter how hard you push.
How Long Weather Stripping Lasts
A quality EPDM rubber bottom seal lasts 5 to 10 years; cheaper vinyl in a sunny climate may harden and crack in 3 to 5. Side and top flaps generally outlast the bottom because they do not drag on anything. Inspect all three each fall by shining a light from inside the garage at night while someone checks for glow lines around the closed door.
Common Mistakes to Avoid
Rushing the fit is where most reseals go wrong. Do not stretch the bottom gasket as you thread it; stretched rubber relaxes over the following weeks and pulls back from the corners, reopening the gap you just closed. Cut it long and let it settle. On the side molding, resist the urge to jam the flap hard against the door for a “tight” seal; over-compressed vinyl drags, squeaks, and can even keep the door from seating fully, tricking the safety sensors. Finally, never seal the top and sides so aggressively that you trap moisture inside the tracks, and always leave the exterior caulk bead continuous so wind-driven rain cannot sneak behind the molding. A patient afternoon beats a redo next season.
Frequently Asked Questions
How much does garage door weather stripping cost?
A bottom seal runs $15 to $40 depending on width and material, side-and-top vinyl stop molding for a single door is $25 to $50, and a threshold kit adds $30 to $60. Doing all three yourself keeps a full reseal under $100.
Can I install it myself, or do I need a technician?
This is a DIY-friendly job requiring only basic hand tools. The one caution is never to remove or adjust the door’s spring or cables, which store dangerous tension. Weather stripping touches none of those components, so it is safe to do yourself.
Why does my new bottom seal still leave a gap?
Usually the floor is uneven. A standard flat gasket cannot bridge a sloped or cracked slab, so add a threshold seal or switch to a taller U-shaped or double-fin bottom gasket that flexes to fill the low spots.
What is the difference between a seal and a threshold?
The seal (astragal) attaches to the door and moves with it, while the threshold is glued to the floor and stays put. They can be used together for the tightest seal against wind-driven rain and drafts.
How do I keep the new seal from freezing to the floor?
Wipe a thin film of silicone spray on the bottom gasket before a hard freeze. It keeps the rubber from bonding to icy concrete, which is what tears seals when the door lifts.