A leaking shower drain rarely reveals itself until the ceiling downstairs blooms brown. Learning how to install shower drain assemblies correctly the first time saves thousands in drywall, joist, and subfloor repair. The install is manageable for a confident DIYer, but it demands fussy attention to slope, primer, pan thickness, and drain body compatibility. This guide walks through every step from planning to flood testing, with the specifications that professional plumbers and tile setters follow.
- Choose the Right Drain Type Before You Cut Anything
- Rough-In Plumbing and P-Trap Placement
- Tools and Materials You Need
- Step 1: Dry-Fit and Set the Drain Height
- Step 2: Solvent-Weld the Drain Body
- Step 3: Build the Pre-Slope
- Step 4: Install the Pan Liner or Membrane
- Step 5: Pour the Final Mortar Bed and Flood Test
- Linear Drain and Tile-In Variations
Choose the Right Drain Type Before You Cut Anything
Shower drains split into three main categories: traditional round point drains, linear trench drains, and tile-in flange drains. Each demands different rough-in work and plumbing layouts.
- Point drains, 2 inch standard: simplest install, centered or offset, needs four-way slope
- Linear drains, 24 to 60 inch lengths: single-plane slope, ADA-friendly, premium aesthetic
- Tile-in square drains: flush with floor, requires a specific tile thickness match within 1/8 inch
Match the drain body material to your pan system. ABS and PVC bodies work with standard mortar pans and most sheet membranes. Brass and stainless bodies pair with thin-bed systems like Schluter-Kerdi. Buying the wrong combination is the number one reason DIY shower drains fail inspection.
Rough-In Plumbing and P-Trap Placement
Most residential shower drains use a 2 inch ABS or PVC waste line running to a P-trap, then horizontally to the main stack at 1/4 inch per foot minimum slope. Code requires the trap weir to sit no lower than 18 inches and no higher than 24 inches below the drain flange, measured from the drain outlet to the trap seal.
Plan the trap location before cutting joists. Drilling a 2.5 inch hole through a 2×10 joist is allowed only in the middle third of the span and no closer than 2 inches to top or bottom edges. If the P-trap lands under a joist, you either notch (rarely allowed) or reroute the drain to an adjacent bay.
Tools and Materials You Need
A complete point drain install with a mortar pan takes about 6 to 8 hours spread across two days. Gather these before you start:
- 2 inch ABS or PVC pipe, fittings, primer, and solvent cement (or CPVC equivalents)
- Shower drain assembly with integrated weep holes
- Sheet pan liner (40 mil PVC or 60 mil CPE) or liquid waterproofing membrane
- Deck mud (sand, portland cement, water in 5:1:0.5 ratio)
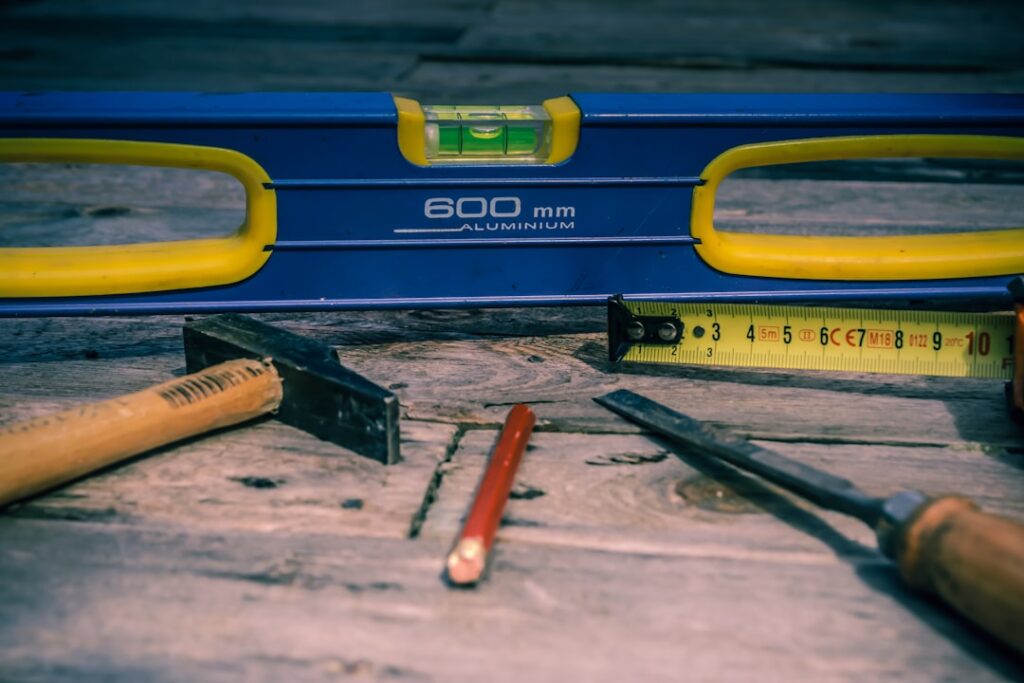
- Jigsaw, hole saw, 4 ft level, notched trowel, utility knife, primer swabs
Budget $180 to $400 for materials on a typical 3×5 ft shower pan, not counting tile.
Step 1: Dry-Fit and Set the Drain Height
Dry-fit the drain body onto the waste pipe without glue. The drain flange top should sit level with the subfloor once the pan mortar, membrane, and final mortar bed are accounted for. A typical traditional mortar pan stacks as follows: 3/4 inch pre-slope mortar, 0.04 inch pan liner, 1.25 inch final mortar bed, 3/8 inch tile and thinset. That puts the drain top roughly 2.5 inches above subfloor.
Mark the pipe at your calculated cut point, disassemble, and cut squarely with a ratcheting PVC cutter or fine-tooth saw. Deburr the inside and outside edges with a deburring tool or utility knife.
Step 2: Solvent-Weld the Drain Body
Apply purple primer to both the pipe end and the drain body socket. Let it flash off for 15 to 30 seconds, then apply a full coat of solvent cement to both surfaces. Push the drain body onto the pipe with a quarter-turn twist and hold for 30 seconds. Wipe excess cement with a rag and let the joint cure 2 hours before pressure testing.
Solvent welds are permanent. Misaligned drain bodies mean cutting out the joint and starting over, so double-check drain orientation against your pan slope direction before you commit.
Step 3: Build the Pre-Slope
Every traditional mortar-pan shower needs a pre-slope under the liner to direct any water that penetrates the tile down to the drain’s weep holes. Slope the mortar at 1/4 inch per foot from every wall toward the drain. For a 3×5 shower, that means the perimeter mortar sits about 3/8 to 5/8 inch above the drain flange.
Mix deck mud stiff enough to hold its shape when squeezed. Screed with straight boards pitched from walls to drain. Let the pre-slope cure 24 hours before installing the pan liner.
Step 4: Install the Pan Liner or Membrane
Unfold the PVC or CPE liner across the shower floor, extending it 3 inches up each wall and overlapping the curb. Cut the hole for the drain bolt pattern, not for the full drain barrel. The liner goes over the lower drain flange, compressed by the upper drain flange ring with the supplied bolts torqued evenly in a cross pattern.
For liquid-applied systems like RedGard or Schluter-Kerdi, follow the manufacturer’s mil thickness spec exactly. Two coats totaling 30 to 40 wet mils is typical. Use a notched trowel for coverage and a smooth trowel to feather edges.
Step 5: Pour the Final Mortar Bed and Flood Test
Install the drain riser and clamping collar, then pour a second mortar bed matching the pre-slope pitch. The top of the drain grate should finish flush with the surrounding mortar plus thinset and tile thickness. Screed carefully, especially within 6 inches of the drain where small errors cause puddling.
Before tiling, plug the drain with a test plug and fill the pan with 2 inches of water. Mark the waterline and wait 24 hours. Any drop greater than 1/8 inch indicates a leak that must be found and repaired before tile goes down. This single test prevents almost every catastrophic shower failure.
Linear Drain and Tile-In Variations
Linear drains simplify the pan because you only slope in one direction, usually toward a single wall. The trade-off is a longer drain body and more critical leveling along its full length, within 1/16 inch across 36 inches. Tile-in square drains require matching your tile thickness to the drain recess depth within 1/8 inch. Order the drain only after tile selection, not the other way around.
Whatever style you choose, inspect the installed drain after tiling. The grate should lift out cleanly for future hair removal, and water poured 3 feet from the drain should reach it in under 5 seconds. A correctly installed shower drain lasts 30 to 40 years without attention beyond basic cleaning.