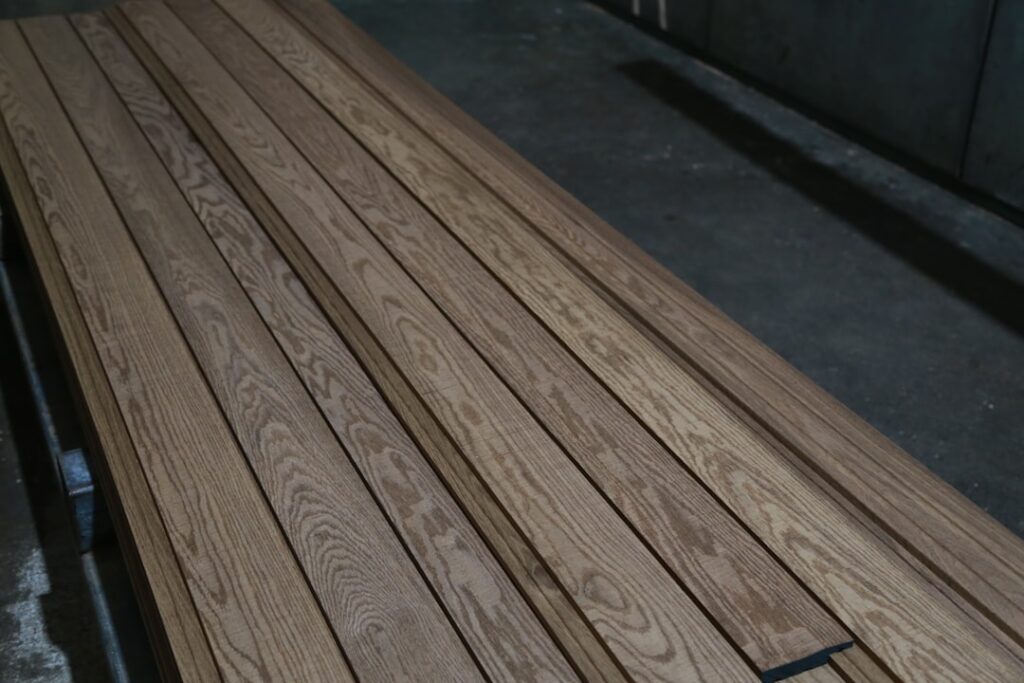
Installing vinyl plank flooring is one of the most accessible DIY flooring projects you can take on. Modern click-lock planks require no glue, no nails, and no specialized skills. If you can measure, cut, and follow a pattern, you can install a floor that looks professional. This guide covers every step from preparation to finishing touches, with practical tips to avoid the mistakes that trip up first-timers.
- Tools and Materials
- Step 1: Prepare the Subfloor
- Step 2: Acclimate the Flooring
- Step 3: Plan Your Layout
- Step 4: Install the First Row
- Step 5: Continue Row by Row
- Step 6: Cutting Techniques
- Straight Cuts (Rip Cuts and Crosscuts)
- Cutting Around Door Frames
- Cutting Around Pipes and Obstacles
- Step 7: Install the Last Row
- Step 8: Finishing Touches
- Common Installation Mistakes
- How Long Does Installation Take?
- Final Thoughts
Tools and Materials
Essential Tools
- Tape measure
- Utility knife with fresh blades (you will go through several)
- Straight edge or T-square
- Rubber mallet
- Tapping block (many vinyl plank brands include one)
- Pull bar — for connecting planks near walls where the mallet cannot reach
- Spacers — 1/4-inch (often included or inexpensive at any hardware store)
- Speed square or carpenter’s square
- Pencil
- Safety glasses
- Knee pads — you will be on the floor for hours
Optional but Helpful
- Jigsaw or oscillating multi-tool — for cutting around door frames and irregular shapes
- Miter saw with a fine-tooth blade — makes straight cuts faster than a utility knife on thicker planks
- Chalk line — for verifying straight layout lines
- Pry bar — for removing existing baseboards
Materials
- Vinyl plank flooring — order 10% more than your measured square footage to account for cuts and waste
- Underlayment — only if your planks do not have an attached pad (check the manufacturer’s specs)
- Transition strips — for doorways and where the vinyl meets different flooring types
- Quarter-round or shoe molding — to cover the expansion gap along walls
Step 1: Prepare the Subfloor
Subfloor preparation is the most important step in any vinyl flooring installation, and it is the one most DIYers rush through. Vinyl plank flooring is thin enough that every bump, dip, and debris particle on the subfloor will eventually telegraph through to the surface.
Subfloor Requirements
- Flat: The subfloor must be flat within 3/16 inch over any 10-foot span. Use a long straight edge to check. High spots can be ground down with a floor grinder. Low spots can be filled with self-leveling compound or floor patch.
- Clean: Sweep and vacuum thoroughly. A single pebble under a vinyl plank creates a noticeable bump.
- Dry: Test concrete subfloors for moisture. Tape a plastic sheet to the concrete, leave for 24 hours, and check for condensation underneath. If moisture is present, install a vapor barrier or choose a product with a built-in moisture barrier.
- Structurally sound: Fix any squeaky or damaged subflooring before installing vinyl on top. Screwing down plywood subfloors eliminates squeaks.
Can You Install Over Existing Flooring?
In many cases, yes. Click-lock vinyl plank can go directly over:
- Existing vinyl (if flat and firmly adhered)
- Ceramic or porcelain tile (fill grout lines with floor leveler if they are deep)
- Concrete
- Plywood or OSB
- Existing hardwood flooring (if flat)
Do not install over: carpet, floating floors that are already floating (you end up with too much flex), or any subfloor with active moisture problems.
Step 2: Acclimate the Flooring
Bring the vinyl planks into the room where they will be installed at least 48 hours before starting. Leave the boxes closed but allow them to adjust to room temperature. While vinyl does not expand and contract as much as wood, temperature affects its flexibility and the fit of click-lock joints.
Install in a room that is between 65 and 85 degrees Fahrenheit. Cold vinyl is brittle and harder to click together. Excessively warm vinyl becomes too flexible.
Step 3: Plan Your Layout
Before placing a single plank, figure out your layout. This planning phase prevents the frustrating situation of reaching the final row and discovering it is only half an inch wide.
Measure the Room Width
- Measure the room width perpendicular to the direction you plan to lay the planks.
- Divide by the plank width to calculate how many full rows you need.
- Check the width of the final row. If it will be less than half a plank wide (usually under 3 inches), adjust by ripping the first row narrower so the final row is wider.
Direction
Run planks parallel to the longest wall in the room or toward the primary light source (usually the largest window). In hallways, always run planks lengthwise. The general rule is that planks running parallel to the longest dimension make a room feel larger.
Stagger the Joints
End joints between planks in adjacent rows should be staggered by at least 6 inches — 8 to 12 inches is better. This prevents a pattern of aligned seams that looks unnatural and can create a structural weak point.
Step 4: Install the First Row
- Remove baseboards or quarter-round molding. Label each piece so you know where it goes back.
- Place spacers along the starting wall — 1/4 inch is standard.
- Lay the first plank with the tongue side facing the wall. Cut the tongue off the first row if needed for a cleaner fit against the wall.
- Connect planks end to end by angling the short end of the next plank into the previous one and pressing down until it clicks.
- When you reach the end of the row, measure the remaining space, subtract 1/2 inch (for spacers on both ends), and cut a plank to fit.
- If the cut-off piece is at least 8 inches long, use it to start the next row. This creates a natural stagger pattern and reduces waste.
Step 5: Continue Row by Row
- Angle the long side of the new row’s plank into the previous row at about 20 to 30 degrees.
- Lower it down until it clicks into the previous row.
- For the end joints, you may need to use the tapping block and mallet to close the short-end connection. Tap gently — vinyl clicks are designed for precision, not force.
- Use the pull bar for planks near walls where there is no room to swing the mallet.
- Check alignment every few rows. A plank that is slightly off in row three will create a visible gap by row ten.
Step 6: Cutting Techniques
Straight Cuts (Rip Cuts and Crosscuts)
For most vinyl plank, score and snap is the easiest method. Score along your marked line with a utility knife using a straight edge, then bend the plank along the score line until it snaps cleanly. A miter saw also works well for quick, precise straight cuts.
Cutting Around Door Frames
Rather than cutting the vinyl plank to fit around the door frame, cut the door frame to fit over the vinyl. Lay a plank flat against the door jamb and use an oscillating multi-tool or flush-cut saw to cut the jamb at the height of the plank. Slide the vinyl plank under the trimmed jamb for a clean, professional look.
Cutting Around Pipes and Obstacles
Measure the pipe location on the plank and drill a hole slightly larger than the pipe diameter. Then cut a straight line from the hole to the nearest edge of the plank. Install the plank by fitting the two pieces around the pipe. Cover the gap with a pipe escutcheon (decorative ring).
Step 7: Install the Last Row
The final row almost always needs to be ripped (cut lengthwise) to fit. Measure the gap between the last installed row and the wall at several points — walls are rarely perfectly straight. Transfer these measurements to your planks and cut accordingly. Remember to subtract 1/4 inch for the expansion gap.
The last row can be tricky to click in because you are working against the wall. Use the pull bar to draw the planks tight.
Step 8: Finishing Touches
- Remove all spacers.
- Reinstall baseboards or install new quarter-round molding to cover the expansion gap. Nail the molding to the wall, not to the floor — the floor needs to float freely.
- Install transition strips at doorways and where the vinyl meets other flooring types.
- Let the floor sit for 24 hours before placing heavy furniture.
Common Installation Mistakes
- Skipping subfloor prep. This is the number one cause of problems. Five extra minutes with a leveling compound saves hours of frustration later.
- Forgetting the expansion gap. Without a gap, the floor buckles when temperatures change. Use spacers religiously.
- Not staggering end joints enough. Aligned joints look bad and can cause the floor to shift.
- Forcing clicks. If a plank will not click in, it is misaligned. Pull it back and try again rather than hammering harder.
- Installing in a cold room. Cold vinyl is stiff and clicks do not engage properly. Keep the room at 65 degrees or above.
How Long Does Installation Take?
For a single 12×14 room (roughly 170 square feet), a first-time DIYer should plan for 4 to 6 hours including subfloor prep and trimming. Experienced installers can cover 200 to 300 square feet per hour. A typical three-bedroom house takes a professional crew one to two days.
The time investment is modest considering the result — a durable, waterproof floor that looks great and adds value to your home. The click-lock system that makes LVP flooring and SPC flooring so popular is specifically designed for homeowner installation, and the learning curve is genuinely short.
Final Thoughts
Learning how to install vinyl plank flooring is a practical skill that pays for itself immediately. Professional installation typically costs $2 to $4 per square foot for labor alone. On a 1,000-square-foot project, that is $2,000 to $4,000 you save by doing it yourself. Take your time with subfloor prep, plan your layout carefully, and let the click-lock system do its job. The results speak for themselves.
Prefer to explore on your own?
See how new flooring looks in your actual room in seconds — free, no signup.
Try the free Floor Studio →