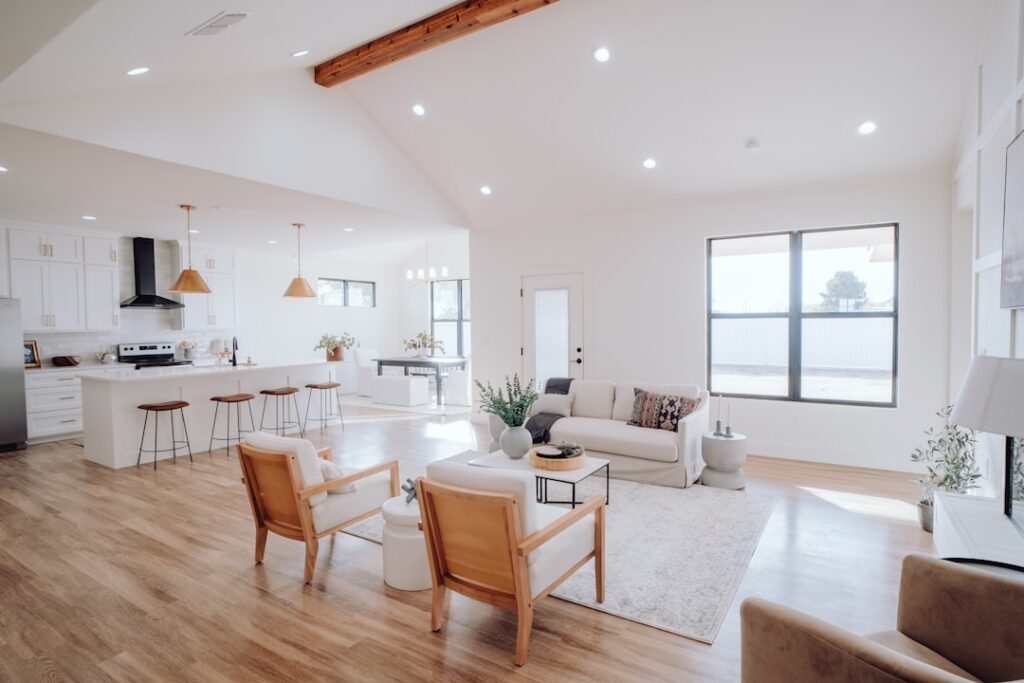
The single biggest reason a new timber floor fails is impatience. Knowing how to lay timber flooring correctly starts long before the first board goes down, with days of acclimation and a careful look at your subfloor. Get that groundwork right and the rest is a satisfying rhythm of cutting, fitting, and tapping boards into place. Rush it, and you invite gaps, cupping, and squeaks that no amount of finish will hide. This guide walks you through the whole job the way an experienced installer actually does it.
Choosing Your Installation Method
There are three main ways to install timber, and your choice depends on the board type and subfloor. Floating installation clicks boards together over an underlay without fastening to the subfloor, and it suits most engineered timber. Nail-down (or staple-down) fastens solid timber to a plywood or timber subfloor using a flooring nailer. Glue-down bonds boards directly to a concrete slab with a flexible adhesive.
Solid timber thicker than 5/8 inch is usually nailed. Engineered boards can float, glue, or nail. If you have a concrete slab and want solid timber, you will glue down or install a plywood layer first. Pick the method before you buy materials, because it changes what underlay and fasteners you need.
Acclimate the Boards First
Timber is a living material that expands and contracts with humidity. Deliver the boxes into the actual room at least 3 to 5 days before installation, ideally 7 for solid timber. Stack them flat, break the seals so air circulates, and keep the room at normal living conditions, roughly 60 to 75°F and 35 to 55 percent relative humidity.
Use a moisture meter to confirm the timber and subfloor readings are within about 2 to 4 percentage points of each other before you start. Skipping acclimation is the classic mistake that produces midwinter gaps and summer buckling.
Prepare the Subfloor
A floor is only as flat as what sits beneath it. Check for high and low spots with a long straightedge or level; most manufacturers want no more than 1/8 inch of deviation over 6 to 10 feet. Sand down high points and fill dips with a self-leveling compound on concrete or shims on timber joists.
- Clean it: sweep and vacuum every scrap of debris.
- Dry it: test concrete for moisture with a calcium chloride or plastic-sheet test.
- Stabilize it: screw down any loose plywood to silence squeaks before covering.
On a concrete slab, lay a moisture barrier such as 6-mil polyethylene unless your underlay already includes one.
Lay the Underlay
Underlay cushions the floor, dampens sound, and on floating installs lets the boards move as one. Roll it out perpendicular to the direction you plan to run the boards, butting seams together without overlapping, and tape the joints. For glue-down and nail-down jobs you typically skip foam underlay, though nail-down floors often use rosin paper or a felt layer to reduce squeaks.
Plan the Layout and Leave Expansion Gaps
Measure the room and divide by the board width to see how wide the final row will be. If it works out to less than about 2 inches, trim the first row so the last row is not an awkward sliver. Run the boards parallel to the longest wall or toward the main light source for the most pleasing look.
The expansion gap is non-negotiable. Leave 3/8 to 1/2 inch around every fixed edge: walls, pipes, door frames, and hearths. Timber needs room to breathe, and this gap disappears under the skirting boards or quarter-round trim later. Use spacers to hold the gap consistent as you work.
Install the Boards
Start in a corner with the groove side facing the wall and the tongue facing out. Work left to right, row by row.
- Lay the first row with spacers against the wall and check it is dead straight with a chalk line.
- Stagger the end joints between rows by at least 6 to 12 inches so seams never line up. A random pattern looks best and is structurally stronger.
- For floating floors, angle each board into the previous one and tap home with a tapping block and mallet, never the bare board edge.
- For nail-down, blind-nail through the tongue at a 45-degree angle every 6 to 8 inches with a flooring nailer.
- For glue-down, spread adhesive with the recommended notched trowel and only as much as you can cover before it skins over.
Cut end boards and the final row to fit, remembering to keep that expansion gap. A jigsaw or oscillating tool handles notches around pipes and door jambs. Undercut door casings with a flush-cut saw so boards slide underneath for a clean finish.
Finishing Touches
Once the last board is in, remove all the spacers. Install skirting boards or refit the existing ones, and add quarter-round or scotia molding where needed to cover the expansion gap. Nail trim to the wall, never to the floor, so the timber can still move freely.
Fit transition strips at doorways and where the timber meets carpet, tile, or a different floor height. Give the floor a final clean and, if you used a glue-down or nail-down method on a prefinished board, wait the recommended time before moving furniture back. For floating floors you can usually walk on them right away but still wait 24 hours before heavy loads.
Common Mistakes to Avoid
Even confident DIYers trip over the same hurdles. Watch out for these:
- No expansion gap: the top cause of buckling. Always leave room at the perimeter.
- Lined-up seams: weak and ugly. Stagger end joints across rows.
- Skipping acclimation: guarantees movement problems within a season.
- Ignoring subfloor flatness: leads to hollow spots, squeaks, and clicking joints.
- Tapping board edges directly: crushes the tongue; use a proper tapping block.
Final Thoughts
Laying timber flooring rewards patience and preparation more than raw speed. Acclimate the boards, flatten and dry the subfloor, leave generous expansion gaps, and stagger your joints, and you will end up with a floor that stays tight and flat for decades. Take a practice run with a few boards before committing, keep your cuts clean, and the project is well within reach for a careful homeowner over a weekend or two.
Prefer to explore on your own?
See how new flooring looks in your actual room in seconds — free, no signup.
Try the free Floor Studio →