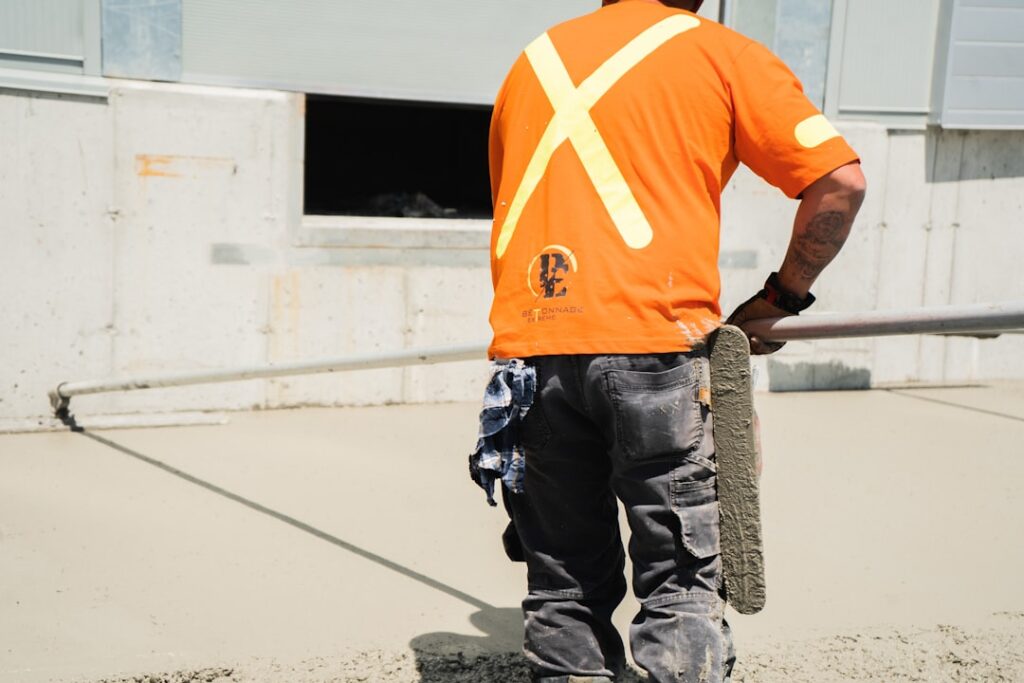
An uneven concrete floor causes problems with every type of flooring you install over it. Tiles crack, laminate planks rock, vinyl shows every imperfection, and hardwood develops gaps. Learning how to level a concrete floor is one of the most important prep steps in any flooring project, and it is entirely doable as a DIY job when you understand the process. We have leveled concrete slabs in basements, garages, kitchens, and commercial spaces for over 30 years, and this guide covers everything you need to get it right.
When Does a Concrete Floor Need Leveling
Most flooring manufacturers specify that the subfloor must be flat within 3/16 inch over a 10-foot span. Grab a long straightedge (an 8-foot level works well) and slide it across the concrete in multiple directions. Measure the gaps underneath. If any gap exceeds 3/16 inch, you need to level the floor before installing your new flooring.
Common signs that your concrete floor is uneven include:
- Visible dips or humps when you look across the floor at a low angle
- Rocking or bouncing when you walk on existing flooring
- Cracked tiles or grout in the current floor (often caused by an uneven slab)
- Gaps under baseboards that vary in size around the room
- Water pooling in certain areas
Minor imperfections under 1/8 inch may be acceptable for some flooring types, especially carpet and thick vinyl. But for tile, hardwood, and laminate, proper leveling is non-negotiable.
Two Methods: Self-Leveling Compound vs Grinding
There are two primary ways to level a concrete floor. The right choice depends on whether the problem is low spots or high spots.
Self-Leveling Compound
Self-leveling compound is a cementitious mixture that you pour onto the concrete floor. It flows naturally to find its own level, filling in low spots and depressions. It is the best solution when the floor has dips, settled areas, or overall unevenness where the low areas need to be built up.
Best for: Dips, depressions, slopes, overall unevenness up to about 1 inch deep (some products go up to 1.5 inches in a single pour).
Concrete Grinding
A concrete grinder uses a rotating disc with diamond segments to shave down high spots on the concrete surface. It is the right approach when isolated humps, ridges, or high spots prevent the floor from being flat.
Best for: High spots, ridges from previous flooring adhesive, bumps at control joints, areas where the concrete was finished unevenly.
Many floors need both methods. Grind down the high spots first, then pour self-leveling compound into the remaining low areas.
Tools and Materials
For Self-Leveling Compound
- Self-leveling compound (brands: Mapei Novoplan, Henry 555, Ardex K-301) — $25 to $50 per 50-pound bag
- Primer/bonding agent — $20 to $40 per gallon
- 5-gallon mixing buckets (at least two)
- Mixing drill with paddle attachment
- Gauge rake or spreader
- Spike roller (to release air bubbles)
- Foam backer rod or weatherstripping (to dam doorways)
- Long straightedge or level (8 to 10 feet)
For Grinding
- Concrete floor grinder — $75 to $150/day rental
- Diamond grinding disc or cup wheel
- Shop vacuum with fine dust filter
- N95 respirator
- Safety glasses
- Hearing protection
- Knee pads
Concrete Floor Preparation
Proper prep determines whether your leveling work succeeds or fails. Do not rush this step.
- Remove all existing flooring and adhesive. Self-leveling compound needs to bond directly to clean concrete. Scrape off old adhesive, paint, or coatings. A floor scraper or grinder handles most residues.
- Repair major cracks. Fill cracks wider than 1/4 inch with concrete crack filler or hydraulic cement. Self-leveling compound will flow into cracks and waste material, or worse, flow through the slab.
- Clean thoroughly. Sweep, vacuum, and then damp mop the concrete. Remove all dust, grease, oil, and debris. Self-leveling compound will not bond to dirty concrete. For greasy areas, use a concrete degreaser.
- Test for moisture. Tape a 2-foot square of plastic sheeting to the concrete and leave it for 24 hours. If moisture collects underneath, you have a vapor emission issue that needs to be addressed with a moisture barrier primer before leveling.
- Dam doorways and floor drains. Use foam backer rod, weatherstripping, or scrap wood to create barriers at any opening where the compound could flow out of the work area. Cover floor drains completely.
- Apply primer. Roll or brush the manufacturer’s recommended primer over the entire area to be leveled. This ensures a strong bond between the compound and the concrete. Let the primer dry completely, usually 2 to 4 hours.
Self-Leveling Compound Step-by-Step
Self-leveling compound sets quickly, typically 15 to 20 minutes of working time. You need to work fast and have everything ready before you start mixing.
Step 1: Calculate Material
Measure the square footage and depth of the low areas. Most 50-pound bags cover 40 to 50 square feet at 1/8 inch depth. For a 200 square foot room with an average 1/4 inch correction, you need 8 to 10 bags. Buy 10 to 15 percent extra.
Step 2: Mix the Compound
Add the powder to the water (not water to powder) in a 5-gallon bucket. Use a mixing drill with a paddle attachment at high speed for 2 to 3 minutes until the mixture is smooth and lump-free. The consistency should be like thick pancake batter. Follow the manufacturer’s water ratio exactly. Too much water weakens the compound. Too little prevents it from flowing.
Step 3: Pour Immediately
Pour the mixed compound onto the floor starting at the farthest point from the door. Pour in a ribbon pattern across the low areas. The compound will begin flowing and self-leveling immediately.
Step 4: Spread and Deair
Use a gauge rake to spread the compound evenly, especially in deeper areas where it may not flow completely on its own. Immediately follow with a spike roller to release trapped air bubbles. Air bubbles create pinholes in the cured surface.
Step 5: Continue Pouring
Have a helper mixing the next batch while you pour and spread. You need to maintain a wet edge, meaning each new pour overlaps the previous one before it starts setting. If the edges dry, you get ridges and poor bonding between pours.
Step 6: Let It Cure
Most self-leveling compounds are walkable in 2 to 4 hours and ready for flooring in 12 to 24 hours. Some products require longer curing. Do not rush this step. Check the product specifications for your specific flooring type, as some adhesives require longer cure times.
Grinding High Spots Step-by-Step
Grinding is straightforward but dusty. Here is the process.
- Mark the high spots. Use your straightedge and a marker to outline areas that are higher than the surrounding floor.
- Set up dust control. Attach a shop vacuum to the grinder’s dust port. Seal the room with plastic sheeting. Even with vacuum attachment, grinding produces fine dust.
- Grind in passes. Move the grinder slowly across the high spot in overlapping passes. Check your progress frequently with the straightedge. It is easy to remove too much material.
- Feather the edges. Blend the ground area into the surrounding floor gradually. An abrupt edge defeats the purpose.
- Clean and verify. Vacuum all dust and recheck flatness with your straightedge. Touch up any remaining high spots.
For small high spots, a handheld angle grinder with a diamond cup wheel works fine. For areas larger than a few square feet, rent a floor grinder, which is much faster and produces a flatter result.
Cost Breakdown
Here is what to budget for leveling a concrete floor as a DIY project.
| Item | Cost |
|---|---|
| Self-leveling compound (per 50-lb bag) | $25-$50 |
| Primer (per gallon, covers 200-400 sq ft) | $20-$40 |
| Mixing drill and paddle | $40-$80 (buy) or already owned |
| Gauge rake | $20-$40 |
| Spike roller | $15-$30 |
| Concrete grinder rental (per day) | $75-$150 |
Typical DIY cost for a 200 square foot room: $200 to $500 depending on the depth of correction needed.
Professional leveling cost: $2 to $5 per square foot, or $400 to $1,000 for a 200 square foot room. Professionals work faster, waste less material, and have experience handling the tight working time of self-leveling compound.
Getting Ready for New Flooring
Once the leveling compound has fully cured, your floor is ready for new flooring installation. Here are the final checks.
- Recheck flatness. Run your straightedge across the floor in multiple directions. You should be within 3/16 inch over 10 feet everywhere.
- Test moisture. If installing moisture-sensitive flooring like hardwood, perform a calcium chloride moisture test on the leveled surface. The leveling compound itself can add moisture that needs to evaporate.
- Sand any ridges. If you have slight ridges where pours overlapped, sand them flat with a floor sander or hand sanding block.
- Clean the surface. Vacuum and damp mop to remove all dust. Adhesives and underlayment need a clean surface to bond properly.
- Apply moisture barrier if needed. For below-grade concrete (basements) or slabs without a vapor barrier, apply a moisture barrier product before installing your flooring.
Frequently Asked Questions
Can I use self-leveling compound over existing tile or vinyl?
Some self-leveling compounds can be applied over well-bonded existing flooring with the right primer. Check the product specifications. The existing flooring must be firmly attached with no loose areas. Most manufacturers require a specific primer for bonding to non-porous surfaces like tile or vinyl. When in doubt, remove the old flooring first for the best bond.
How thick can I pour self-leveling compound in one application?
Most standard self-leveling compounds are designed for pours of 1/8 inch to 1 inch thick. Some heavy-duty products handle up to 1.5 inches in a single pour. For depths greater than 1 inch, pour in multiple layers, allowing each layer to cure before adding the next. For depths over 2 inches, consider a different approach like a sand-cement screed.
How long before I can install flooring over self-leveling compound?
Most products are walkable in 2 to 4 hours and ready for flooring installation in 12 to 24 hours. However, moisture-sensitive flooring like hardwood may require 3 to 7 days of curing to allow residual moisture to escape. Always check the compound manufacturer’s recommendations for your specific flooring type.
Is it worth hiring a professional to level a concrete floor?
For small rooms with minor unevenness, DIY leveling is very doable. For large areas, significant slopes, or deep corrections, professional work is worth the money. The tight working time of self-leveling compound means mistakes are hard to fix. A professional crew can mix and pour a large room continuously without the seams and ridges that often happen when a single person works alone.
Can I level a garage floor for epoxy coating?
Yes, but garage floors often have intentional slopes for drainage. You want to level out dips and high spots while maintaining the overall drainage slope. A concrete grinder handles most garage floor prep for epoxy. Only use self-leveling compound in areas with true depressions, not to fill the entire drainage slope.
Prefer to explore on your own?
See how new flooring looks in your actual room in seconds — free, no signup.
Try the free Floor Studio →