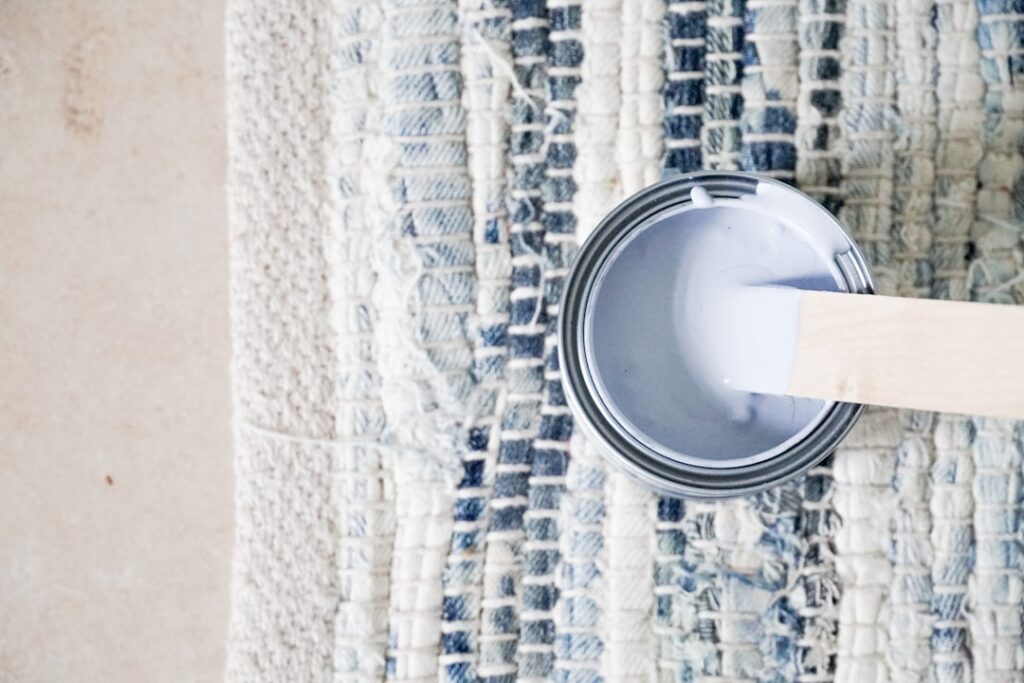
The fear that keeps homeowners from refreshing their trim is a single drip of white paint sinking into the carpet fibers. Learning how to paint baseboards with carpet already installed is mostly about controlling that bottom edge where the trim meets the floor, and the good news is that it is far easier than it looks once you know two or three tricks. As someone who has cut in baseboards over carpet many times, I can tell you the secret is protecting the fibers, not painting faster. Here is the full process.
Why Carpet Makes Baseboards Tricky
Painting trim against a hard floor is simple because tape sticks to it and a stray drip wipes off. Carpet changes the game. The fibers stand up against the bottom of the baseboard, paint soaks in permanently instead of beading on the surface, and tape will not adhere to plush pile. That bottom edge is the entire challenge.
Everything in this guide aims at one goal: keeping wet paint off those fibers while still getting full, clean coverage right down to the floor. Solve the bottom edge and the rest of baseboard painting is straightforward.
Gather Your Tools First
Set up before you open the can so you are not scrambling mid-job:
- An angled sash brush, around 2 to 2.5 inches, for clean cut lines
- A putty knife or a 5-in-1 tool to tuck carpet down
- Painter’s tape and a wide taping knife or a paint shield
- Trim paint, typically a semi-gloss or satin enamel for durability
- A damp rag for immediate cleanup of mistakes
- A drop cloth and a small cup or pail to hold paint
A dedicated metal or plastic paint shield is the single most useful purchase here. It slides between the trim and the carpet and blocks paint where tape cannot.
Prep the Baseboards
Skipping prep is why amateur paint jobs peel and look streaky. Take the time:
- Vacuum along the baseboard so no dust or pet hair ends up in the wet paint.
- Wipe the trim with a damp cloth to remove grime, and let it dry fully.
- Lightly sand glossy old paint so the new coat grips, then wipe off the dust.
- Fill any nail holes or gaps with caulk or filler and let them cure.
Clean, lightly scuffed, dry trim is the foundation of a finish that lasts years instead of months.
The Key Technique: Tuck and Shield
This is the heart of the job. Two methods protect the carpet, and combining them works best.
Tucking: Use a putty knife or 5-in-1 tool to press the carpet pile down and tuck it slightly under the bottom edge of the baseboard as you paint each section. Pushing the fibers out of the brush’s path keeps them clear of wet paint.
Shielding: Slide a wide taping knife or a dedicated paint shield against the bottom of the baseboard, mashing the carpet down beneath it. Paint along the top edge of the shield, then lift it, wipe its edge with your rag, and slide it to the next section. The shield catches any paint that would otherwise reach the fibers.
Work in two or three-foot sections, moving the shield as you go. Wipe the shield’s edge frequently so you are never dragging accumulated paint onto clean carpet.
Cutting In and Brushing the Trim
With the bottom protected, the painting itself is routine. Load the angled brush, then tap off excess so it does not drip. Cut a clean line along the top of the baseboard where it meets the wall, then fill the face of the trim with smooth, long strokes that follow the length of the board.
Maintain a wet edge, blending each new section into the last before it dries, to avoid lap marks. Keep your brush lightly loaded near the bottom edge, since a fully loaded brush is far more likely to drip into the carpet. Two thin coats give a smoother, more durable finish than one heavy one.
Handling Drips and Mistakes
Even careful work produces the occasional slip, so act fast. If paint reaches the carpet, blot it immediately with a damp rag before it soaks in, working from the outside of the spot inward so you do not spread it. Do not rub hard, which drives paint deeper.
For latex paint caught early, water and blotting usually lift it. Dried paint in carpet is far harder to remove, which is exactly why the shield-and-wipe rhythm matters. Keep that damp rag in your hand the whole time.
Drying, Tucking Back, and Final Checks
Let the trim dry per the paint can, usually a couple of hours between coats and longer before heavy use. Once everything is fully cured, run your putty knife along the bottom to fluff the tucked carpet fibers back up so the carpet meets the trim naturally again.
Step back and inspect in good light for thin spots or drips you missed, and touch them up with a nearly dry brush. Done patiently, painting baseboards over carpet gives crisp, clean trim with no telltale paint in the fibers, refreshing a whole room for the cost of a quart of enamel and an afternoon of careful work.