A full regrout is the single best facelift you can give a tired shower — it kills the permanent mildew stains, reseals the walls against water, and makes 20-year-old tile look freshly set for under $100 in materials. I regrout several showers a month, and homeowners are always surprised that the job is more patience than skill. This guide covers how to regrout a shower completely: stripping every joint, not just patching the bad ones, then repacking, caulking, and curing. Budget a full weekend — a day of removal and a day of grouting — for a standard tub-shower surround.
- Should You Regrout, or Is the Shower Too Far Gone?
- Tools and Materials for the Job
- Step 1: Strip the Old Grout
- Step 2: Clean and Prep the Joints
- Step 3: Mix and Pack the New Grout
- Step 4: Sponge, Tool, and Haze Off
- Step 5: Caulk the Movement Joints
- Step 6: Cure, Seal, and Return to Service
- Choosing the Grout Color for a Regrout
- Mistakes That Sink Shower Regrouts
Should You Regrout, or Is the Shower Too Far Gone?
Regrouting fixes grout. It does not fix what is behind the tile. Before committing the weekend, check for disqualifiers:
- Tap test the walls. Hollow-sounding tiles, especially in the bottom three rows, mean the bond or backer board is failing. Regrouting over that is lipstick.
- Push on the walls around the valve and soap dish. Any flex or sponginess means water damage in the wall — that is a tear-out, not a regrout.
- Look for staining on the ceiling below or the drywall outside the surround. Active leaks need diagnosis first.
- Cracked tiles in a line suggest movement that will crack new grout too.
If the tile is solid and the damage is confined to ugly, mildewed, or crumbling joints, regrout with confidence. A regrout runs $50 to $100 DIY versus $4,000 to $10,000-plus for a full shower rebuild — when it is the right call, it is a massive win.
Tools and Materials for the Job
- Oscillating multi-tool with carbide grout blade ($60–$120 for the tool if you do not own one; $20–$30 per blade) — the difference between 3 hours and 10 hours of removal.
- Carbide hand grout saw ($8–$12) for detail work and edges.
- Utility knife for the old caulk, vacuum, stiff nylon brush.
- Grout: unsanded for joints under 1/8 inch (typical wall tile), sanded for wider. For showers I strongly recommend spending up on a high-performance cement grout ($25–$35 per 10 lb) or premixed single-component grout ($35–$50 per half-gallon) — better stain and mildew resistance for a few dollars more. A tub surround usually needs 5 to 10 lbs.
- Rubber grout float, hydrophilic grout sponge, two buckets, microfiber cloths.
- 100% silicone caulk, color-matched to the grout, mildew-resistant ($8–$12).
- Penetrating grout sealer if using standard cement grout ($15–$25).
- Eye protection and a dust mask — removal throws abrasive dust everywhere.
Step 1: Strip the Old Grout
Remove grout from every joint to a depth of at least 1/8 inch and ideally 3/16 inch — half the tile thickness is the gold standard. This is non-negotiable: new grout skimmed over old fails in months because it has no depth to key into. Run the oscillating blade down the center of each joint with light pressure, letting the tool do the work, then make a second pass along each edge. Keep the blade parallel to the joint; twisting it chips glazed tile edges. Do the walls top to bottom so debris falls away from finished work. Cut out all the old caulk at the tub line, corners, and around fixtures with a utility knife at the same time.
Expect this to take 3 to 5 hours for a standard 3-wall tub surround with the power tool. It is dusty and loud. Drape the tub, tape the drain shut, and vacuum as you go — a stray carbide chip underfoot in a porcelain tub is how tubs get scratched.
Step 2: Clean and Prep the Joints
Vacuum every joint, brush them out, vacuum again, then wipe the walls with a damp sponge. The joints must be free of dust, old caulk residue, and soap film. Let everything dry, then inspect with a raking light — any joint still showing old grout at less than your target depth gets another pass. This inspection takes ten minutes and prevents the patchy shallow spots that fail first.
Step 3: Mix and Pack the New Grout
- Mix to a stiff peanut-butter consistency using the bag’s water ratio — never eyeball extra water in. Let it slake 10 minutes, remix. Mix only what you can use in about 30 minutes.
- Start on the back wall. Load the float and press grout into the joints with sweeping diagonal strokes at a 45-degree angle, working from multiple directions so every joint packs full with no voids.
- Squeegee off the excess with the float held nearly perpendicular to the tile, moving diagonally across the joints.
- Leave the change-of-plane joints empty — inside corners, tub-to-tile, around the valve trim. Those get silicone later, not grout. Grouted corners are exactly why the old shower cracked there.
Step 4: Sponge, Tool, and Haze Off
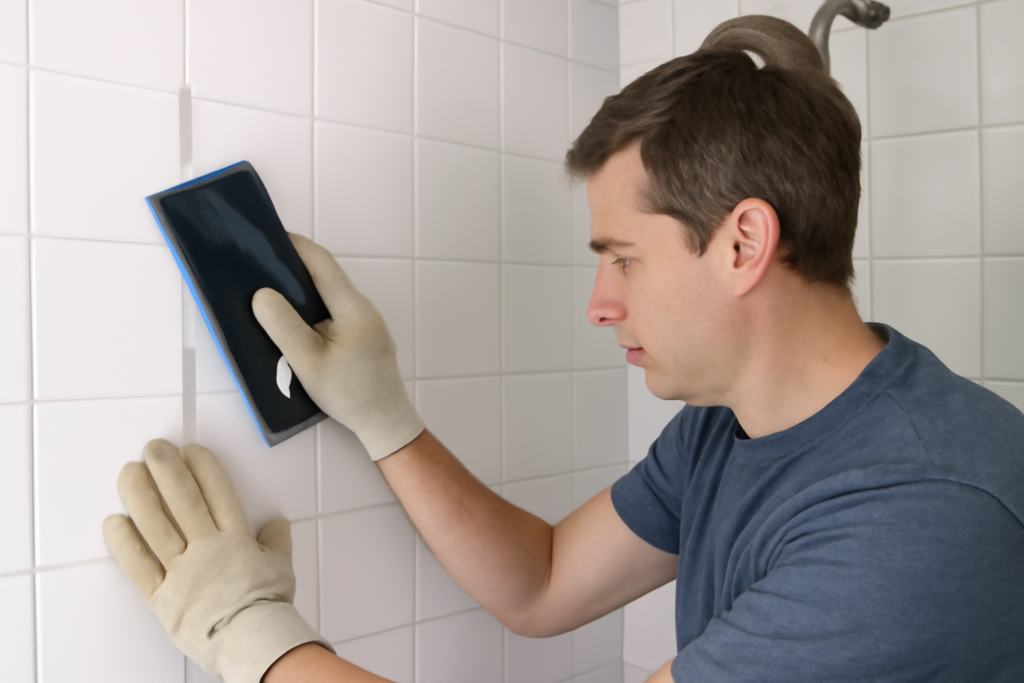
When the grout has firmed for 15 to 30 minutes (it should dent, not smear, under a fingertip), sponge in light diagonal passes with a well-wrung sponge, rinsing after every one or two strokes. You are shaping each joint to a uniform, slightly concave profile and cleaning the tile face. The killer mistake is too much water — it bleaches the pigment, weakens the surface, and causes the mottled, two-tone joints you see in bad DIY jobs. After 1 to 2 hours, buff the dry haze off the tile with microfiber. Check your corners and edges with a damp finger-wrapped cloth for a clean line.
Step 5: Caulk the Movement Joints
The next day, with the grout firm, run color-matched 100% silicone in every joint you left open: vertical corners, the entire tub-to-tile joint, around fixture trim, and along the top edge if the surround meets drywall. Fill the tub with water first so the joint is caulked at maximum load. Tape both sides of each joint, gun a modest bead, tool once with a soapy finger, and pull the tape immediately. This 45-minute step is what keeps the regrout crack-free for the next decade.
Step 6: Cure, Seal, and Return to Service
| Milestone | Standard cement grout | Premium/single-component |
|---|---|---|
| Light humidity OK | 24 hours | 24 hours |
| First shower | 72 hours | 24–72 hours (check label) |
| Apply penetrating sealer | 48–72 hours after grouting | Usually not needed |
| Full cure | 28 days | 7–14 days |
Keep the bathroom ventilated during cure. If you use standard cement grout, seal it once cured and re-seal yearly — that is the maintenance habit that prevents the mildew staining that sent you here in the first place.
Choosing the Grout Color for a Regrout
A regrout is your one cheap chance to restyle the shower, so think before you default to white. Matching the original color keeps any spots you miss less obvious, but going a shade darker — bright white to warm gray, for instance — modernizes old tile dramatically and hides future soap-film staining. Hold actual cured color sticks (free at tile shops) against your wet tile in the shower’s own lighting; grout chips read lighter under showroom fluorescents than in a dim tub surround. And whatever the color, buy all your grout from one dye lot and record the color name somewhere permanent — future repairs will thank you. If you inherit joints in three subtly different whites from past patch jobs, a grout colorant over everything after the regrout unifies the whole surround in an hour.
Mistakes That Sink Shower Regrouts
- Shallow removal. The number one failure. Half tile depth or do not bother.
- Grouting the corners. Movement joints get silicone. Every time.
- Overwatering the mix or the sponge. Weak, blotchy grout comes from water, not bad product.
- Showering too soon. Cement grout soaked at 24 hours never reaches full strength or color.
- Skipping the tap test. Regrouting hollow tile wastes a weekend on a wall that needed rebuilding.
Take removal seriously, keep water out of your mix and your sponge discipline tight, silicone the corners, and give the cure its full three days. Do that and a $75 weekend regrout genuinely buys your shower another 10 to 20 years — I have regrouted showers from the 1960s where the original tile is still going strong, and there is no reason yours cannot do the same.
Prefer to explore on your own?
See how new flooring looks in your actual room in seconds — free, no signup.
Try the free Floor Studio →