Tearing out old tile is one of the more satisfying demolition jobs a homeowner can tackle, but it is also dusty, strenuous, and full of sharp edges. Knowing how to remove ceramic tile the right way protects your subfloor for the next installation, keeps you safe from flying shards and silica dust, and saves you the cost of hiring out a job you can often do yourself with patience and the proper tools.
This guide covers the gear you need, the safety steps that genuinely matter, and a clear method for both floor and wall tile. Read it through before you swing the first hammer, because a little preparation makes the difference between a smooth project and a damaged subfloor.
Before You Start: Safety First
Tile removal is the part of flooring work where injuries actually happen, so do not skip the protective gear. Broken ceramic produces razor-sharp shards, and chipping out mortar releases fine dust that can contain crystalline silica, which is harmful to breathe over time. Take the hazards seriously and set up properly.
- Eye protection: wear sealed safety goggles, since chips fly unpredictably when tile cracks.
- Gloves: heavy work gloves protect your hands from sharp edges.
- Dust mask or respirator: use a properly rated mask to limit silica dust inhalation.
- Hearing protection: power tools and hammering get loud over a long session.
- Knee pads and sturdy shoes: floor work is hard on the knees, and closed-toe shoes guard against falling debris.
Control the dust as much as you control the debris. Close off the work area with plastic sheeting, run a fan venting outdoors if possible, and mist the area lightly or use a vacuum with a fine-dust filter. Demolition is physically demanding, so pace yourself, take breaks, and ask for help with hauling out the heavy debris.
Tools and Materials You Will Need
Having the right tools on hand turns a grueling job into a manageable one. The exact set depends on whether you are removing floor or wall tile, but the core kit is similar.
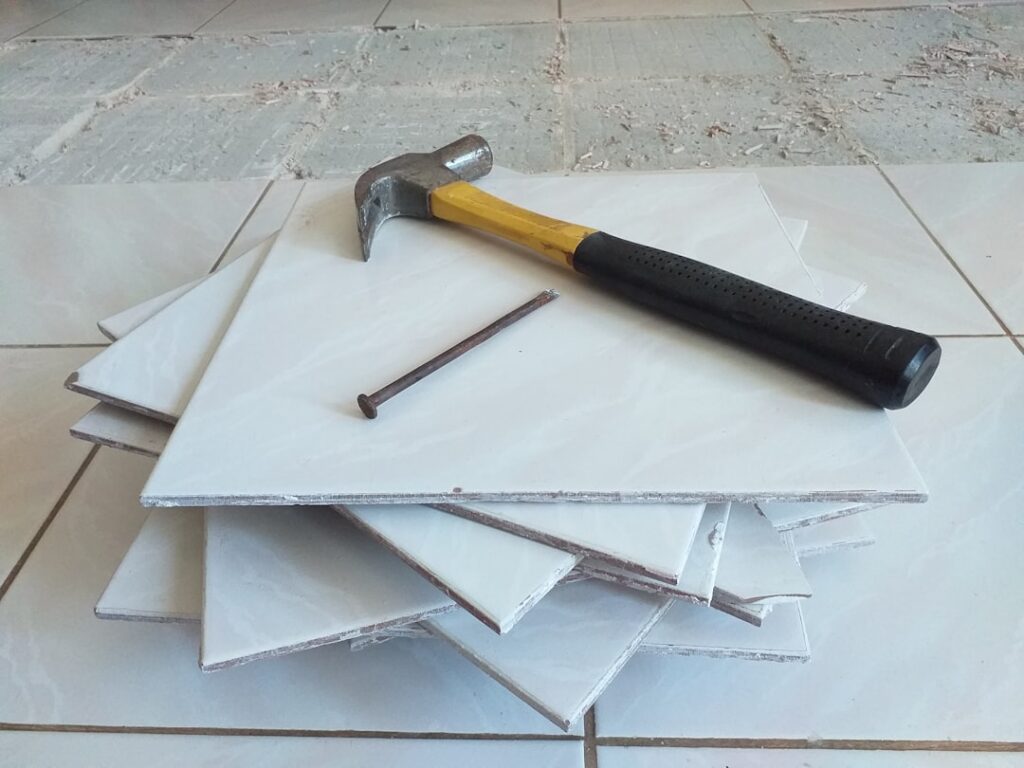
- Hammer and a cold chisel or masonry chisel
- Floor scraper or a long-handled tile scraper for floors
- Pry bar for stubborn sections
- Heavy-duty contractor trash bags or a debris bin
- Optional power tools: a rotary hammer with a chisel bit or an oscillating multi-tool for tight spots
- Shop vacuum with a fine-dust filter, plus plastic sheeting and painter’s tape
A rotary hammer with a tile-removal chisel bit dramatically speeds up large floor jobs, and many homeowners rent one for a weekend. For small areas, a hammer and chisel are enough.
How to Remove Floor Tile
Floor tile is bonded to the subfloor or a mortar bed with thinset, and the goal is to lift the tile while doing as little damage as possible to whatever lies beneath. Work methodically from a starting point and the rest follows more easily.
- Remove any baseboards, trim, and transition strips around the edges of the room first.
- Break a starter tile by tapping it firmly with a hammer to crack it, creating an opening to work from.
- Position the chisel or floor scraper at a low angle under the edge of an adjacent tile and drive it forward to pop the tile loose.
- Continue across the floor, prying up tiles and chipping away the thinset as you go.
- Scrape the remaining thinset or mortar off the subfloor so the surface is flat and clean for new flooring.
- Bag the debris frequently to keep the work area clear and reduce trip hazards.
Work carefully near the subfloor. Gouging a plywood subfloor or cracking a concrete slab creates extra repair work, so let the tools do the lifting rather than forcing the chisel deep. If the tile sits on a cement backer board, it is often easier to remove the board and tile together by unscrewing it from the subfloor.
How to Remove Wall Tile
Wall tile removal follows a similar logic but adds the challenge of protecting the drywall or backer board behind it. In many cases, especially in showers, the tile is bonded so firmly that removing the backer board along with the tile is the cleaner approach.
Start at a grout line or an exposed edge, slip a pry bar or stiff putty knife behind a tile, and gently work it free. Tap a chisel behind stubborn tiles to break the bond. If you plan to reuse the wall surface, go slowly to minimize gouging; if you are replacing the backer board anyway, you can cut out whole sections of tile and board together, which is often faster and less dusty than chipping each tile.
Protecting and Prepping the Subfloor
The surface you uncover matters as much as the tile you remove, because the next floor is only as good as what it sits on. After the tile is gone, the subfloor must be clean, flat, and sound before any new flooring goes down. Leftover ridges of thinset or popped fasteners will telegraph through new tile or cause vinyl and laminate to fail.
Scrape away all remaining adhesive and mortar, then sweep and vacuum thoroughly. Inspect for water damage, soft spots, or cracks and address them before moving on. On concrete, fill low spots with a leveling compound; on plywood, secure any loose sections and replace damaged panels. A patient prep job here saves you problems later.
When to Call a Professional
Plenty of tile jobs are within DIY reach, but some warrant a pro. Large areas, tile set in a thick mortar bed over wire lath, or floors you suspect may contain asbestos in old adhesive or backing should be handled by a professional. Older homes especially can hide asbestos-containing materials, which require specialized testing and abatement and should never be disturbed by an untrained homeowner.
If the demolition reveals structural problems, extensive water damage, or a subfloor that needs significant repair, bringing in a licensed contractor is the smart move. Knowing how to remove ceramic tile yourself can save real money, but recognizing the limits of a DIY job protects your home and your health. When in doubt, get a professional assessment before you start swinging.
Prefer to explore on your own?
See how new flooring looks in your actual room in seconds — free, no signup.
Try the free Floor Studio →