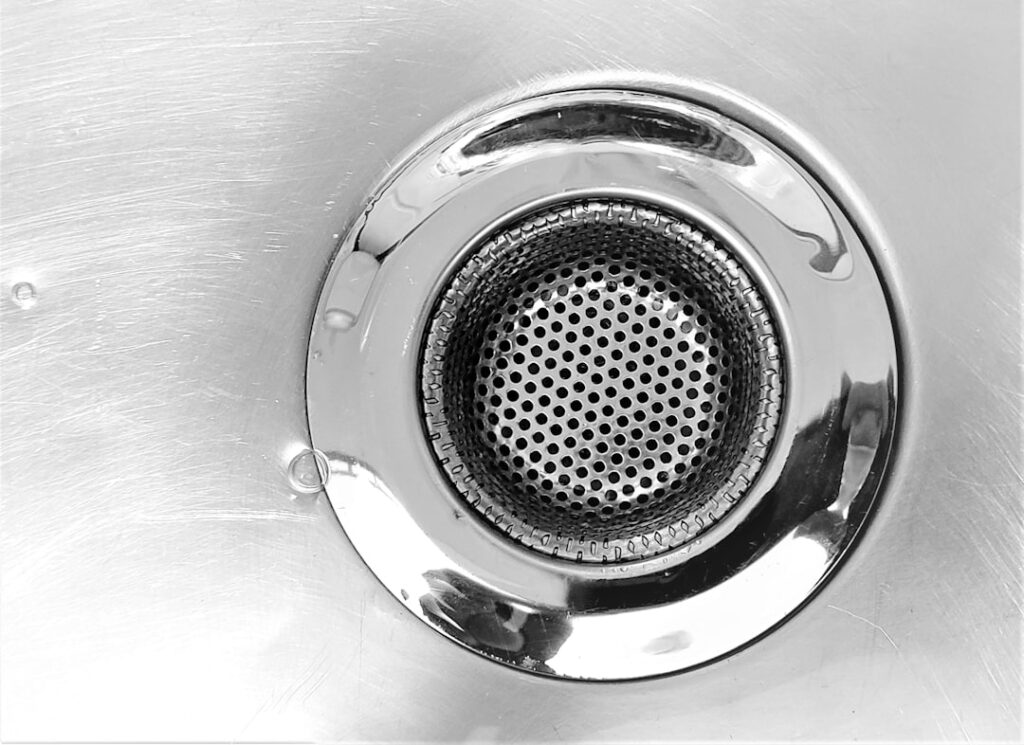
Roughly 80 percent of slow bathtub drains are caused by hair and soap scum trapped right at the stopper, which means learning how to remove tub drain stopper assemblies is one of the highest-value plumbing skills a homeowner can pick up. It takes minutes, needs few or no tools, and can save a service call. At D and G Flooring we see plenty of water damage that started as an overflowing tub, so keeping that drain clear protects both your plumbing and the flooring around it. This guide covers every common stopper style.
- First, Identify Your Stopper Type
- Tools You May Need
- Removing a Lift-and-Turn Stopper
- Removing a Push-Pull Stopper
- Removing a Toe-Touch Stopper
- Removing a Flip-It or Twist-and-Pull Stopper
- Removing a Trip-Lever Stopper
- Removing a Pop-Up (Rocker Arm) Stopper
- Cleaning Before You Reinstall
- Reassembly Tips
- When to Call a Professional
- Keeping the Drain Clear Going Forward
First, Identify Your Stopper Type
There is no single removal method because tubs use several different stopper designs. Before you grab a tool, look closely at what you have. Identifying the type correctly is more than half the job, and trying to force the wrong technique is how people crack finishes and strip threads.
- Lift-and-turn: A small knob on top that you twist to open and close. Usually has a tiny set screw under the knob.
- Push-pull: Similar look, but you physically pull it up and push it down rather than twisting to seal.
- Toe-touch (also called toe-tap or foot-actuated): A spring-loaded cap you press with your toe to toggle open and closed.
- Flip-it or twist-and-pull: A toggle lever on the side of the stopper body, popular because it installs without tools.
- Trip-lever (drum trip): No visible stopper in the drain; instead a lever on the overflow plate controls a plunger or rocker arm inside the pipe.
- Pop-up: A rocker-arm stopper linked to an overflow lever, where the visible stopper rests in the drain and pivots up when the lever moves.
Tools You May Need
Most jobs need little. Have these on hand and you will be ready for nearly any tub: a pair of needle-nose pliers, a flathead and a Phillips screwdriver, a small hex (Allen) wrench set, an old toothbrush, white vinegar, and a rag to protect the tub surface and to grip slippery parts. A flashlight helps you see set screws and linkages tucked out of sight.
Removing a Lift-and-Turn Stopper
Start by setting the stopper to the open position so it sits up off the seat. Look for a tiny set screw on the side of the knob or under the cap. Hold the stopper body steady with one hand, then unscrew the knob counterclockwise. On many models the entire knob and post unthread as one piece. If there is a set screw, loosen it with the matching hex wrench just enough to free the stopper, then lift the assembly straight out. You do not need to fully remove the set screw, only loosen it.
If the knob spins without coming loose, it may simply be threaded onto a center post; keep turning counterclockwise while holding the base. A rag wrapped around the knob gives extra grip without scratching the chrome.
Removing a Push-Pull Stopper
Pull the stopper to its open, raised position. Grip the cap firmly and unscrew it counterclockwise. Underneath you will usually find a brass center post and a knurled nut or a set screw. Hold the post with pliers if it turns with the cap, then back the cap off completely. Once the cap is removed, the shaft and stopper base unthread from the crossbar in the drain. Turn the whole base counterclockwise to lift it free.
Removing a Toe-Touch Stopper
Open the stopper by pressing it so it pops up. Hold the outer rim or shaft body steady, then turn the visible top cap counterclockwise. The cap and the inner cylinder typically separate, exposing a center screw or post. Remove or loosen that, and the stopper lifts out. Some toe-touch models unthread entirely by gripping the base and rotating counterclockwise without any screw at all, so try a gentle twist first before reaching for tools.
Removing a Flip-It or Twist-and-Pull Stopper
These are the easiest of all because they are designed to seat by friction with an O-ring rather than threads. Simply grasp the stopper body and pull straight up with steady force while gently wiggling. It should slide out, bringing the O-ring with it. To reinstall, wipe the O-ring, add a dab of plumber’s grease if it feels dry, and press it back into the drain.
Removing a Trip-Lever Stopper
Trip-lever drains hide their mechanism inside the overflow tube, so the removal happens at the overflow plate, not the drain opening. Remove the two screws holding the overflow plate to the tub wall. Then pull the plate, the lever, and the attached linkage straight up and out through the overflow hole. The plunger or rocker assembly is surprisingly long, so withdraw it slowly and keep it vertical so it does not snag. Lay the parts out in order so reassembly is easy.
Removing a Pop-Up (Rocker Arm) Stopper
For pop-up assemblies, first lift the visible drain stopper to the open position. Pull it up and out while rocking it gently; the curved rocker arm will slide out of the drain pipe as you angle it. If it resists, wiggle side to side rather than yanking. The overflow lever and spring assembly behind the overflow plate can also be removed by unscrewing the plate, just like a trip-lever, if you need to clean the full linkage.
Cleaning Before You Reinstall
Removing the stopper is only worthwhile if you clean what you find. Pull away the hair and gunk wrapped around the post or rocker arm, then soak metal parts in white vinegar for 15 to 20 minutes to dissolve mineral and soap buildup. Scrub threads and crossbars with an old toothbrush. While the stopper is out, this is the perfect moment to clear the drain throat itself with a bent wire or a drain-cleaning tool, since that is where most clogs actually live.
- Wipe every threaded surface so the stopper seats smoothly on reassembly.
- Inspect O-rings and gaskets for cracks; replace any that are brittle.
- Apply a thin film of plumber’s grease to O-rings and threads to keep them watertight and easy to remove next time.
Reassembly Tips
Reverse your steps, and do not overtighten. Threaded brass parts seal with light, snug pressure; cranking them risks cracking the casting or galling the threads. After reinstalling, fill the tub a few inches and test that the stopper holds water and releases cleanly. If it leaks, the stopper may need a slight adjustment to its height, which on most designs is done by turning the base in or out a fraction of a turn.
When to Call a Professional
Most stopper removal is firmly in DIY territory, but a few signs point to deeper trouble. If the drain crossbars are corroded and crumbling, if you smell sewer gas even with the stopper cleaned, or if water drains slowly even after the stopper and visible drain throat are clear, the clog or damage is further down the line. In those cases a plumber with a proper snake or camera will resolve it faster and without risking damage to old pipes.
Keeping the Drain Clear Going Forward
A simple mesh or silicone hair catcher placed over the drain stops the vast majority of future clogs and is far easier than repeating this process every few months. Flush the drain monthly with hot water, and once a season pour in a mix of baking soda followed by vinegar, let it fizz for ten minutes, then rinse with boiling water. Avoid harsh chemical drain openers when possible, since they can corrode metal stoppers and damage older pipes. With these habits and the knowledge of how to pull your specific stopper, you will keep your tub draining freely for years.