That black rubber flap sitting inside your sink drain takes a beating every day, and after a few years it cracks, tears, and starts flinging food debris onto your countertop. Knowing how to replace a garbage disposal splash guard saves you a plumber’s service call because this is genuinely one of the easiest home repairs you can do. No tools required for most models, no plumbing knowledge needed, and the part costs under $10.
Signs Your Splash Guard Needs Replacing
A failing splash guard shows obvious symptoms long before it stops working completely. Pay attention to these warning signs:
- Water and food particles splash up when the disposal runs
- Visible cracks, tears, or missing flaps on the rubber baffle
- The guard sits unevenly or has pulled away from the mounting ring
- Persistent odor that does not go away after cleaning the disposal
- The rubber feels stiff, brittle, or slimy despite cleaning
Most splash guards last 3 to 5 years under normal use. Households that run the disposal multiple times daily or regularly grind fibrous foods like celery and corn husks will see faster wear. Hard water also accelerates rubber deterioration.
Finding the Right Replacement Part
Splash guards are not universal. The two critical measurements are the outer diameter of the rubber ring and the inner opening diameter. Most InSinkErator models use a standard splash guard with a 3-1/4-inch sink opening (part number RSG-00, about $5 to $8). Waste King and Moen disposals often use a slightly different fit.
The safest approach is to check your disposal’s model number on the nameplate underneath the unit. With that number, you can search the manufacturer’s website or Amazon for the exact replacement. Universal splash guards are available for $4 to $7, but they may not seat as snugly as OEM parts. For a tighter fit and longer life, spend the extra dollar or two on the manufacturer’s part.
Removing the Old Splash Guard
Turn off the disposal at the wall switch or unplug it under the sink. Never work on a disposal without cutting power first, even for a simple splash guard swap. Reach into the drain opening and grip the old rubber guard. On most models, it simply pulls upward and pops out of the mounting flange. Some resistance is normal because the rubber compresses into a groove.
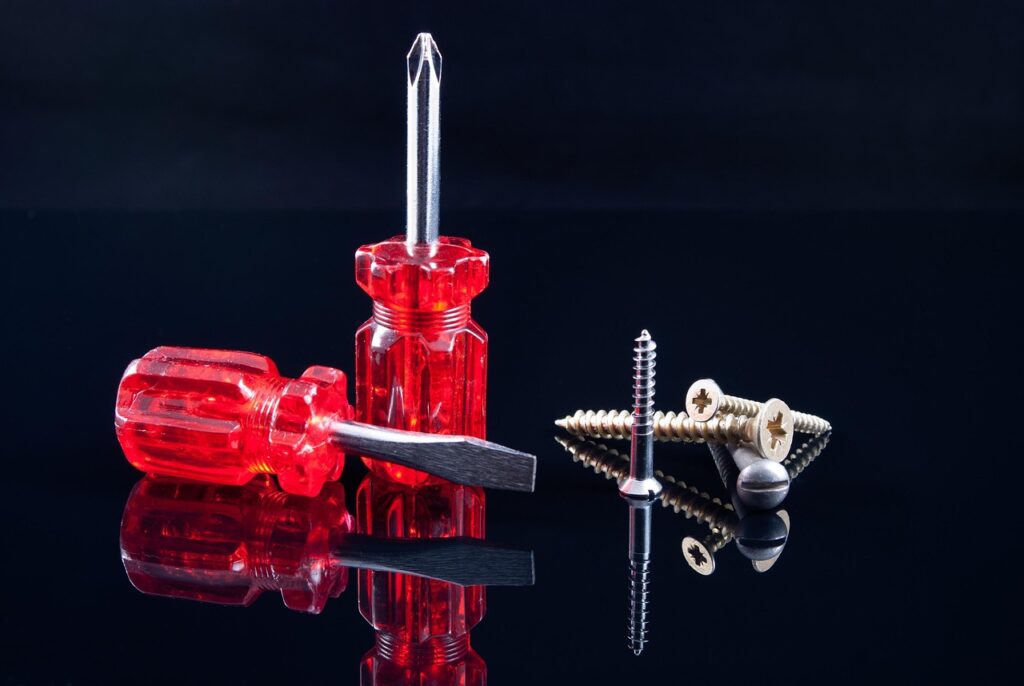
If the guard is stuck from mineral buildup or years of grime, work a flathead screwdriver gently between the rubber and the metal flange to break the seal. Avoid prying aggressively against the flange itself, as bending it will cause the new guard to fit poorly. Once removed, clean the mounting flange with a sponge and dish soap to remove any residue. A paste of baking soda and water scrubs away stubborn buildup.
Installing the New Splash Guard
Installation is the reverse of removal. Hold the new splash guard with the wider lip facing up (this lip hooks over the mounting flange) and the tapered flaps pointing downward into the disposal chamber.
- Apply a thin coat of dish soap around the outer rubber rim to lubricate it
- Center the guard over the drain opening
- Press the rubber lip firmly down and around the mounting flange, working your way around the circumference
- Make sure the lip is fully seated in the groove all the way around — run your finger along the edge to check
- Turn on the water and run the disposal briefly to test for splashing
The entire swap takes 5 to 10 minutes. If the new guard feels loose or pops out during operation, you likely have the wrong diameter. Double-check the part number against your disposal model.
Cleaning the Splash Guard to Extend Its Life
Regular cleaning prevents the bacterial buildup that causes odors and the mineral deposits that harden the rubber prematurely. Once a week, lift each flap and scrub both sides with an old toothbrush dipped in a mixture of baking soda and white vinegar. Rinse with hot water.
For deeper cleaning, fill the sink with 3 to 4 inches of hot water, add a tablespoon of dish soap and half a cup of baking soda, then pull the drain stopper to let the solution flush through the disposal and over the splash guard. Ice cubes and coarse salt ground in the disposal also help scour the guard’s underside. These maintenance steps take two minutes and can double the life of your splash guard from 3 years to 6 or more.
Troubleshooting After Replacement
A new splash guard that still allows splashing or does not seat properly usually points to one of a few issues.
- Wrong size: Measure the mounting flange diameter and compare it to the guard’s specifications. Even 1/8 inch off causes a poor fit
- Flange damage: A bent or corroded mounting flange will not hold any splash guard securely. Replacing the flange requires removing the disposal and is a bigger job ($50-$100 for a plumber)
- Guard installed upside down: The wider lip goes up over the flange, and the tapered rubber flaps hang down. Flipping it causes water to bypass the seal
- Disposal vibration: If the disposal vibrates excessively (often from a broken impeller or foreign object inside), it can shake the guard loose. Clear the obstruction before blaming the guard
When to Replace the Entire Disposal Instead
If your disposal is more than 10 years old and the splash guard replacement reveals rust, corrosion, or a cracked mounting assembly, it may be time for a full unit replacement. Entry-level 1/3 HP disposals start at $80 to $100, while mid-range 3/4 HP models like the InSinkErator Badger 5 or Waste King L-3200 run $100 to $150. Professional installation adds $100 to $200 in labor.
However, if the disposal grinds well and the only issue was the splash guard, you have just bought yourself several more years of service for under $10. Keep a spare splash guard under the sink so the next replacement is even faster.