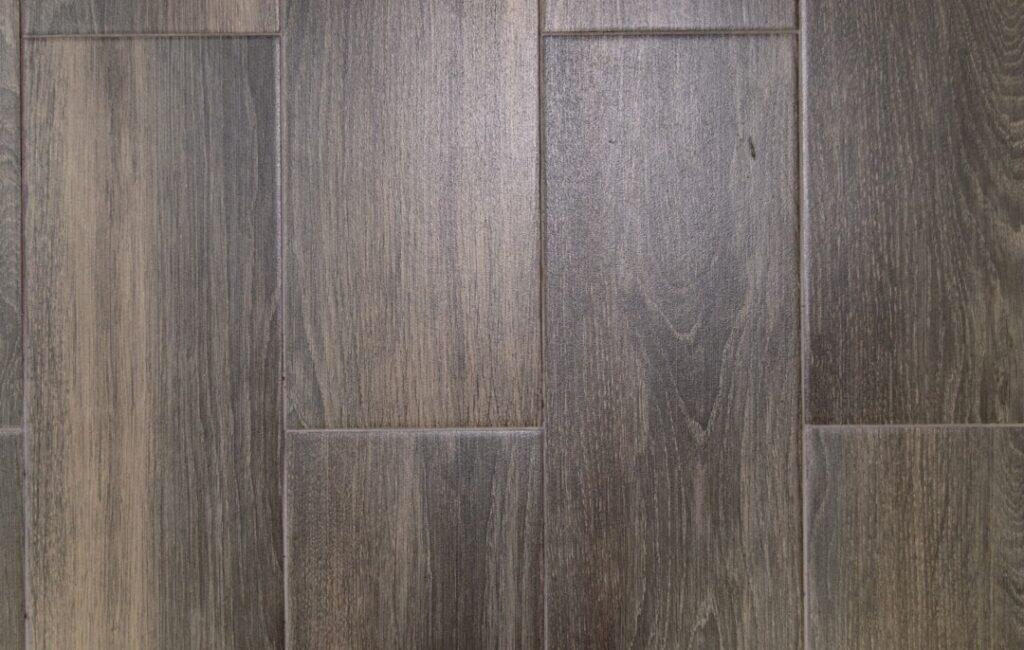
A single water-swollen or chipped plank does not mean tearing up the whole room, despite what it feels like when you are staring at the damage. Learning how to replace a piece of laminate flooring comes down to choosing between two methods: disassembling the floor back to the bad plank, or cutting the damaged board out and gluing a new one in place. Which one you use depends on where the plank sits and how your floor locks together. This step-by-step guide walks through both approaches so you can swap one board and leave the rest of the floor untouched.
First, Source a Matching Plank
Before touching anything, make sure you can match the replacement. Laminate patterns and production runs change, so an exact match is the hardest part of the job. Check for leftover planks from the original install first. If you have none, note the manufacturer and product name printed on the back of a removed board, or take a plank to a flooring store to compare. Buy a spare box while you are at it. Matching color, sheen, and the embossed texture matters as much here as it does with any repair, so hold your candidate against the existing floor in daylight before committing.
Choosing Your Method
The location of the damaged plank decides your approach. Take a moment to figure out which situation you are in before you start pulling boards or cutting.
- Unclick method: Best when the damaged plank is within a few rows of a wall, so you can remove baseboard and disassemble back to it without dismantling the entire room.
- Cut-and-glue method: Best when the plank sits in the middle of a large floor, where taking the whole floor apart would be impractical.
Method 1: Unclicking the Floor
Glueless click-lock laminate is designed to come apart, which makes this the cleanest repair when the geometry allows it. Work methodically and the planks pop right back together.
Step by step
- Remove the baseboard and any transition strips along the nearest wall to expose the plank edges and the expansion gap.
- Lift and unclick each row at a slight angle, starting from the wall, keeping the planks in order so you can reassemble them.
- Work across to the damaged plank, then remove and set aside the bad board.
- Drop in the new plank, angling its tongue into the adjacent groove until it clicks flat.
- Reassemble the rows in reverse order, then reinstall the baseboard, leaving the expansion gap intact.
Take photos as you go if the layout is complex, and stack the removed planks in sequence so reassembly is painless.
Method 2: Cut Out and Glue In
When the plank is marooned in the center of the room, you cut it out in place and glue a modified replacement into the hole. It sounds drastic but leaves the surrounding floor undisturbed.
Step by step
- Mark a rectangle about an inch inside the damaged plank’s edges. Set a circular saw or multi-tool to the plank’s exact thickness so you do not cut the subfloor.
- Plunge-cut the interior, then make diagonal cuts to the corners and pry out the center pieces first, working outward to the edges.
- Clean the opening, removing all old plank remnants and any underlayment debris.
- Prep the new plank by cutting off the bottom lip of the groove sides (and often the lower tongue) so it can drop straight down into the hole rather than needing to angle in.
- Apply wood or laminate glue to the tongues and grooves of the surrounding planks, set the new board in place, and weight it flat until the glue cures.
Wipe away any squeeze-out immediately, and keep foot traffic off the repair until the adhesive has fully set, typically several hours.
Don’t Forget the Expansion Gap
Laminate floats and needs room to move, so never let a repair pinch the field tight. Maintain the original 1/4 to 3/8 inch expansion gap around the room perimeter when you reinstall baseboard, and never glue the field planks to the subfloor in the cut-and-glue method, only to each other. Eliminating that movement is a common cause of buckling weeks later, which would turn a one-plank fix into a full-floor headache.
When Water Caused the Damage
If the plank swelled from moisture, fixing the board is only half the job. Standard laminate has a fiberboard core that expands permanently when wet, so identify and stop the water source, a leaking dishwasher, a spill left to sit, before you install the new plank. Check the underlayment and subfloor beneath the damaged area for lingering moisture, and let everything dry fully. Replacing the plank without addressing the leak just guarantees you will be doing this repair again.
Tools You’ll Need
Gather everything before you start so you are not stopping mid-repair with a plank pried loose. The exact list depends on your method, but a well-stocked kit covers both approaches:
- Pry bar and putty knife for lifting baseboard and unclicking planks.
- Circular saw or oscillating multi-tool set to the plank’s exact thickness for the cut-and-glue method.
- Utility knife and chisel for trimming the replacement plank’s tongue and groove lip.
- Laminate or wood glue and painter’s tape to hold the glued plank while it cures.
- Tapping block, pull bar, and spacers to reassemble tight seams and keep the expansion gap.
- Safety glasses and a shop vacuum for the dust from any cutting.
How Long It Takes and What to Expect
Set realistic expectations before you begin. The unclick method takes longer overall because you are disassembling and reassembling multiple rows, but it involves no cutting and carries little risk, often an hour or two for a plank a few rows from the wall. The cut-and-glue method is faster to execute but demands precision and includes glue cure time, so plan to keep traffic off the repair for several hours. Either way, the trickiest part is usually the color and texture match, not the mechanics. If your replacement plank blends well, a completed repair should be nearly invisible from standing height, which is the real measure of success.
A Repair Anyone Can Handle
Now that you know how to replace a piece of laminate flooring both ways, the job is far less intimidating than it looks. Match your plank carefully, pick the unclick method when the damage is near a wall and the cut-and-glue method when it is not, and protect your expansion gap throughout. With a sharp blade, the right replacement, and a little patience, you can erase a damaged plank in an afternoon and leave the rest of your floor exactly as it was.
Prefer to explore on your own?
See how new flooring looks in your actual room in seconds — free, no signup.
Try the free Floor Studio →