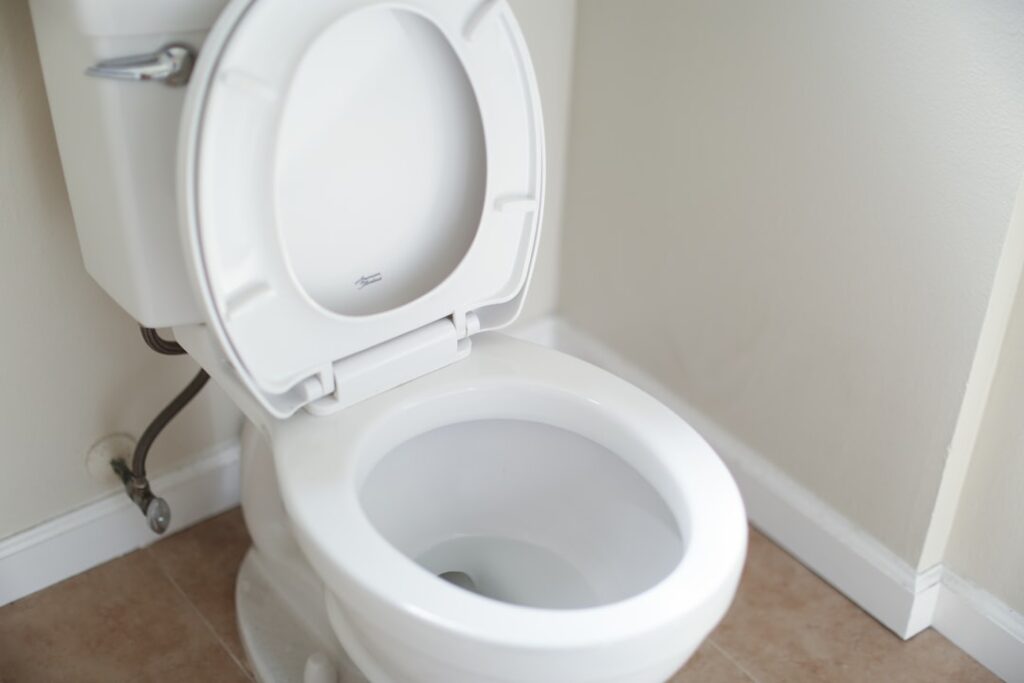
A clogged toilet ranks among the most stressful little emergencies a home can throw at you, especially when the water is rising toward the rim. Knowing how to use a plunger to unclog a toilet correctly clears the vast majority of blockages in under a minute, no plumber required. The secret is not brute strength; it is using the right kind of plunger, forming a tight seal, and pushing water rather than air through the trap. Most people fail because they grab the wrong tool or plunge with no seal at all. Do it properly and you rarely need anything else.
Use the Right Kind of Plunger
The plunger under most sinks is the wrong one for a toilet. A flat-cup plunger, the classic red rubber dome, is built for flat surfaces like sink and tub drains. It cannot seal the curved opening of a toilet bowl.
What you want is a flange plunger, sometimes called a toilet plunger. It has a soft rubber flap that folds out from the cup to fit down into the toilet drain and form a proper seal. These cost $8 to $15 at any hardware store. If you own only a flat-cup plunger, you can sometimes make it work, but the flange design does the job with far less effort. A beehive or accordion-style plunger works too and generates strong force, though it can be harder to control.
Prep the Toilet Before You Plunge
A little setup prevents a mess and improves your odds. First, check the water level. You need enough water in the bowl to fully submerge the plunger cup, since plunging works by moving water, not air. If the bowl is nearly empty, add water from a bucket until the cup will be covered.
If the bowl is dangerously full and threatening to overflow, do not flush again. Instead, remove some water with a cup or small container into a bucket to bring the level down to about halfway. This buys you room to work without spilling contaminated water onto the floor. Lay down old towels around the base as insurance, and put on rubber gloves.
Form a Tight Seal
The seal is everything. Warm the rubber under hot tap water for a few seconds first; soft rubber flexes and grips far better than a stiff cold cup. Lower the plunger into the bowl at an angle so the cup fills with water rather than trapping air, which cushions your force and wastes effort.
Seat the flange down into the drain opening and press the cup flat against the bottom of the bowl so it fully covers the hole. You are aiming for a suction-tight fit with no gaps. When the seal is good, you will feel real resistance the moment you push. If air escapes around the edges, reposition until the cup grips.
The Correct Plunging Technique
Now the actual work. This is where technique beats force every time.
- Start with a gentle first push to expel any trapped air from the cup without splashing.
- Once sealed, plunge straight up and down with firm, steady strokes, keeping the cup submerged the whole time.
- The pull stroke matters as much as the push. Yanking up creates suction that helps break the clog loose from both directions.
- Keep a rhythm going for 15 to 20 vigorous strokes, roughly 20 to 30 seconds.
- On the final stroke, pull the plunger up sharply to break the seal and let water rush toward the drain.
Watch the water. If it drains away quickly, you have likely cleared the clog. If it drains slowly or not at all, reset the seal and repeat the cycle a few more times. Stubborn clogs often give way on the third or fourth round.
Confirm the Clog Is Gone
Once the water drains, resist the urge to immediately blast a full flush. A partially cleared clog can catch the incoming water and overflow. Instead, wait a moment, then do a test flush while keeping your hand near the shutoff valve behind the toilet in case you need to stop the fill.
If the bowl flushes and refills normally, you are done. Flush a second time to be sure the line runs clear. If the water rises again, turn the shutoff valve clockwise to stop the flow, then return to plunging. A toilet that drains slowly but does flush usually has a partial obstruction that a few more rounds will finish clearing.
When Plunging Doesn’t Work
Sometimes a plunger meets its match. If 15 or 20 minutes of proper plunging gets you nowhere, the clog is either deeper in the line or caused by a solid object a plunger can’t move.
- Toilet auger: Also called a closet auger, this $25 tool snakes a cable through the trap to grab or break up clogs beyond plunger reach. It is the next step for tough blockages.
- Foreign objects: Toys, toothbrushes, and similar items won’t dissolve. An auger or, in bad cases, pulling the toilet is required.
- Repeated clogs: Frequent backups can signal a deeper drain or vent problem worth a plumber’s inspection.
Avoid chemical drain cleaners in a toilet. They rarely clear toilet clogs and can splash caustic liquid or damage the porcelain and seals.
Avoid Future Clogs
Most toilet clogs are self-inflicted and easy to prevent. Only flush toilet paper and human waste. So-called flushable wipes are the top cause of clogs and sewer backups because they do not break down like toilet paper does.
- Keep a small trash can in the bathroom for wipes, cotton, floss, and hygiene products.
- Use less toilet paper per flush, or do a courtesy flush partway through a big job.
- Teach kids that toys and objects do not belong in the toilet.
- If you have an older low-flow toilet that clogs often, consider upgrading to a modern high-efficiency model with a wider trapway.
Keep a quality flange plunger within reach of every toilet in the house, and most clogs become a 60-second fix rather than a panic. The right tool plus a proper seal and steady technique handles nearly everything short of a foreign object stuck in the trap.