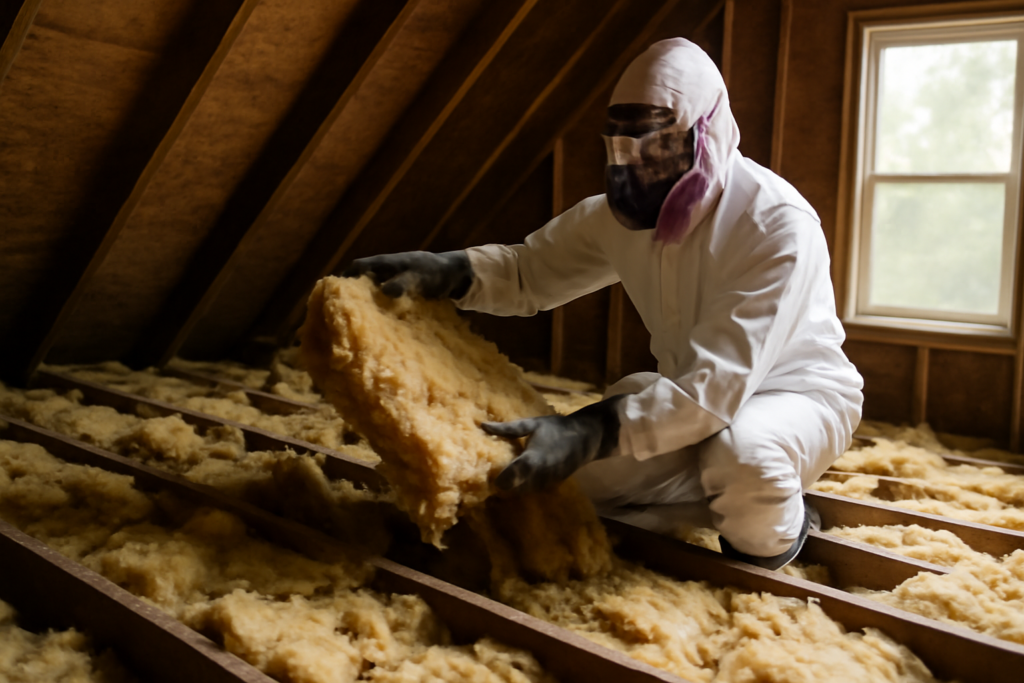
Old insulation almost never needs to come out just because it is old — fiberglass and cellulose that are dry, clean, and merely thin can simply be topped over. Real insulation removal is triggered by contamination: rodent infestations, mold and moisture damage, fire and smoke residue, or hazardous materials that make the attic unsafe to disturb. Knowing which situation you have determines whether this is a $200 weekend rental job, a $1,500 professional vacuum-out, or a stop-everything call to an abatement contractor. Here is how to make that call and what the removal process actually looks like.
When Insulation Must Come Out
- Rodent or pest infestation. Mice, rats, squirrels, and raccoons tunnel, nest, and saturate insulation with urine and droppings. Contaminated material cannot be sanitized in place — it holds odors that keep attracting new animals and can carry hantavirus and leptospirosis. This is the single most common reason for full removal.
- Mold and water damage. Roof leaks, burst pipes, and chronic condensation leave insulation matted and, in cellulose especially, moldy. Wet fiberglass loses R-value until dry; wet cellulose slumps permanently and feeds mold. Remove anything with visible growth or a musty smell, and fix the moisture source first or the replacement fails the same way.
- Fire and smoke. Insulation absorbs smoke odor permanently and may hide char. Insurance restoration nearly always specifies removal.
- Renovation access. Air-sealing the attic floor, rewiring, or converting to spray foam at the roofline all require a cleared deck.
- Persistent poor performance. Compacted, soot-blackened batts riddled with gaps sometimes cost more to rehabilitate than to strip and re-blow.
Stop First: The Asbestos and Vermiculite Check
Before touching anything in a pre-1990 home, identify what is up there. Loose, pebble-like gray-brown granules are likely vermiculite — and most US vermiculite came from the Libby, Montana mine, contaminated with asbestos. Do not sweep it, do not vacuum it, do not kick a path through it. Our vermiculite insulation guide covers identification, and the broader risks and testing process are laid out in our asbestos attic insulation article. Suspect material gets sampled by a licensed inspector ($250 to $750 for testing); confirmed asbestos-containing insulation requires a licensed abatement contractor with negative-pressure containment — typically $2,000 to $9,000 for an attic. This is not a DIY boundary you can talk your way past; disturbing it contaminates the whole house and, in most states, violates disposal law.
How Professional Vacuum Removal Works
For loose fill — blown fiberglass or cellulose — pros use a gas-powered insulation vacuum: a trailer- or truck-mounted unit pulling material through a 6-inch hose, 150 feet or more, into sealed 75- to 100-cubic-foot filter bags outside. A two-person crew clears a 1,500-square-foot attic in 4 to 8 hours. The process runs: seal and suit up, set containment on the access hatch, vacuum loose fill down to the drywall, hand-bag batts and debris, HEPA-vacuum the deck, then sanitize. Rodent jobs add an antimicrobial fog or spray over the joists and deck, plus exclusion work — sealing the entry gaps — without which the new insulation is just fresh bedding for the next family of mice.
DIY Removal: Where the Line Sits
Batts and rolls are realistic DIY: they lift out whole, roll up, and stuff into contractor bags. Loose fill is the miserable part — a shop vac’s 12-gallon drum fills every two minutes, so DIYers either rent a proper insulation vacuum ($200 to $400 a day where available) or resign themselves to rake, dustpan, and hundreds of bags. Non-negotiable gear either way: a respirator (N95 minimum; P100 half-face for rodent contamination), goggles, gloves, disposable coveralls, and kneeboards or plywood walkways so nobody steps through the ceiling. Work cool morning hours, light the space properly, and seal each bag before it leaves the attic. Skip DIY entirely for rodent-saturated loose fill, mold beyond a small patch, or any suspicion of vermiculite — the health downside dwarfs the labor savings.
Full Strip or Partial Removal?
Not every triggering event condemns the whole attic. A roof leak that soaked one corner justifies removing and replacing the affected bays plus a 2-foot margin, not a full strip — cut the loose fill out to clean, dry material, bag it, dry the deck completely (a moisture meter reading under 15 percent on the framing), and blend new insulation in. Rodent jobs are the opposite case: droppings and urine spread far beyond the visible nest sites, and partial cleanups almost always miss contamination, which is why reputable remediation firms quote rodent attics as full removals with sanitizing. Mold follows the moisture map — if growth traces to one failed bath fan duct, the removal can be surgical, but staining across multiple truss bays means systemic condensation and a full clear-out. When in doubt, pull back the insulation at the suspect boundary; what you find at the edge tells you whether the problem kept going.
Disposal: Where 200 Bags Actually Go
Removal produces astonishing volume — a 1,500-square-foot attic with 12 inches of loose fill yields 1,500 cubic feet of material that fluffs larger once disturbed, filling 150 to 250 contractor bags or a 12-to-20-yard dumpster. Plan disposal before the first bag is filled. Ordinary fiberglass and cellulose go to most landfills and transfer stations as bulky waste, typically double-bagged, at $50 to $150 per pickup load in dump fees; a 15-yard dumpster rental ($350 to $550 for a week) beats a dozen truck trips for full-attic jobs. Contaminated material changes the rules: rodent waste is handled as ordinary waste in most jurisdictions but bag it sealed and label it, while anything asbestos-containing is regulated waste that only licensed abatement haulers may transport to designated facilities. Never run insulation through curbside trash a few bags at a time — most municipal contracts exclude it, and the fines outrun the dump fee you dodged.
What Removal Costs
Professional removal runs $1 to $2 per square foot for typical blown insulation — $1,000 to $2,000 for a 1,000-square-foot attic — with batts sometimes cheaper at $0.80 to $1.50. Contamination raises it: rodent cleanup with sanitizing and exclusion commonly lands at $2 to $4 per square foot all-in, and crawl space removal costs more per foot than attics because of access. Disposal is included in most quotes; DIYers should budget $100 to $300 in dump fees, and note that many transfer stations require insulation double-bagged. Get the removal and the re-insulation quoted separately — bundled “remove and replace” quotes hide margin, and some insulation companies discount removal steeply when they win the re-blow.
Between Removal and Replacement: The Golden Window
Timing the two halves matters more than most homeowners expect. Do not let a stripped attic sit bare through a heating or cooling season — an uninsulated ceiling can add 30 to 50 percent to that month’s energy bill and, in winter, invites condensation on the suddenly cold drywall. Schedule removal and re-insulation within the same week if using two contractors, or the same visit if one firm does both. The exception is post-leak drying: after water damage, the deck genuinely needs days to a couple of weeks with a fan and dehumidifier before new material goes down, and rushing insulation onto damp framing manufactures the next mold problem.
A bare attic deck is a one-time opportunity, and skipping it wastes half the value of the removal. Before new insulation goes in: air-seal every penetration — top plates, wire and pipe holes, the chimney chase, bath fan housings, and recessed lights — with foam and caulk, since air leakage typically moves more heat than the insulation gap did. Repair wiring, add bath fan ducting to the exterior, install baffles at the soffits, and dam around the hatch. Then re-insulate to current code levels for your climate. Removal is the expensive, unpleasant half of the project; the sealing and rebuild that follow are what make the house actually perform better than it did before the mice moved in.