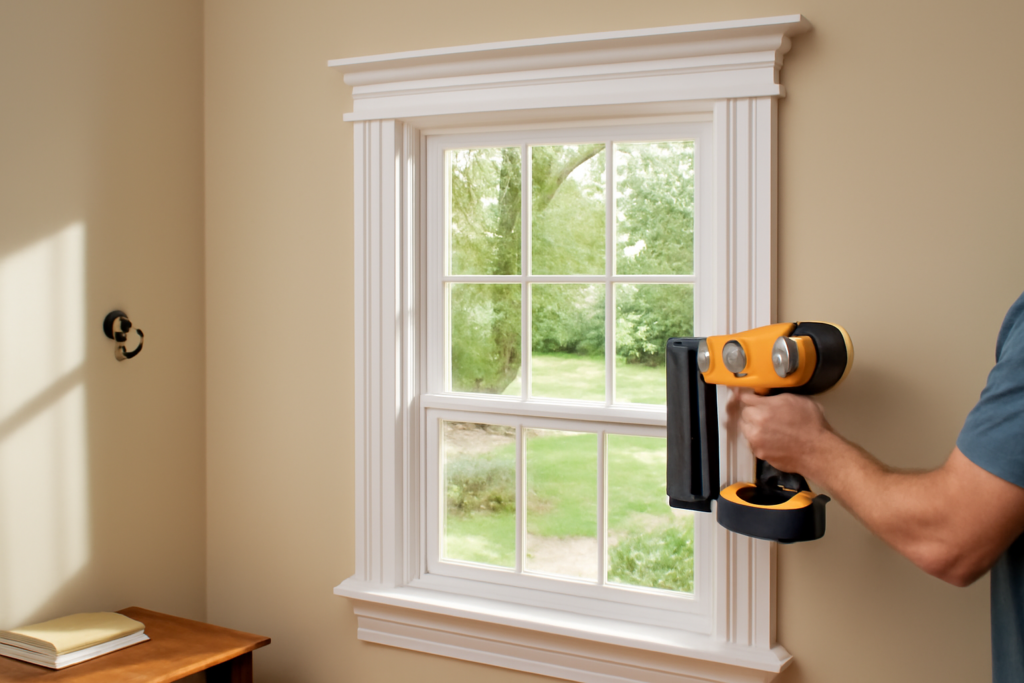
Interior window casing is the decorative trim that frames a window on the inside of your home, covering the gap between the window unit and the drywall while giving the opening a finished, architectural look. It is one of the highest-impact, lowest-cost upgrades a homeowner can tackle, instantly making a room feel more complete and custom. Beyond looks, casing hides the rough construction gap, protects the drywall edge, and ties a window into the overall trim style of a house, whether that is clean modern, traditional Colonial, or robust Craftsman.
Anatomy of Window Casing
Understanding the parts helps you plan a project. Traditional casing consists of side casings (the vertical legs), a head casing across the top, and often a stool and apron at the bottom. The stool is the interior sill that projects into the room, and the apron is the trim piece beneath it. Some modern installations skip the stool and simply picture-frame the window with casing on all four sides. Knowing which approach you want, a traditional stool-and-apron or a four-sided picture frame, determines your material list and cuts.
Popular Casing Styles
Casing style should complement your home’s era and your taste.
- Colonial and clamshell: Softly profiled molding with curves, the default builder-grade look. Familiar and easy to install with mitered corners.
- Craftsman: Flat, wide, square-edged boards with a substantial head casing, often topped by a small cap. No miters, all butt joints. Bold and architectural.
- Farmhouse: Simple flat stock, similar to Craftsman but often narrower and paint-grade, for a clean modern-country feel.
- Victorian and traditional: Ornate, layered moldings with rosette corner blocks and plinth blocks that eliminate the need for miter cuts.
- Modern minimalist: Thin, flat casing or even a trimless drywall return for a crisp contemporary look.
Material Choices
Casing comes in several materials at very different price points.
- Finger-jointed pine: Made of short pieces glued together, meant to be painted. Inexpensive and stable, the go-to for painted trim.
- Solid pine or poplar: Poplar is the favorite paint-grade hardwood; it is smooth, takes paint beautifully, and resists dents better than pine.
- MDF: Medium-density fiberboard is cheap, perfectly smooth, and ideal for painted casing, but it swells if it gets wet, so avoid it in bathrooms and near windows prone to condensation.
- Hardwood (oak, maple): For stained, natural-wood casing that shows off grain. More expensive and harder to work.
- PVC and composite: Moisture-proof options for humid rooms.
Tools and Materials You Need
A basic casing job calls for a miter saw for clean angle cuts, a brad nailer or hammer and finish nails, a tape measure, a level, wood glue, and caulk and filler for finishing. A nail gun makes the work dramatically faster and cleaner than hand-nailing, and you can rent one if you do not own it. For Craftsman styles with square cuts, even a hand miter box works. Buy about 10 percent more trim than your measurements suggest to allow for miscuts.
Step-by-Step Installation
For a standard mitered picture-frame casing, the process is repeatable once you learn it.
- Mark the reveal: Draw a light pencil line about 1/4 inch in from the inside edge of the window jamb on all sides. This reveal is the small setback that gives casing a finished look; running trim flush to the jamb looks like a mistake.
- Cut and fit the bottom or side pieces: Measure between reveal lines and cut 45-degree miters at each end. Test-fit before nailing.
- Nail into place: Fasten the casing to both the jamb edge and the wall framing with brad nails, keeping the reveal consistent.
- Work around the frame: Fit each successive piece, adjusting miters slightly with the saw if corners do not close tightly.
- Glue the miters: A dab of wood glue in each corner joint keeps miters from opening as the wood moves.
Finishing for a Professional Look
The finish work separates amateur trim from professional. Fill every nail hole with wood filler, let it dry, and sand flush. Run a thin bead of paintable caulk along the inside edge where casing meets jamb and the outside edge where it meets the wall, then smooth it with a wet finger. Caulk hides the small gaps that are inevitable against imperfect drywall and makes the whole assembly read as one solid piece. Prime any bare wood, then apply two coats of a durable trim paint, semi-gloss or satin, for a wipeable surface.
Common Mistakes
The most frequent errors are forgetting the reveal and butting casing flush to the jamb, cutting miters that do not close because the window is out of square, and skimping on caulk and filler so nail holes and gaps show. Windows are rarely perfectly square, so measure each side individually rather than assuming symmetry, and be ready to shave a miter a degree or two. Another mistake is using MDF in a humid or leak-prone location where it will swell and crumble.
Cost Expectations
Casing a single window in paint-grade material costs surprisingly little, often $20 to $60 in trim per window for standard profiles, more for wide Craftsman stock or hardwood. If you hire a finish carpenter, expect $75 to $200 per window installed depending on style and complexity, with ornate or stained work costing more. Because the material is cheap and the visual payoff is large, window casing is one of the best return-on-effort projects for a confident DIYer.
Stool-and-Apron vs Picture-Frame
The two dominant approaches to interior casing produce different looks and suit different homes. The traditional stool-and-apron method includes a projecting interior sill, the stool, with a trim board beneath it called the apron, and casing on the two sides and top. This is the classic, substantial look found in older homes and remains popular for traditional and Craftsman interiors. The picture-frame method wraps casing around all four sides of the window with no stool, giving a clean, contemporary, symmetrical appearance that is simpler to build. Choose stool-and-apron for a historic or formal feel and picture-frame for modern simplicity; both are correct, and the decision often comes down to the style of the rest of your trim.
Dealing With Out-of-Square Windows
Almost no window in a real house is perfectly square, and this is where amateur casing jobs go wrong. Before cutting a single miter, measure the opening on all four sides and check the corners; you will usually find differences of an eighth of an inch or more. Rather than fighting it, measure each side individually and cut to fit, and be prepared to shave a miter by a degree or two so the corner closes tightly. For badly out-of-square openings, a Craftsman-style butt-jointed casing hides discrepancies far better than miters, which magnify any error. A sharp saw, patience, and test-fitting each piece before nailing are what separate tight, professional corners from gappy ones.
Painting vs Staining Your Casing
How you finish the casing shapes both the look and your material choice. Painted trim, usually in white or off-white semi-gloss, is the most common and forgiving; it hides filler and caulk, brightens a room, and lets you use inexpensive poplar, MDF, or finger-jointed pine. Stained trim shows off natural wood grain for a warm, traditional look but demands a quality hardwood like oak, matching wood on all pieces, and far more careful work, since filler and caulk show through stain. If you want stained casing, buy select-grade hardwood, use tinted wood filler that matches the stain, and finish the pieces before installation where possible. For most homeowners, painted casing delivers the best combination of ease, cost, and clean results.
Interior window casing turns a plain punched opening into a finished architectural feature while protecting the drywall and hiding construction gaps. Choose a style that suits your home, pick the right material for the room’s moisture level, keep a consistent reveal, and invest in careful caulking and filling. Whether you frame one window or trim out a whole house, well-installed casing delivers a custom look that belies its modest cost.