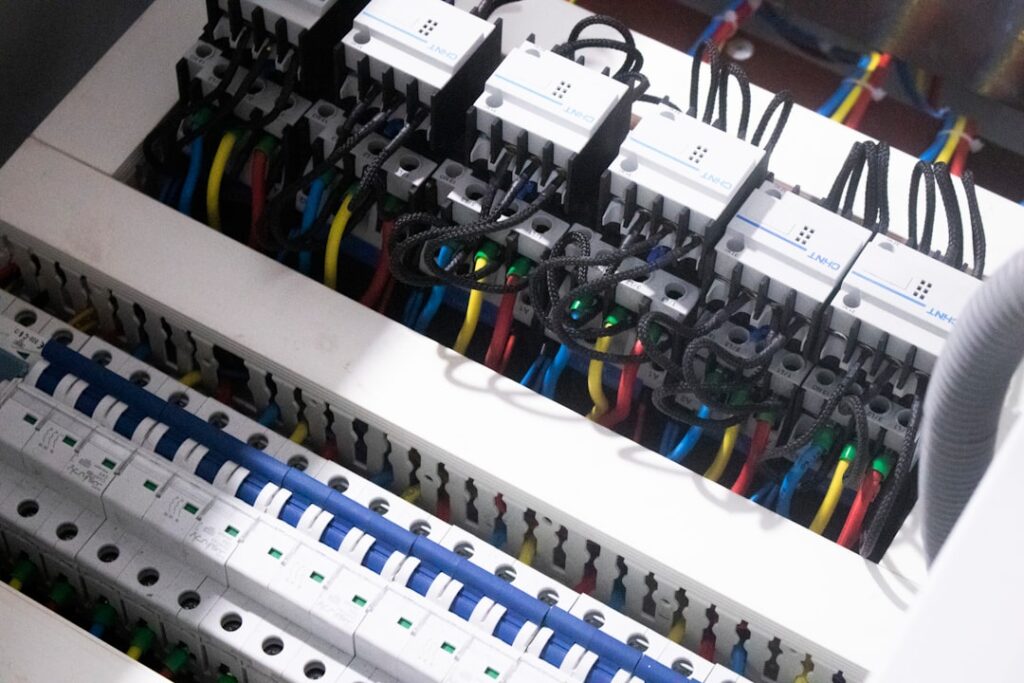
Open up the wall behind any messy splice job in an old house and you’ll find wire nuts taped together, hidden inside the framing, with no enclosure protecting the connection. That’s a fire waiting to happen and a code violation in every US jurisdiction. A junction box, or j box electrical enclosure, isn’t optional, it’s the legally required home for every wire splice and the foundation of safe, accessible house wiring. This guide covers the box types, sizing rules, and install steps that keep your work code-compliant and inspectable.
What a Junction Box Actually Does
A junction box is a metal or plastic enclosure that contains spliced wire connections, holds devices like switches and receptacles, and provides a permanent grounding point. NEC 314.29 requires that every box remain accessible after the wall finish goes on, which is why you can never bury a box behind drywall.
The box also protects the splice from physical damage, contains any heat from a loose connection, and gives an inspector a clear point of reference. Skip the box and you’ve created an invisible failure point that gets worse every time the framing flexes or a mouse decides to chew.
Plastic vs Metal Boxes
The eternal debate at the pro desk. Both are code-legal in residential work but each shines in different applications. Match the box to the wiring method and the location.
- Plastic (PVC) boxes: Carlon B120A or Allied Moulded fiberglass at $1 to $4 each, used with NM cable in dry interior walls
- Metal boxes: Steel City or Raco at $2 to $7 each, required with metal-clad cable, EMT conduit, or any exposed work
- Weatherproof boxes: Bell or Hubbell aluminum at $8 to $25, mandatory for outdoor receptacles per NEC 406.9
- Old-work boxes: spring-tab plastic models for retrofit installs, $3 to $6
- 4-square (4-by-4-inch) boxes: $5 to $9 in steel, the workhorse for splices in commercial and home runs
Box Fill Calculation You Cannot Skip
Cramming too many conductors into a small box is one of the most common code failures. NEC 314.16 lays out exact volume requirements per conductor based on wire gauge.
- 14 AWG conductor: 2.0 cubic inches each
- 12 AWG conductor: 2.25 cubic inches each
- 10 AWG conductor: 2.5 cubic inches each
- Each device (switch or receptacle): counts as two conductors of the largest gauge
- All ground wires combined: count as one conductor of the largest gauge
- Internal cable clamps: count as one conductor of the largest gauge
A standard plastic single-gang nail-on box has 18 cubic inches of volume. With 12-2 NM cable feeding a switch, you’re at 4 conductors plus device (2) plus ground (1) plus clamp (1), totaling 8 conductors at 2.25 cubic inches each, which is 18 cubic inches exactly. Add one more cable and you’re over fill and need a 22.5 or larger box.
Box Depth and Mounting Position
NEC 314.20 requires the front edge of the box to sit flush with the finished wall surface, or no more than 1/4 inch back from non-combustible surfaces like tile or plaster. Combustible finishes like wood paneling or drywall require flush mounting with no setback.
If you measured wrong and your box sits proud of the drywall, you can use a box extender like the Arlington BE1 ($3) to bring it flush. If it’s recessed, use a box extension ring rather than redoing the rough-in.
Old Work Boxes for Retrofit Installations
Adding a switch or receptacle in finished drywall is where old-work (also called remodel) boxes earn their keep. The Carlon B120R single-gang is the standard, $3 each at any big box store. Cut the drywall hole with a Roto Zip RotoSaw or a hand drywall saw, push the box in, and tighten the wing tabs to clamp it against the back of the drywall.
For heavier devices like a TV bracket box or ceiling-mount fan box, step up to a metal old-work box with a brace bar like the Saf-T-Bar 1545NS, around $14, which spans between joists.
Splicing Inside the Box Correctly
Once your box is mounted and your wires are pulled, the actual splice has a few non-negotiables. Strip 3/4 inch of insulation off each conductor, twist the bare ends clockwise with linesman’s pliers, and cap with the right-size wire nut. Wago 221 lever connectors at $0.40 each are pricier than orange or yellow wire nuts, but they’re faster, more reliable, and easier to undo for changes.
Tuck splices to the back of the box with the wires folded accordion-style. Never push wires straight back, they’ll resist when you mount the device cover.
Common J Box Code Violations to Avoid
After hundreds of inspections, the same handful of mistakes show up over and over.
- Buried boxes hidden behind drywall, ceilings, or insulation
- Cables not secured within 8 inches of a box (NEC 314.17)
- Unused knockouts left open without a snap-in plug
- Plastic boxes used with metal-clad cable (BX or MC)
- No grounding pigtail bonding metal box to device ground screw
- Box overfilled with more conductors than rated cubic inches allow
Any one of these will fail an inspection and any one can start a fire. The fixes take minutes if caught at rough-in and hours if caught after the drywall hangs.
Cover Plates and Final Inspection
Every j box electrical enclosure must have a cover plate before the inspector signs off. For active devices, that’s the standard switch or receptacle plate. For pure splice boxes (no device), use a blank cover plate, $0.50 to $2 each, screwed into the box ears.
Get the box right at rough-in, hit the fill calculation, secure your cables, and the rest of the wiring job goes smoothly. The j box is the small detail that quietly determines whether your electrical work passes inspection on the first walk-through or gets you a re-do list.